adplus-dvertising
Connect with us

Tech

Review: Horizon Forbidden West: Burning Shores (PS5) – Aloy’s New Chapter Is Essential for Fans

Published

 on

For us, Guerrilla Games’ Horizon series has been brilliant from the very start, but it’s getting better each time we return to it. Horizon Forbidden West is an excellent sequel that builds upon the first game in practically every way — a larger, more varied open world, a better ensemble cast, more interesting side quests, and improved traversal, to name a few. Burning Shores, the DLC expansion, is largely more of the same, but adds just enough on top to make it well worth the visit.

Following on directly from the events of the main game, Sylens tasks Aloy with tracking down an important loose end in the titular region. We won’t give any spoilers, but it’s safe to say this expansion acts as a neat bridge from Forbidden West into Horizon 3. Guerrilla has doubled down on its bonkers sci-fi story, and it’s delivered so earnestly that we can’t help but love the nonsense. If you do too, and enjoyed what the base game offered up, you’ll definitely enjoy that side of the narrative here.

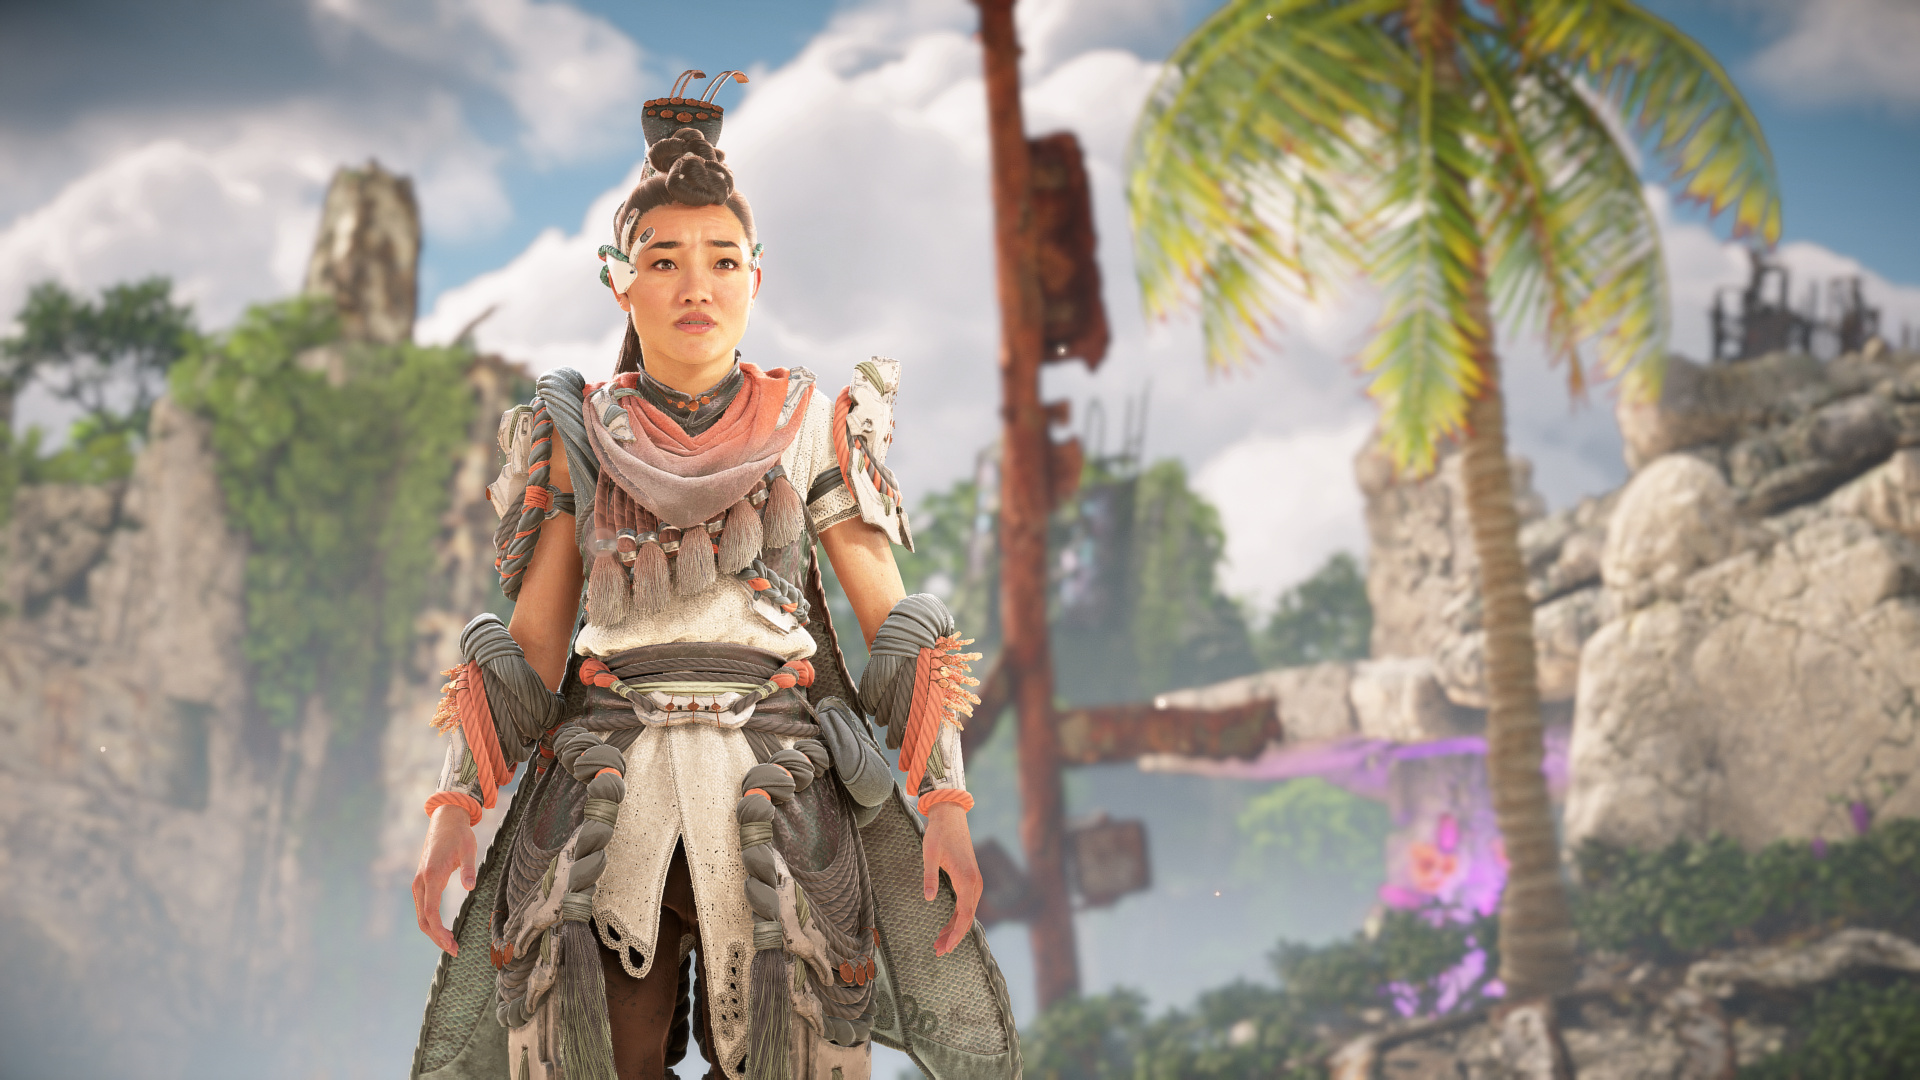
But let’s not get too ahead of ourselves. Aloy crash lands in the Burning Shores and is immediately confronted by Seyka, a member of the Quen tribe that’s currently stranded and missing many of its people. This new character will join Aloy on her main quests, and she proves to be just as capable as our heroine, which is a rarity in these titles. She’s another welcome addition to Horizon’s wider cast, and one who challenges Aloy in new ways, helping to humanise a protagonist who was perhaps a little one-note in Forbidden West.

Horizon Forbidden West: Burning Shores Review - Screenshot 2 of 3

The main set of quests is five strong, and all of them are pretty lengthy. You’re looking at about six to eight hours depending on your pace, and that’s without considering the other stuff to do in the expansion. The story takes you to some fantastic locations, lays a bit of groundwork for the inevitable sequel, and, as has been heavily hinted, a Horus does indeed wake up. We’ll just say that it’s a spectacular finale; the scale of this setpiece is off the charts, and is likely a major reason why this DLC is PS5 only.

300x250x1

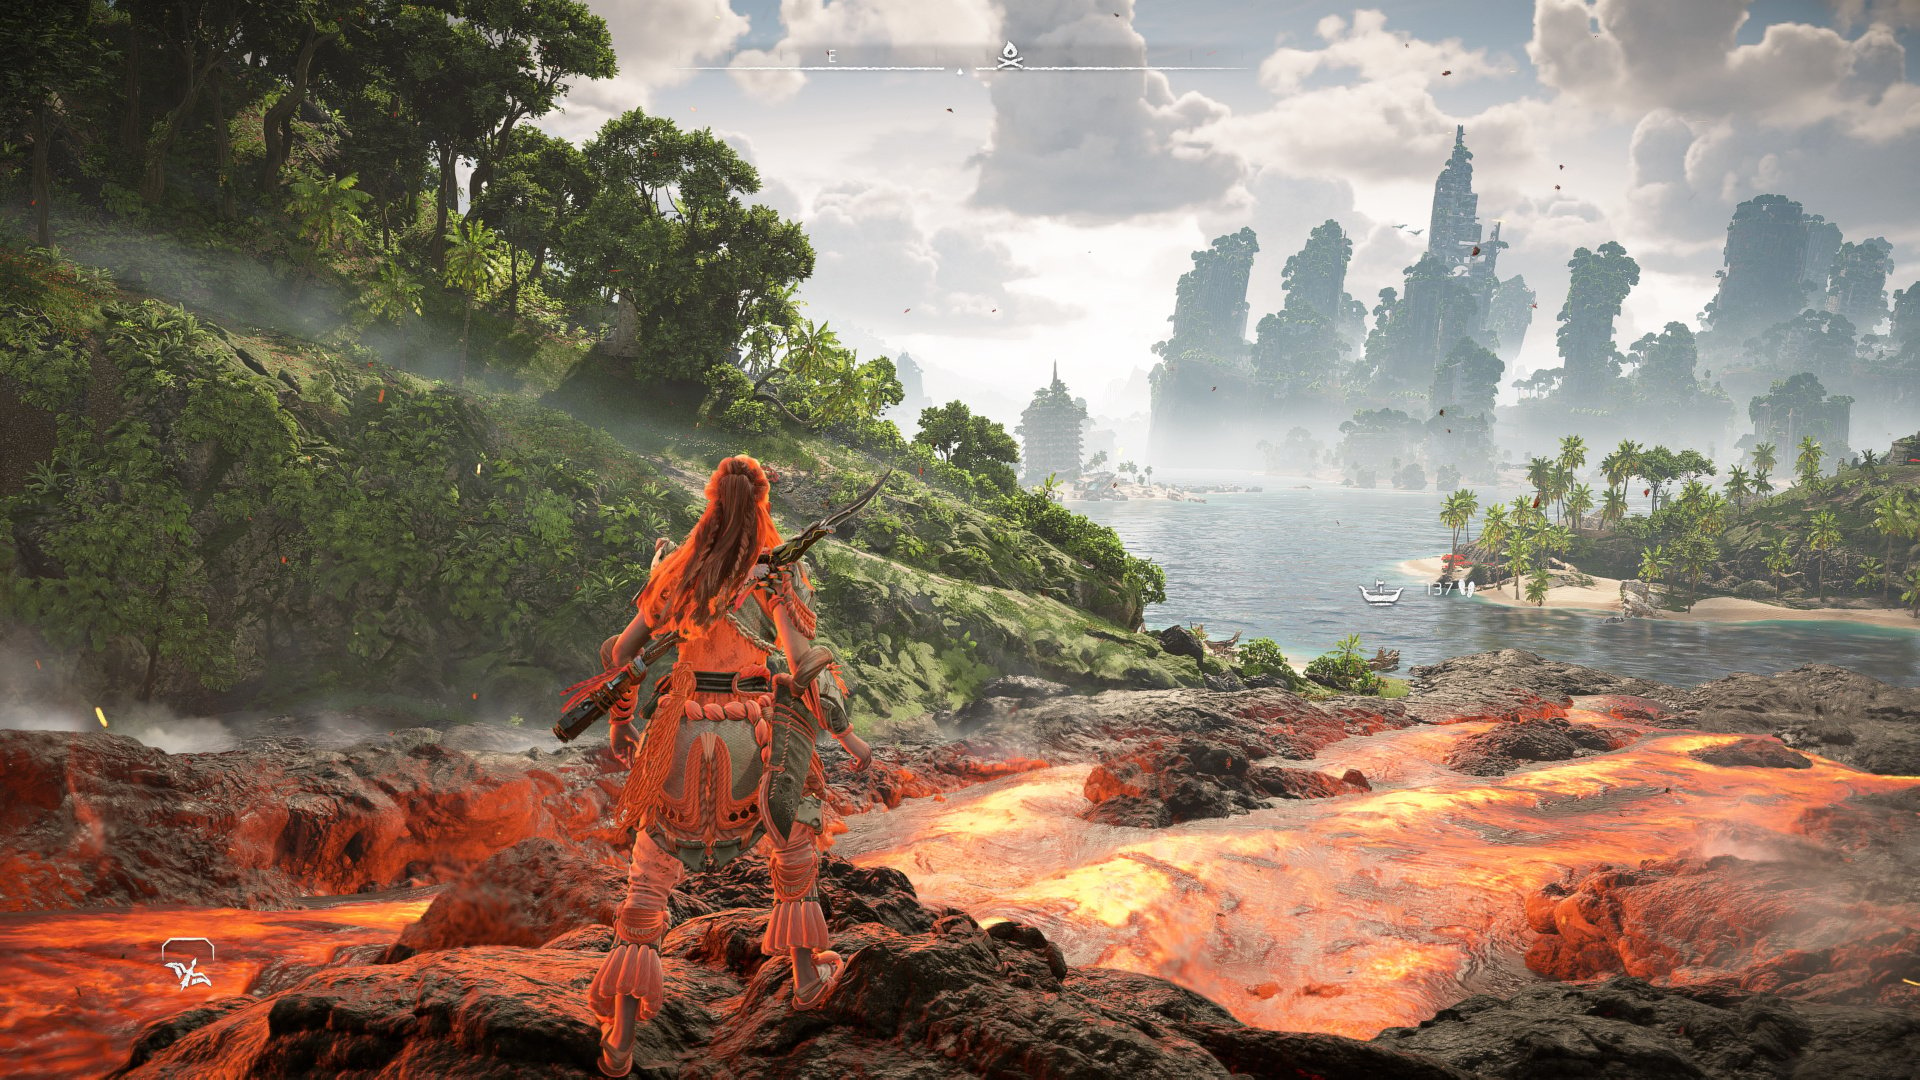
But the story only takes you to certain locations within the Burning Shores. The map is substantial — about a third of the size of the main game — and features a blend of dense forest, sandy beaches, open water, and flowing lava, with old world ruins to remind you this was once Los Angeles. It’s visually gorgeous, as you’d expect, although there is noticeable pop-in while you’re flying. While it’s great fun to explore the map, some parts of the Burning Shores offer little to do beyond some sight-seeing. Main quests are mostly concentrated in one portion of the map, while a couple of side quests spread things out, but one or two areas are mostly skipped over.

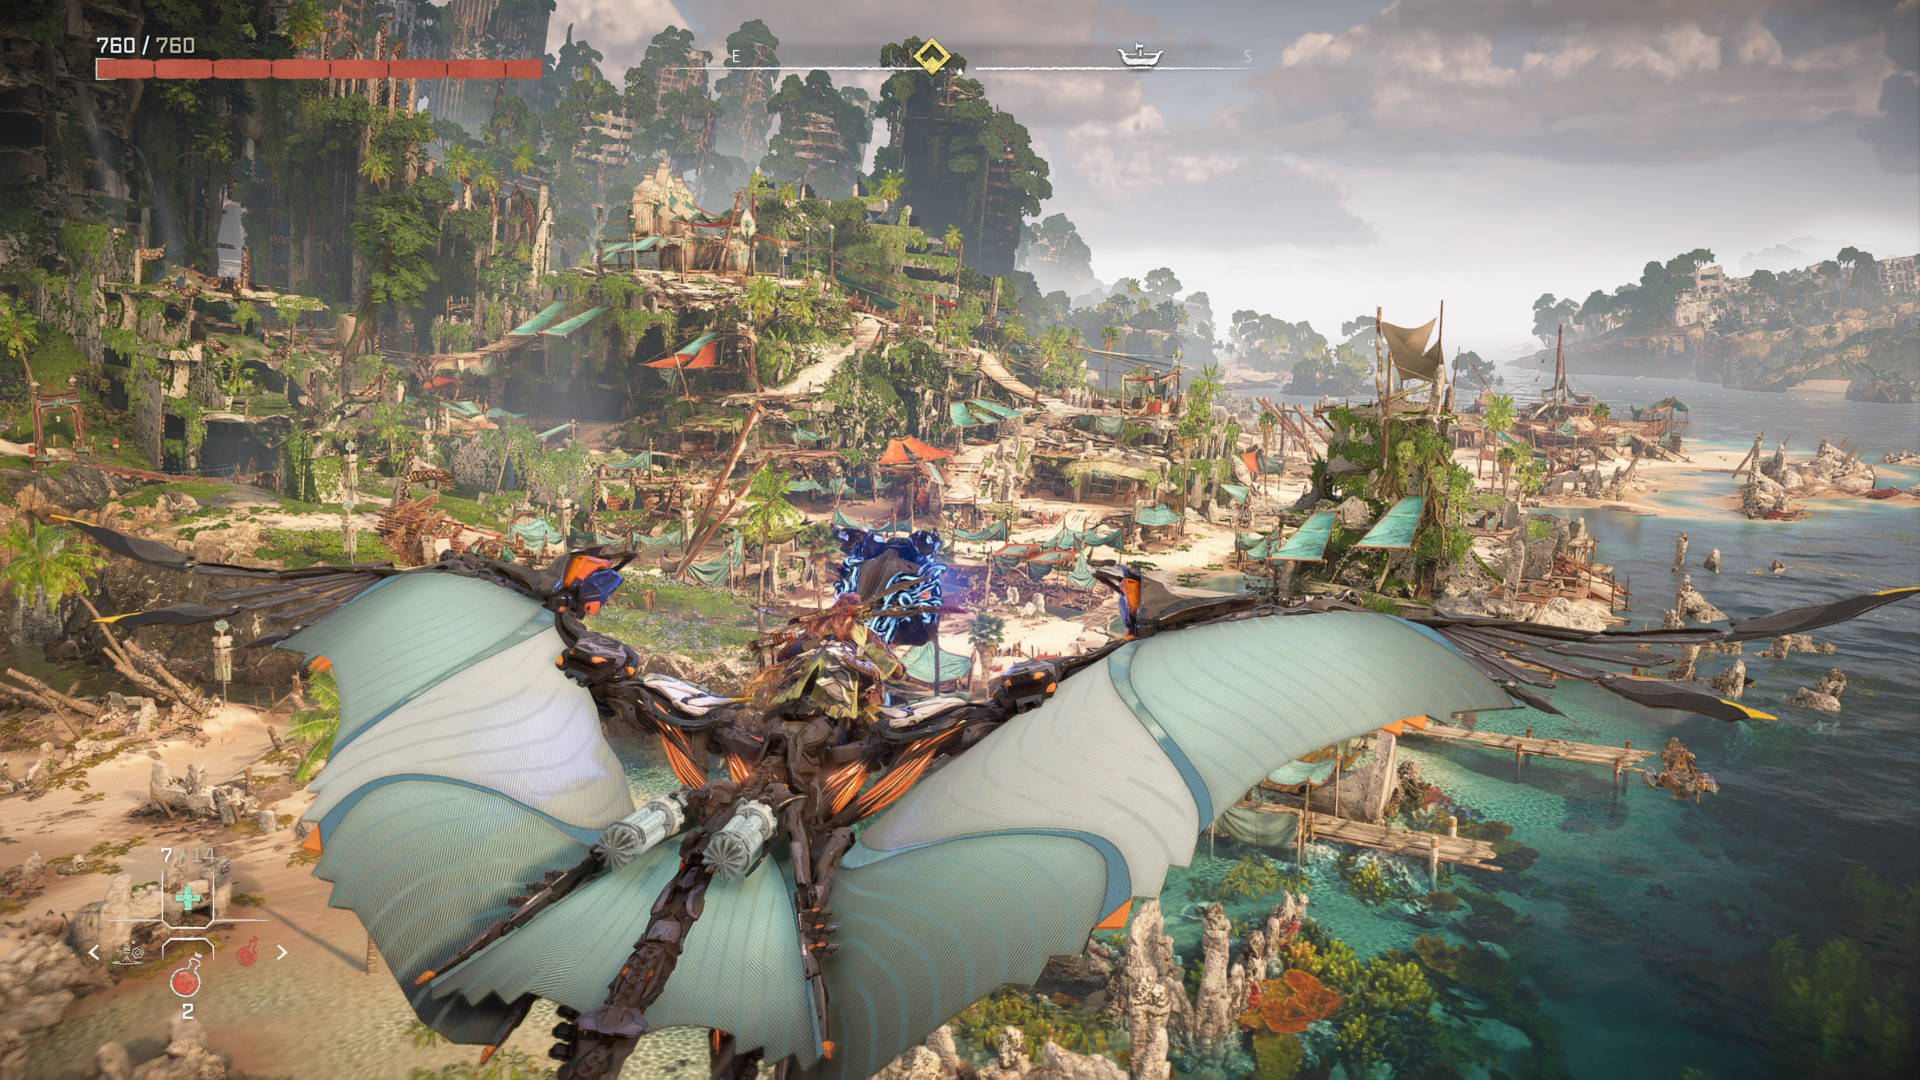
That said, there are new collectables to find, a Relic Ruin to solve, a Cauldron to infiltrate, and a handful of new machines. The Waterwing will become your new best friend — it’s a flying mount that can also dive beneath the water, making swimming much faster. There are two others to discover, both of which are great additions to the roster that’ll test you in different ways.

Horizon Forbidden West: Burning Shores Review - Screenshot 3 of 3

There’s also a selection of new weapons and outfits to employ, but more impactful is a range of new skills. A dozen extra skills and six more Valor Surges give you yet more combat options. Many introduce new ideas, like firing weapons while gliding, applying elemental damage with your spear, and dropping large shields. Others amp up existing mechanics; for example, one skill allows you to grapple to a knocked down machine and, if you time a button press right, apply Resonator energy, which you can shoot for a big burst of damage. These new skills (and a new level cap) give players some fresh options, and make the chaotic combat even more varied.

Conclusion

Like Frozen Wilds did with Horizon Zero Dawn, Burning Shores takes what was already great about Forbidden West and gives you a sizeable new playground and a bunch of extra toys to play with. The archipelago is great fun to explore by land, sea, or air, with plenty of interesting things to see and do. Certain areas feel a little underutilised, but overall this is a great expansion that continues Aloy’s story and sets up for things to come in Horizon 3.


728x90x4

Source link

Continue Reading

Tech

Zelda: Tears of the Kingdom – Crisis at Hyrule Castle Walkthrough – GameRant

Published

 on


Crisis at Hyrule Castle is a main quest in The Legend of Zelda: Tears of the Kingdom that players can initiate by speaking with Purah in Lookout Landing (coordinates -0254, 0153, 0026). In order to complete this quest, fans must work through a variety of tasks, which will send them to the four corners of the surface and beyond. This walkthrough is here to help players complete those tasks and reach the end of The Legend of Zelda: Tears of the Kingdom‘s Crisis at Hyrule Castle main quest.


To Hyrule Castle & Find Captain Hoz

zelda totk crisis at hyrule castle walkthrough

300x250x1

The Crisis at Hyrule Castle begins with a trip to Hyrule Castle, which is situated just north of Lookout Landing. As players walk to this location, they are advised to activate the Kyononis Shrine (coordinates -0206, 0452, 0021) to turn it into a fast travel point. Fans may also want to help Addison at coordinates -0265, 0383, 0021 before making their way to the castle gate, which can be opened with the Ultrahand ability and is situated at coordinates -0254, 0629, 0043.

RELATED: Zelda: Tears of the Kingdom – Where To Find All The Geoglyphs (Impa and the Geoglyphs Main Quest)

After passing through the gate, fans should follow the road to reach the First Gatehouse at coordinates -0379, 0850, 0109. Here, players should climb a wall to reach one of the structure’s windows and then use TotK‘s Ascend ability to get up to Captain Hoz at coordinates -0336, 0845, 0183.

To Lookout Landing

zelda totk crisis at hyrule castle walkthrough

Following a conversation with Captain Hoz, players should return to Purah in Lookout Landing to receive some information about the outpost’s Emergency Shelter and Skyview Tower. The first of those locations can be unlocked by speaking with Scorpis at -0254, 0102, 0021, and Tears of the Kingdom fans may to spend some time exploring the underground shelter before visiting the Lookout Landing Skyview Tower at 0291, 0139, 0025.

zelda totk crisis at hyrule castle walkthrough

At the tower, Purah will tell Link about the import of these structures and instruct him to activate the Lookout Landing Skyview Tower by interacting with the terminal and examining the blue circle that is inside. It is during this sequence that players will receive TotK‘s Paraglider, and they should return to Purah once the tower has been activated to move on to the next part of Crisis at Hyrule Castle.

Regional Phenomena

zelda totk crisis at hyrule castle walkthrough

That next part manifests as a lengthy main quest called “Regional Phenomena,” which centers around helping the Rito, Zora, Goron, and Gerudo. This complete walkthrough of Tears of the Kingdom‘s Regional Phenomena quest will help players work through this colossal endeavor, and they can look forward to returning to Purah when the job is done.

Find Princess Zelda in Hyrule Castle

Once players have completed Regional Phenomena and spoken with Purah in Lookout Landing (coordinates -0230, 0150, 0050), they must enter Hyrule Castle in search of Zelda. To reach this location, fans should launch Link from the Lookout Landing Skyview Tower and glide toward its entrance (coordinates -0251, 0963, 0336).

zelda totk crisis at hyrule castle walkthrough

Upon landing in this position, Tears of the Kingdom players will initiate a sequence in which they must visit various locations within Hyrule Castle in an attempt to catch Zelda. While there are many ways to approach this section, here is path that players can use to reach all of Zelda’s positions:

Second Gatehouse (B1)

  • Follow the path that travels southeast from the entrance to Hyrule Castle, stopping near coordinates -0215, 0887, 0323.
  • Glide east to the Second Gatehouse and drop into the center to encounter Zelda in B1.
  • Defeat the Monster Forces

Library (B3)

  • Exit the Second Gatehouse through the eastern opening and cross the water to reach a landmass.
  • Head northeast and climb cliffs and walls near -0095, 0909, 0284.
  • Continue northward, working toward the cliff near -0071, 0993, 0294.
  • Drop to B2 and follow the path that leads northwest.

  • Glide from the cliff at -0134, 1060, 0277 to enter a hole in the Library’s roof.
  • Encounter Zelda in B3 and defeat the Monster Forces.

B3

  • Climb the stairs on the north side of the Library and follow the path to -0168, 1142, 0225.
  • Defeat the Monster Forces.

Princess Zelda’s Room (B1)

  • Continue up the stairs and follow the path southwestward to -0345, 0967, 0269.
  • Use Ascend and climb stairs until dead end.
  • Use Ascend to reach 1F and fall into hole in floor to encounter Zelda in B1
  • Defeat Monster Forces.

B3

  • Exit room at northwest corner to reach balcony.
  • Glide southwest to stairs at -0376, 0977, 0259.
  • Follow stairs downward, and drop from cliff to reach B3 entrance at -0396, 0984, 0239.
  • Follow path to Zelda and defeat Monster Forces.

B3

  • Use Ascend and follow path south to edge of cliff at -0317, 0877, 0259.
  • Drop to B3 entrance.
  • Follow path to Zelda and defeat Monster Forces.

Sanctum (1F)

  • Use Ascend to reach 1F.
  • Go southeast and climb cliff at -0269, 0887, 0307.
  • Go north to encounter Zelda in Sanctum.

Phantom Ganon Boss Fight

zelda totk crisis at hyrule castle walkthrough

Players must now square off against TotK‘s Phantom Ganon and his mimics, and this combat encounter can be easily overcome by maintaining distance and repeatedly firing arrows fused with Bomb Flowers at the enemies. If a player is low on those items, they can also try fusing Fire Fruits to their arrows, though losing out on the bomb’s area-of-effect damage makes that strategy suboptimal.

To Lookout Landing

Once Phantom Ganon is defeated, players should make their way to Lookout Landing and speak with TotK‘s Purah at -0253, 0153, 0026. Fans will receive the Find the Fifth Sage main quest at the end of that conversation, and they should set their sights on completing it.

Find the Fifth Sage

zelda totk crisis at hyrule castle walkthrough

To complete this lengthy main quest, fans must investigate the ring ruins, ascend into the sky, and plunge into the Depths. This full walkthrough of Tears of the Kingdom‘s Find the Fifth Sage will help players get through all of those steps, and the Crisis at Hyrule Castle quest will be marked as complete when they reach the end.

The Legend of Zelda: Tears of the Kingdom is available on Nintendo Switch.

Adblock test (Why?)

728x90x4

Source link

Continue Reading

Tech

Dyson Selling Latest Multitasking Tool—Air-Purifying Headphones—for Just $950 – Decider

Published

 on


You’re not alone if you mostly think of vacuums and haircare when you think of Dyson.

After all, that is the brand’s claim to fame, from its powerful corded and cordless vacuum cleaners to the viral Airwrap.

Headphones aren’t typically the first product that comes to mind when most people think of Dyson.

300x250x1

And yet, the company’s again struck viral gold with its first-ever wearable product, the new Dyson Zone headphones — even if the reaction is mostly confusion.

The Zone headphones aren’t an ordinary pair of over-the-ear headphones with their advanced noise cancellation technology and ultra-low distortion engineering; of course, there’s a Dyson twist, and it’s exactly what you might expect from a company that’s perfected different ways of using air.

These headphones also double as an air purifier.

Each ear has filters installed that are said to remove gases and 99% of pollutants as small as 0.1 microns, per Dyson. So the air that … hits your ears … will always be as clean as possible.

That’s not even the most confusing part, though, because, besides just the headphones, the Zone comes with a detachable visor that covers your nose and mouth so you can breathe in filtered air.

If the look they were going for is Bane from The Dark Knight Rises, they nailed it.

We’re not exactly sure who this product is for, but if it’s you, it’ll only set you back a cool $950.

dyson zone
Photo: Amazon

Adblock test (Why?)

728x90x4

Source link

Continue Reading

Tech

How to complete Misko's Cave of Chest Side Quest in The Legend of Zelda Tears of the Kingdom – Sportskeeda

Published

 on


In The Legend of Zelda Tears of the Kingdom, players have multiple ways to acquire rupees and treasures. Players can earn wealth and valuable items by overcoming various challenges, defeating bosses, and engaging in Shrine challenges. However, there is an additional method available for players to earn money and valuable treasures, and that method is through side quests.

The expansive open world of the game offers a diverse range of activities beyond the main objectives, and among these activities is the completion of side quests. Engaging in these quests provides players with a unique experience and a convenient means of obtaining quick money and valuable treasures.

Each Side Quest in The Legend of Zelda Tears of the Kingdom presents players with distinctive and challenging tasks, offering valuable rewards as a guarantee. While players can obtain treasures and rupees by exploring various regions, engaging in side missions can save their time and simplify the process of acquiring treasures. The Misko’s Cave of Chest Side Quest, in particular, is straightforward, making it a must-participate for players looking to earn money quickly.

300x250x1


You cannot pet the dog in The Legend of Zelda: Tears of the Kingdom

You cannot pet the dog in The Legend of Zelda: Tears of the Kingdom https://t.co/dAxQCnKF5X


Here’s how you can complete the Misko’s Cave of Chest Side Quest in The Legend of Zelda Tears of the Kingdom

[embedded content]

youtube-cover

To initiate this side quest, your first step is to visit the northeastern side of the map, close to Cephla Lake. Upon reaching the area, you’ll come across a campfire accompanied by an adorable dog. As you continue onward, you’ll encounter a pair of travelers seated near the entrance of a cave.

One of them unintentionally reveals the existence of Misko's Hidden treasure (Image via The Legend of Zelda Tears of the Kingdom)<img class="lazy-img" width="1920" height="1080" data-img="https://staticc.sportskeeda.com/editor/2023/05/4719d-16852728697936-1920.jpg" alt="One of them unintentionally reveals the existence of Misko's Hidden treasure (Image via The Legend of Zelda Tears of the Kingdom)" data-img-low="https://staticc.sportskeeda.com/editor/2023/05/4719d-16852728697936-1920.jpg?w=840" src="data:image/svg+xml,” srcset=”https://staticc.sportskeeda.com/editor/2023/05/4719d-16852728697936-1920.jpg?w=190 190w, https://staticc.sportskeeda.com/editor/2023/05/4719d-16852728697936-1920.jpg?w=720 720w, https://staticc.sportskeeda.com/editor/2023/05/4719d-16852728697936-1920.jpg?w=840 840w, https://staticc.sportskeeda.com/editor/2023/05/4719d-16852728697936-1920.jpg?w=1045 1045w, https://staticc.sportskeeda.com/editor/2023/05/4719d-16852728697936-1920.jpg?w=1200 1200w, https://staticc.sportskeeda.com/editor/2023/05/4719d-16852728697936-1920.jpg?w=1460 1460w, https://staticc.sportskeeda.com/editor/2023/05/4719d-16852728697936-1920.jpg?w=1600 1600w, https://staticc.sportskeeda.com/editor/2023/05/4719d-16852728697936-1920.jpg 1920w”>
One of them unintentionally reveals the existence of Misko’s Hidden treasure (Image via The Legend of Zelda Tears of the Kingdom)

When you talk to the travelers, they will reveal information about the hidden treasures in the cave. They will talk about each separate chest, which holds a Green Rupee. One of them unintentionally reveals the existence of Misko’s Hidden treasure as they continue to disclose information about the hidden treasures.

They also reveal that Misko was a notorious bandit who had caused plenty of trouble in Hyrule.

The travelers discuss the valuable clothing owned by Misko, which is concealed within treasure chests. They also mention that acquiring the exact chest containing the clothes will pose a considerable challenge due to the abundance of chests within the cave.

You will obtain an Amber and a Flint (Image via The Legend of Zelda Tears of the Kingdom)<img class="lazy-img" width="1920" height="1080" data-img="https://staticc.sportskeeda.com/editor/2023/05/a4abe-16852733431955-1920.jpg" alt="You will obtain an Amber and a Flint (Image via The Legend of Zelda Tears of the Kingdom)" data-img-low="https://staticc.sportskeeda.com/editor/2023/05/a4abe-16852733431955-1920.jpg?w=840" src="data:image/svg+xml,” srcset=”https://staticc.sportskeeda.com/editor/2023/05/a4abe-16852733431955-1920.jpg?w=190 190w, https://staticc.sportskeeda.com/editor/2023/05/a4abe-16852733431955-1920.jpg?w=720 720w, https://staticc.sportskeeda.com/editor/2023/05/a4abe-16852733431955-1920.jpg?w=840 840w, https://staticc.sportskeeda.com/editor/2023/05/a4abe-16852733431955-1920.jpg?w=1045 1045w, https://staticc.sportskeeda.com/editor/2023/05/a4abe-16852733431955-1920.jpg?w=1200 1200w, https://staticc.sportskeeda.com/editor/2023/05/a4abe-16852733431955-1920.jpg?w=1460 1460w, https://staticc.sportskeeda.com/editor/2023/05/a4abe-16852733431955-1920.jpg?w=1600 1600w, https://staticc.sportskeeda.com/editor/2023/05/a4abe-16852733431955-1920.jpg 1920w”>
You will obtain an Amber and a Flint (Image via The Legend of Zelda Tears of the Kingdom)

Upon engaging with the travelers, venture into the cave, where you will discover abundant Brightbloom Seeds and Sparkling Boulders. To shatter the boulders, ensure you have a rock hammer. It is crafted by combining a rock or boulder with a melee weapon. Once the Boulder is broken, you will obtain an Amber and a Flint. Following this, continue forward and encounter a vast array of treasure chests.

The chest can be found close to the Brightbloom Seed (Image via The Legend of Zelda Tears of the Kingdom)<img class="lazy-img" width="1920" height="1080" data-img="https://staticc.sportskeeda.com/editor/2023/05/f2c48-16852736712910-1920.jpg" alt="The chest can be found close to the Brightbloom Seed (Image via The Legend of Zelda Tears of the Kingdom)" data-img-low="https://staticc.sportskeeda.com/editor/2023/05/f2c48-16852736712910-1920.jpg?w=840" src="data:image/svg+xml,” srcset=”https://staticc.sportskeeda.com/editor/2023/05/f2c48-16852736712910-1920.jpg?w=190 190w, https://staticc.sportskeeda.com/editor/2023/05/f2c48-16852736712910-1920.jpg?w=720 720w, https://staticc.sportskeeda.com/editor/2023/05/f2c48-16852736712910-1920.jpg?w=840 840w, https://staticc.sportskeeda.com/editor/2023/05/f2c48-16852736712910-1920.jpg?w=1045 1045w, https://staticc.sportskeeda.com/editor/2023/05/f2c48-16852736712910-1920.jpg?w=1200 1200w, https://staticc.sportskeeda.com/editor/2023/05/f2c48-16852736712910-1920.jpg?w=1460 1460w, https://staticc.sportskeeda.com/editor/2023/05/f2c48-16852736712910-1920.jpg?w=1600 1600w, https://staticc.sportskeeda.com/editor/2023/05/f2c48-16852736712910-1920.jpg 1920w”>
The chest can be found close to the Brightbloom Seed (Image via The Legend of Zelda Tears of the Kingdom)

Begin by sequentially opening each chest, and you will acquire a Green Rupee. The appropriate chest can be found close to the Brightbloom Seed. Upon unlocking this chest, you will obtain the Ember Trousers, thereby completing your challenge.

Quick Links

More from Sportskeeda

Edited by Anirudh Padmanabhan
Profile picture

Adblock test (Why?)

728x90x4

Source link

Continue Reading

Trending