


Christmas cookie decorating is simplest when you bake plain cut-outs, cool them fully and pick one technique: flood icing, sprinkles or piped lines. The 13 ideas below run from a five-minute sprinkle cookie to a royal icing snowman, and each one links to Amazon.ca supplies.
Key facts
Christmas Cookie Decorating was one of the fastest-growing Christmas searches among Canadian Pinterest users in early November 2026, up about 200 per cent from the month before, according to Pinterest Trends. This guide was updated on Nov. 10, 2026. We have not tested the products linked here, and we have not listed prices because they change; check each Amazon.ca listing before you buy. The photos show real decorated cookies, and each caption says what the picture shows.
| Idea | Best for | Skill level |
|---|---|---|
| Sprinkles on wet icing | Young children and last-minute trays | Easy |
| Flooded icing in two colours | Bakers who want a smooth, glossy finish | Moderate |
| Piped lines and garlands | Trees, stars and simple patterns | Moderate |
| Royal icing snowman | Gifts and cookie exchanges | Advanced |
Christmas cookie decorating ideas, step by step
Christmas cookie decorating goes best with a plan. Bake the cookies a day ahead, let them cool completely, and mix your icing in three thicknesses: stiff for outlines, a little thinner for flooding and thick for glue. Many bakers cover the icing bowls with a damp cloth so a crust does not form. In a Canadian kitchen, dry winter air helps icing set, while a steamy kitchen slows it down, so keep the cookies away from the stove and the kettle.

Idea 1: Start with good cut-outs. Chill the dough, roll it to an even thickness and cut as close together as you can so there are few scraps. Even thickness matters more than the shape, because thin and thick cookies bake at different speeds and the thin ones darken first.
Shop the look on Amazon.ca: christmas cookie cutters, rolling pin
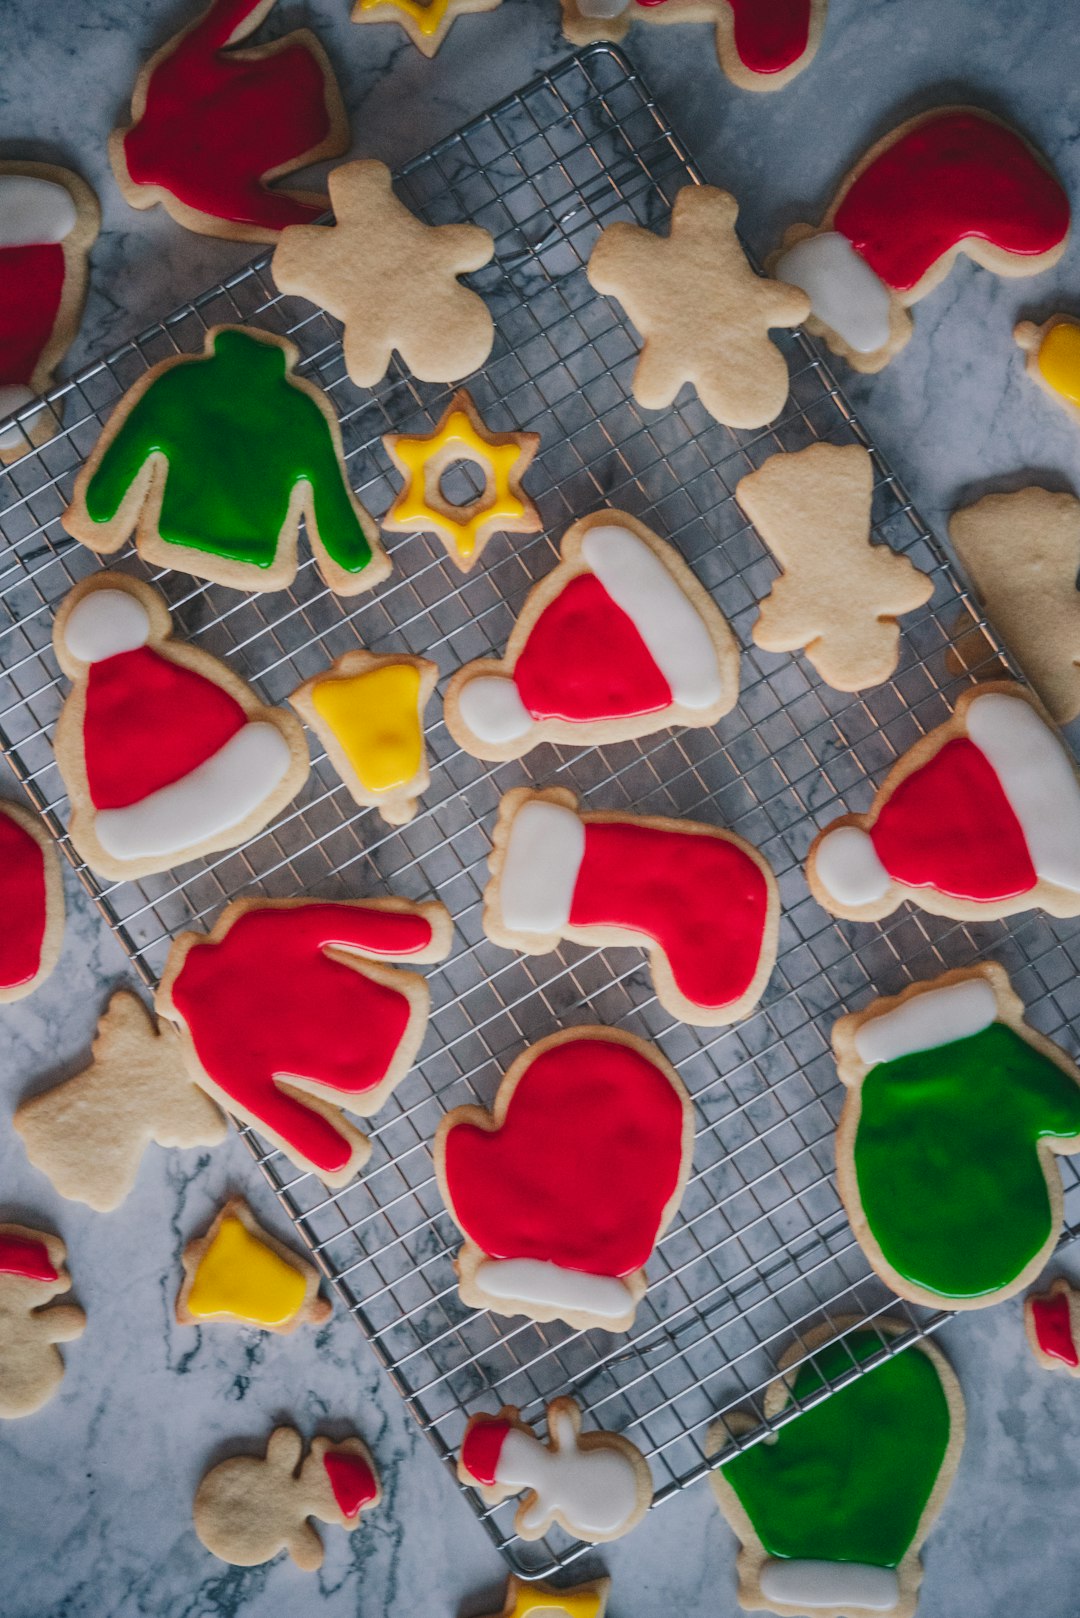
Idea 2: Flood the cookie with two colours. Pipe a firm outline, then fill it with thinner icing and nudge it to the edges with a toothpick. Santa hats and mittens work well because each has two or three clear colour blocks. Let the icing dry for several hours or overnight before you stack or pack the cookies.
Shop the look on Amazon.ca: royal icing mix, piping bags and tips, cooling rack
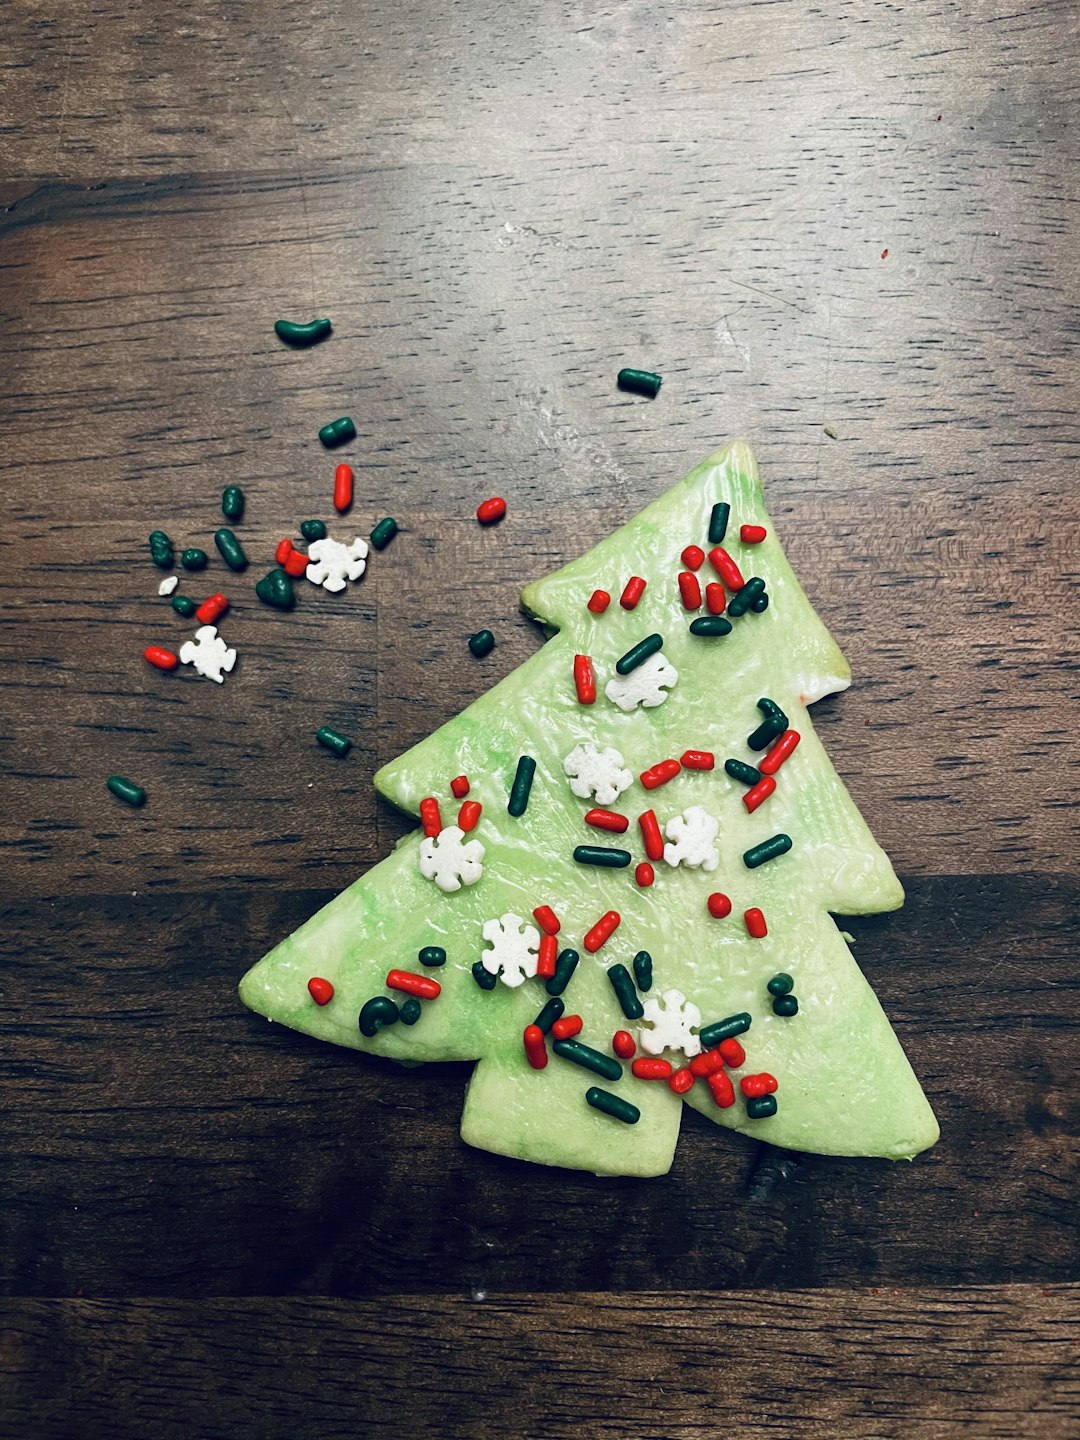
Idea 3: Sprinkles on wet icing. Spread a thin layer of icing, then add sprinkles right away, before the surface starts to dry. Shake the tray over a sheet of parchment afterward and pour the loose sprinkles back into the jar. It is the fastest look in this guide and the easiest for children.
Shop the look on Amazon.ca: christmas sprinkles, green food colouring gel

Idea 4: A royal icing snowman. Flood the body white and let it dry, then pipe the hat, scarf, buttons and face on top in thicker icing. The layers keep the colours from bleeding into each other, which is what gives this cookie its crisp look. Plan on a few hours between layers.
Shop the look on Amazon.ca: snowman cookie cutter, black food colouring gel
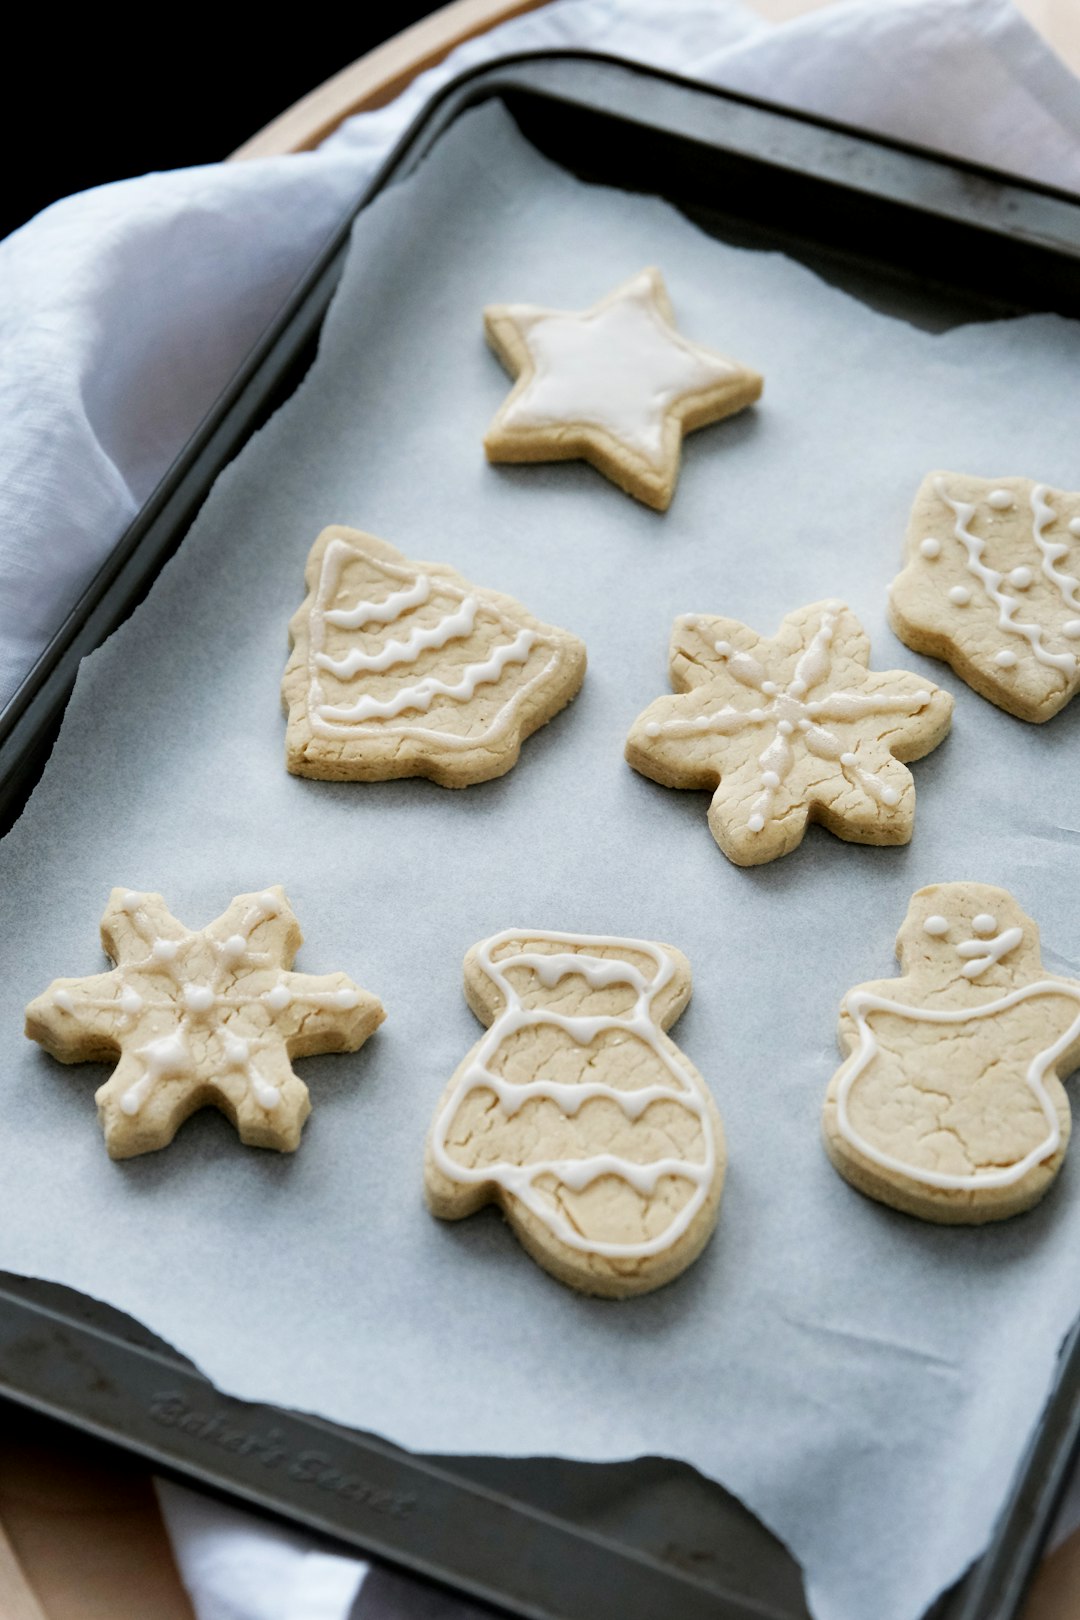
Idea 5: White-on-white winter cookies. Use only white or ivory icing and let the shapes do the work: snowflakes, stars, mittens and little trees. A one-colour tray looks tidy even if your piping is shaky, and it suits a gift box lined with parchment.
Shop the look on Amazon.ca: snowflake cookie cutters, white icing tubes

Idea 6: Gingerbread people with piped faces. Outline the arms, legs and head in one colour, then add eyes, a smile and buttons in another. Gel icing in small tubes is easier for children than a piping bag, and no two faces turn out alike, which is part of the charm.
Shop the look on Amazon.ca: gingerbread man cookie cutter, gel icing tubes

Idea 7: Trees with ornament dots. Flood the tree green, then press small round sprinkles or dots of icing into the wet surface to look like ornaments. Add a star or a squiggle of garland on top once the base has dried. A tray of ten trees in different patterns looks like a small forest.
Shop the look on Amazon.ca: christmas tree cookie cutter, edible sugar pearls

Idea 8: Zigzags and stripes. Once a flooded cookie has set, pipe zigzags, stripes or loops across it in a contrasting colour. Use a small round tip and keep your hand moving, because a steady pace gives straighter lines than a slow one. Practise on parchment first.
Shop the look on Amazon.ca: piping tips set, red food colouring gel

Idea 9: Red icing with snowflake sprinkles. Flood hearts, candy canes and stockings in red and add white snowflake-shaped sprinkles while the icing is wet. Red icing needs a strong gel colour, since a few drops of liquid food colouring will turn it pink and make it runny.
Shop the look on Amazon.ca: snowflake sprinkles, candy cane cookie cutter
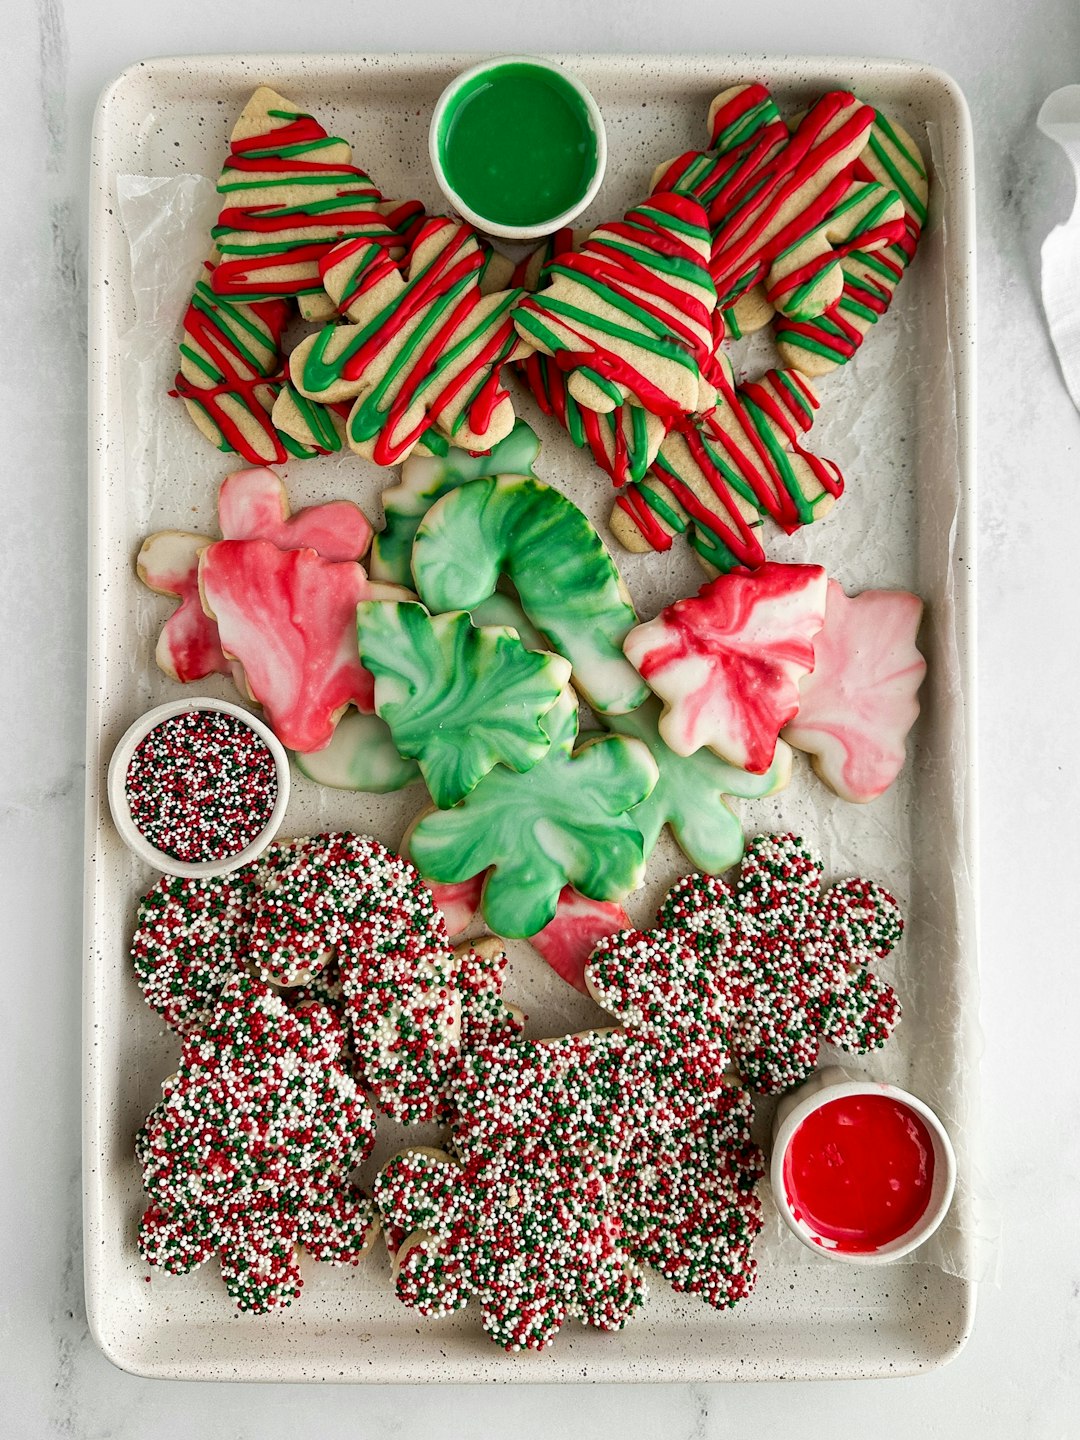
Idea 10: Set up small bowls. Put each colour of icing and each kind of sprinkle in its own ramekin, as in the photo, and let everyone dip or spoon from the bowls. It keeps colours from mixing and it makes a tidy decorating table for a group.
Shop the look on Amazon.ca: small ramekins, nonpareils sprinkles
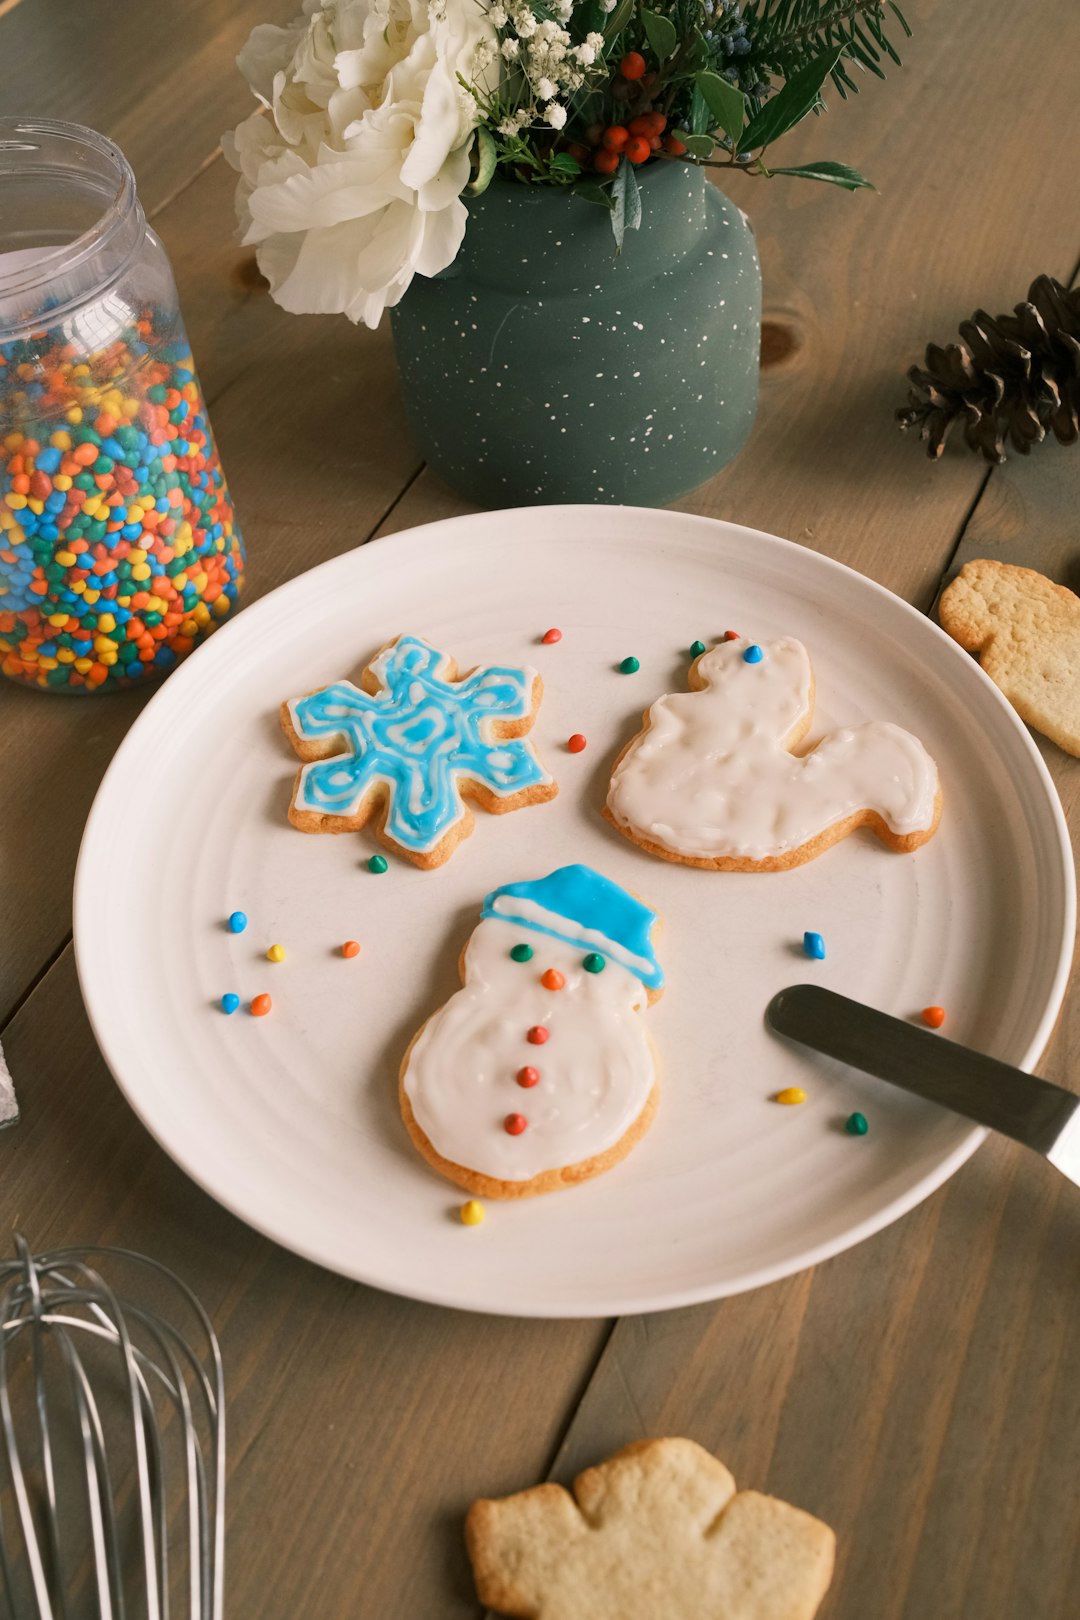
Idea 11: Ice-blue snowflakes. Use a pale blue base for snowflakes and add white lines and a few sprinkles. Blue reads as winter, and it sets the cookies apart from the usual red and green on a mixed plate. Add a drop of gel colour at a time, because blue deepens as it dries.
Shop the look on Amazon.ca: blue food colouring gel, cookie decorating kit
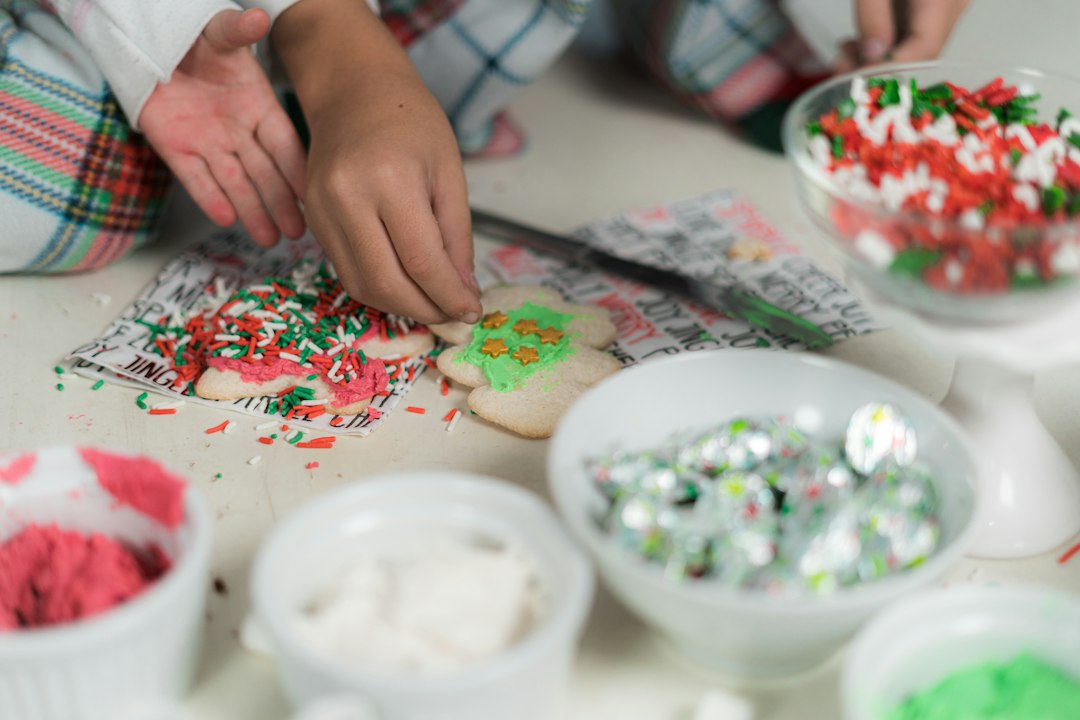
Idea 12: Host a cookie decorating party. Bake the cookies ahead, set out icing, sprinkles and a few tools, and let guests decorate their own. Cover the table with parchment or a disposable cloth for easy cleanup, and keep a box handy so everyone can take their cookies home.
Shop the look on Amazon.ca: parchment paper sheets, cookie gift boxes

Idea 13: Serve and gift them well. Once the icing is fully dry, stack the cookies in a bowl or tin with parchment between layers. A bowl of decorated cookies beside the tree makes a simple display, and a tin tied with ribbon makes a gift. Store them airtight so the icing does not soften.
Shop the look on Amazon.ca: christmas cookie tins, cookie bags with ties
How long does Christmas cookie decorating take? Sprinkle cookies take a few minutes each. Flooded and piped cookies need several hours of drying time between layers, so many bakers bake on one day and decorate on the next.
How far ahead can you decorate Christmas cookies? Fully dried royal icing cookies keep for about a week in an airtight container at room temperature, though texture is best in the first few days.
What icing is best for decorating Christmas cookies? Royal icing dries hard and holds its shape, which makes it the usual choice for stacking, shipping and gifting. Simple buttercream is softer and better for cookies you plan to eat the same day.
You can find more supplies on the Canada News Media Amazon.ca storefront. For more holiday ideas, see our guides to gingerbread house decorating, Christmas bedroom decor and gift ideas by budget. Canada News Media earns a commission on qualifying purchases.
If you find reporting like this useful, consider supporting Canada News Media, an independent Canadian newsroom with no corporate parent.
Follow Canada News Media
Get the day's top Canadian stories and our two daily 60-second news videos wherever you scroll.
X Threads Facebook Instagram LinkedIn TikTok YouTube Pinterest Reddit Substack Flipboard Newsletter RSS