


Testing a sump pump takes about 20 minutes and needs nothing more than a bucket of water, a flashlight and a pair of gloves. The Government of Canada’s flood preparedness guidance calls for a full pump test once a year, confirming that the pump switches on when water rises in the pit and that it pushes the water out through the discharge pipe, plus a separate check on any backup pump two to five times a year.
Early September is the practical moment to do it. Autumn brings the heaviest sustained rainfall in much of the country, and it is followed by the freeze-and-thaw cycle that can block a discharge line right when the pump needs it most. A sump pump that has sat idle through a dry summer is exactly the kind that fails on the first serious storm, usually because sediment has built up in the pit, the float has snagged, or the outside end of the discharge pipe has been buried under mulch, soil or lawn clippings. None of those problems announce themselves. The pump looks fine sitting in its pit until the moment water is rising around it.
The federal guidance is blunt about the stakes and about the limits of what a homeowner should take on. Installing a sump pump is a job for a licensed plumbing professional, and a licensed electrician may be needed to set up the pump’s dedicated electrical circuit. The steps below are inspection and testing only. If you find damaged wiring, a dead receptacle, or a pump that will not run when it clearly has water in the pit, stop and call a licensed trade. Do not open the receptacle, run new wiring, or work inside your electrical panel.
Here is the annual check, in order.
Step 1: Confirm the pump has power and the cord is intact
Start with the simplest failure. Look at where the pump is plugged in and confirm the plug is fully seated. Trace the cord from the pump to the receptacle and look for cracking, chafing or any spot where the cord is pinched under the pit lid. If the pump is on a ground fault circuit interrupter receptacle, press the test and reset buttons so you know the receptacle is live, because a GFCI can trip quietly and leave the pump dead for weeks without anyone noticing. If the receptacle has no power, or the cord is damaged, call a licensed electrician rather than attempting a repair.
Step 2: Clear sediment and debris out of the pit
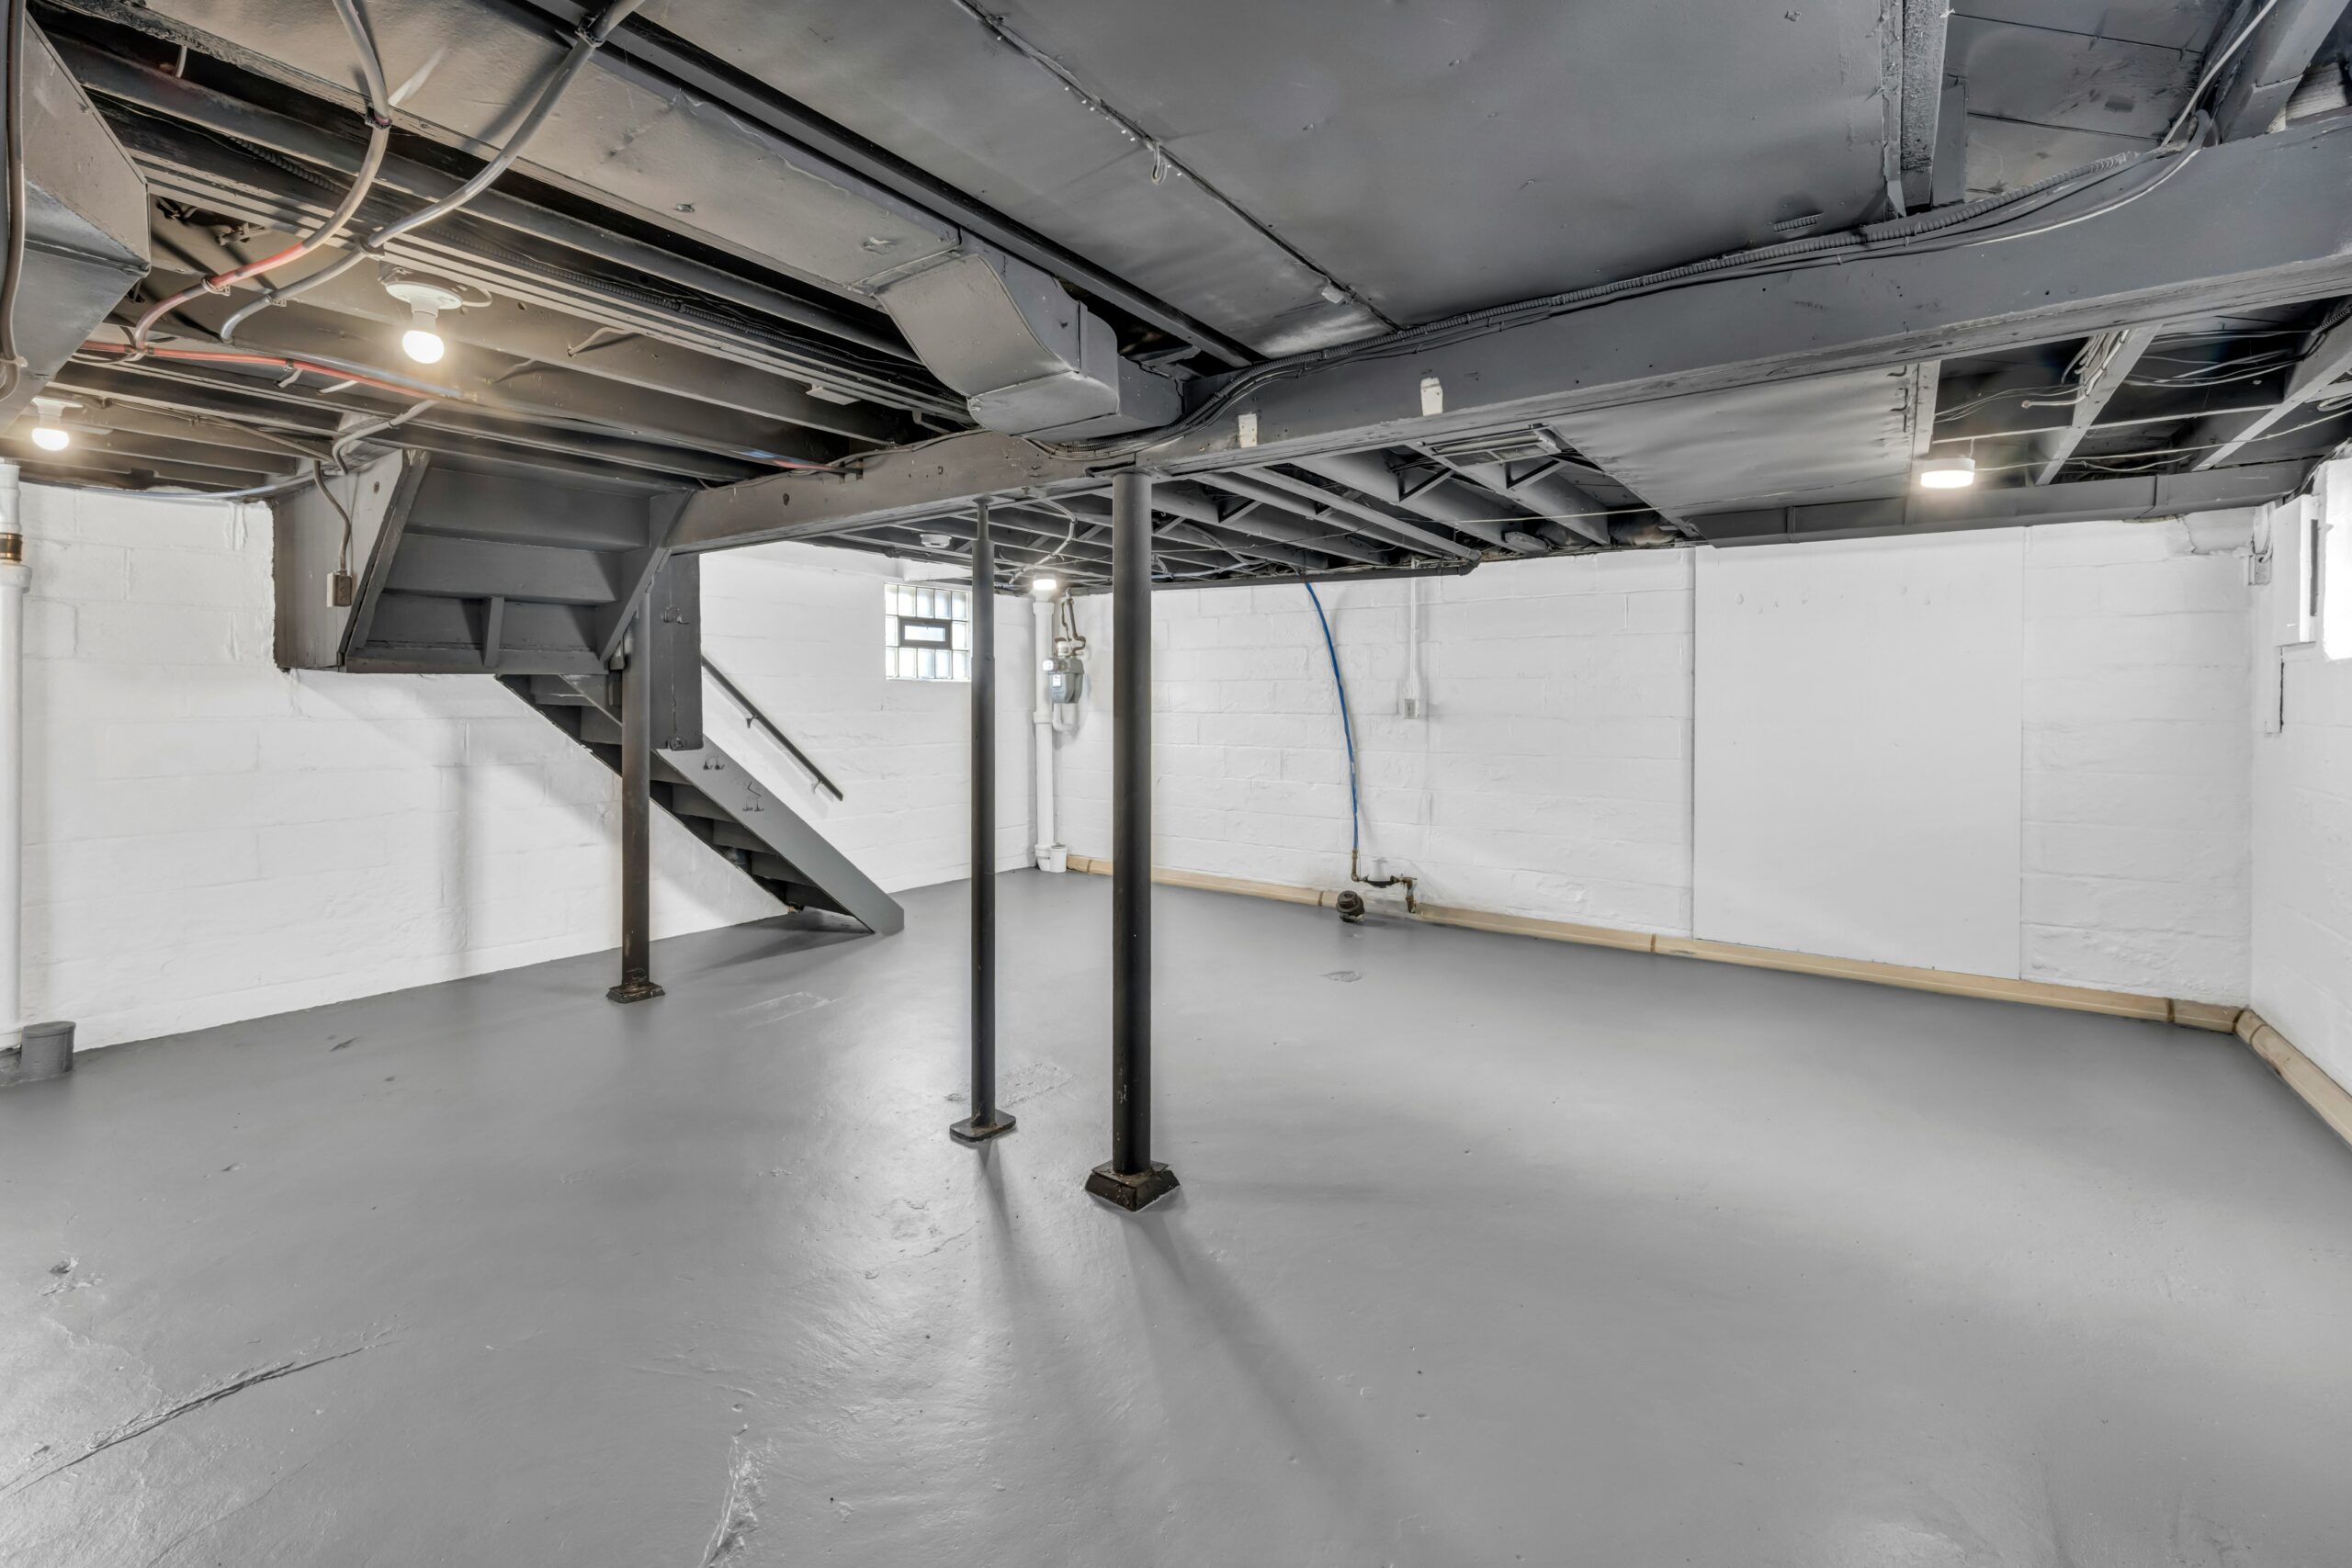
Unplug the pump, lift the lid and shine a light into the pit. Gravel, silt, mineral scale and the occasional dropped object collect at the bottom over a season. Scoop out solids by hand with gloves on, and use a wet/dry vacuum to lift the fine sediment. This matters for two reasons: debris can jam the float, and it can be drawn into the pump itself. Wipe down the basin, then replace the pit cover when you are finished. Regional Stormwater Management, an Ontario-based education body, advises keeping the pit covered where appropriate and keeping stored items well clear of it.
Step 3: Check that the float moves freely
The float is the part that tells the pump to turn on, and it is the most common point of failure. With the pump still unplugged, lift the float by hand through its full range and let it fall. It should move without catching on the power cord, the discharge pipe or the wall of the pit. If the cord is looped in a way that fouls the float, tidy it and secure it clear.
Step 4: Run a full water test
Plug the pump back in, then pour water slowly into the pit with a bucket until the level rises enough to trigger the float. The pump should start on its own, empty the pit and shut off. Watch and listen. If it drains noticeably slower than you remember, or the motor runs but water does not move, suspect a clog in the discharge line or a failing impeller. Short cycling, meaning the pump switching on and off rapidly, is also worth noting and mentioning to a plumber.
Step 5: Inspect the check valve and the interior discharge pipe
The check valve sits on the discharge pipe and stops water from running back down into the pit after it has been pumped out. It is visible on the section of pipe inside your home. Confirm it is in place, that the joints are tight, and that you can hear it seat with a soft click when the pump shuts off. Water audibly draining back into the pit after each cycle is a sign the valve is failing.
Step 6: Go outside and check where the water actually comes out
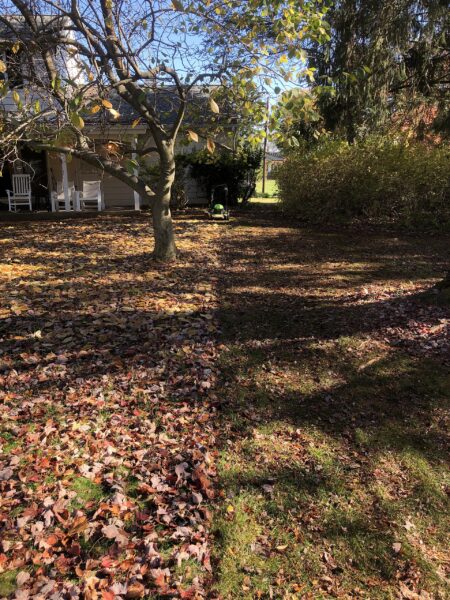
This is the step most people skip. Walk to the exterior end of the discharge pipe and confirm it is unobstructed, not crushed, and not buried under soil or garden debris. Federal guidance recommends the pipe discharge at least 1.5 metres, or five feet, away from your foundation where possible, ideally onto a lawn or garden with good drainage. Check that the water is not running back toward your foundation or toward a neighbour’s house.
Step 7: Test the backup pump and its power source
A backup pump matters because sump pumps depend on electricity and storms cause outages. If you have a battery or generator backup, test it separately, by unplugging the backup from its primary power source to confirm it runs. Follow the manufacturer’s instructions for your specific model, since configurations differ. If you have a water alarm or a monitored sensor, test that on its own as well, since a working pump and a working alarm are two different things.
Step 8: Plan for the discharge line freezing
In cold parts of the country, a flexible extension hose lying flat on the ground will hold standing water that freezes into a solid plug. Restoration firms operating in Canada, including PuroClean, note that many homeowners simply disconnect the extension for the winter and reattach it in spring, since the pump runs rarely in deep winter. If you keep an extension on year-round, it needs a continuous downward slope, and a buried line needs to sit below the frost line. If a line does freeze, do not use a torch on it.
Step 9: Note the pump’s age and log the test
Write the date of the test somewhere you will find it again, along with the pump’s make and model. Federal guidance says sump pumps should generally be replaced about every 10 years, though you should check your manufacturer’s specific recommendation. Knowing the install date turns a vague worry into a scheduled replacement.
Beyond the annual test, check the pump during and after heavy rainfall, during rapid snowmelt or ice melt, and during a power outage, to confirm the pit is actually being emptied. If you are not able to do this work yourself, the federal guidance suggests asking a professional, a neighbour or a family member for help rather than skipping it. The 20 minutes is cheap insurance against a flooded basement.
Sources: Government of Canada, “Sump pumps”; Regional Stormwater Management, “Sump Pump Systems for Ontario Homes”; PuroClean Canada, “Tips to Keep a Sump Pump Discharge Line from Freezing”.
Follow Canada News Media
Get the day's top Canadian stories and our two daily 60-second news videos wherever you scroll.
X Threads Facebook Instagram LinkedIn TikTok YouTube Pinterest Reddit Substack Flipboard Newsletter RSS