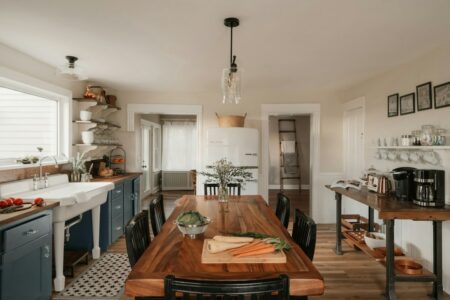





Crown molding corners are one of the fastest-growing home decor searches on Pinterest in Canada, up 2,500 per cent month over month, and the corner is where a DIY job looks either professional or sloppy. This guide shows 15 corner and trim ideas, from a simple stepped profile to full panel molding, and explains how to cut the joints with tools sold across Canada.
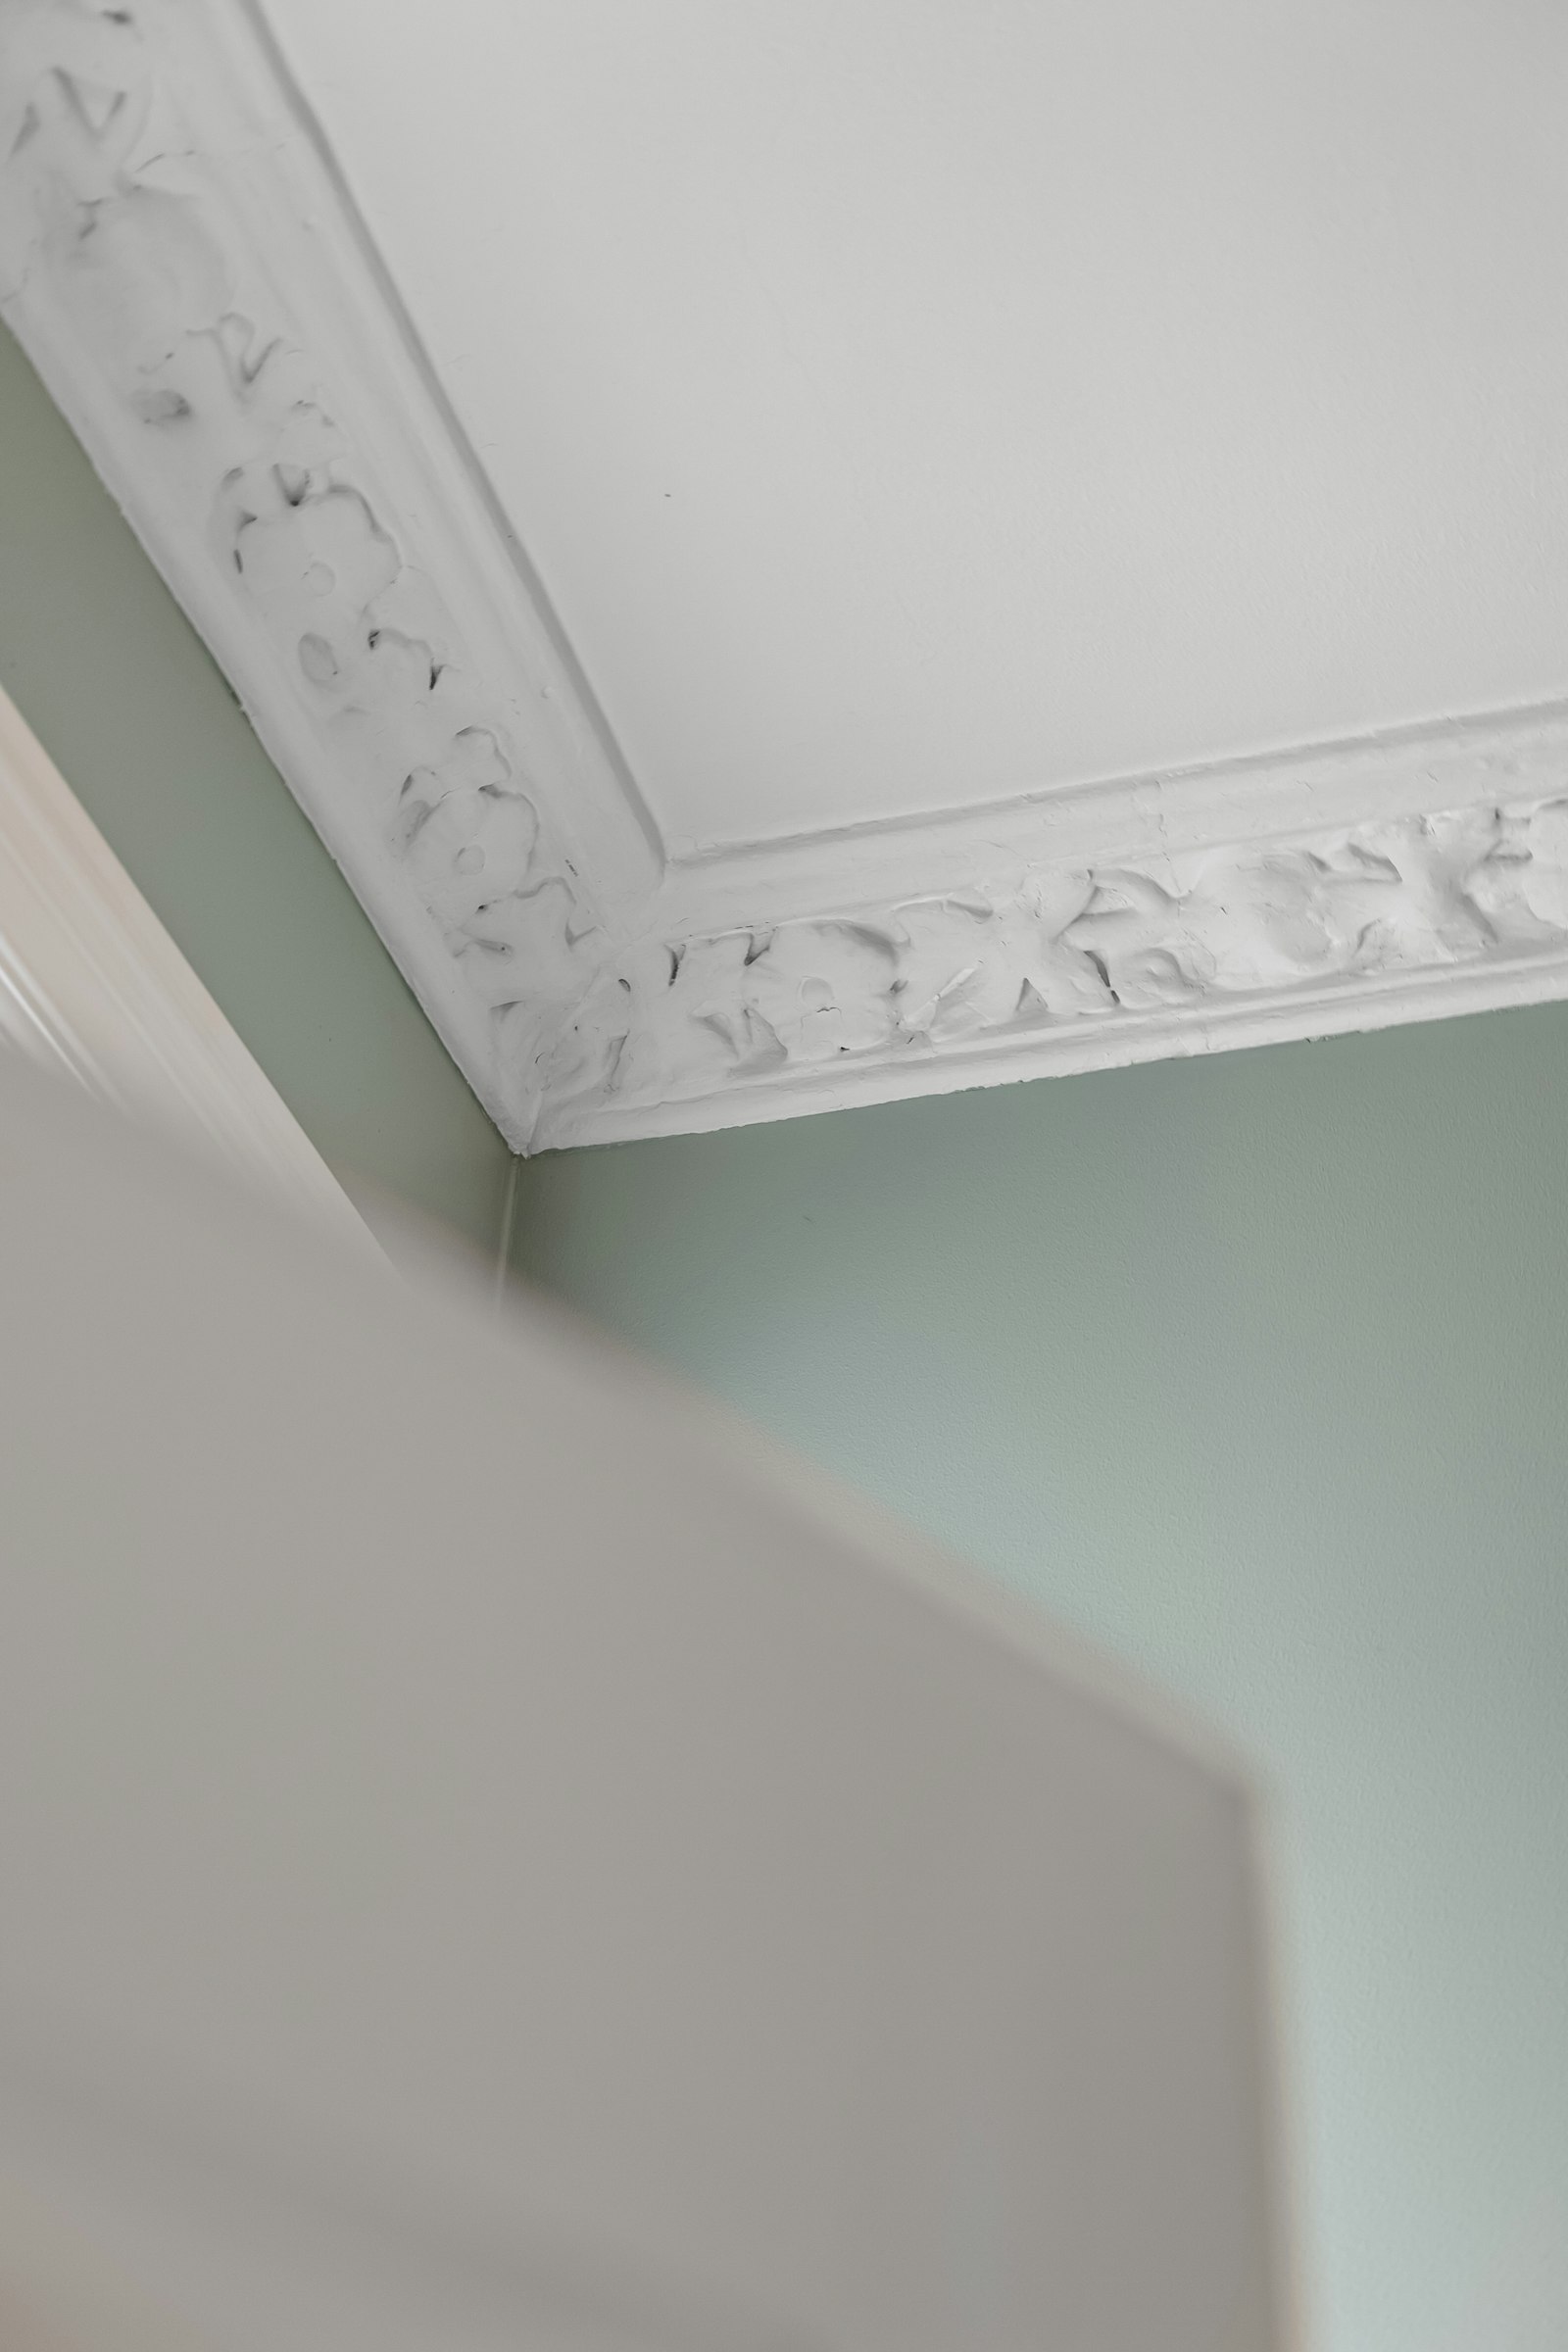
Crown molding corners: 15 ideas to copy
Each idea below comes with a photo of the finished look. Pick the profile that suits the age and style of your home, then follow the cutting tips after the list.
1. Simple stepped profile. A plain crown with two or three shallow steps is the easiest first project. It looks clean in a modern room, and a small error at the corner shows less than it would on a deeply carved profile.
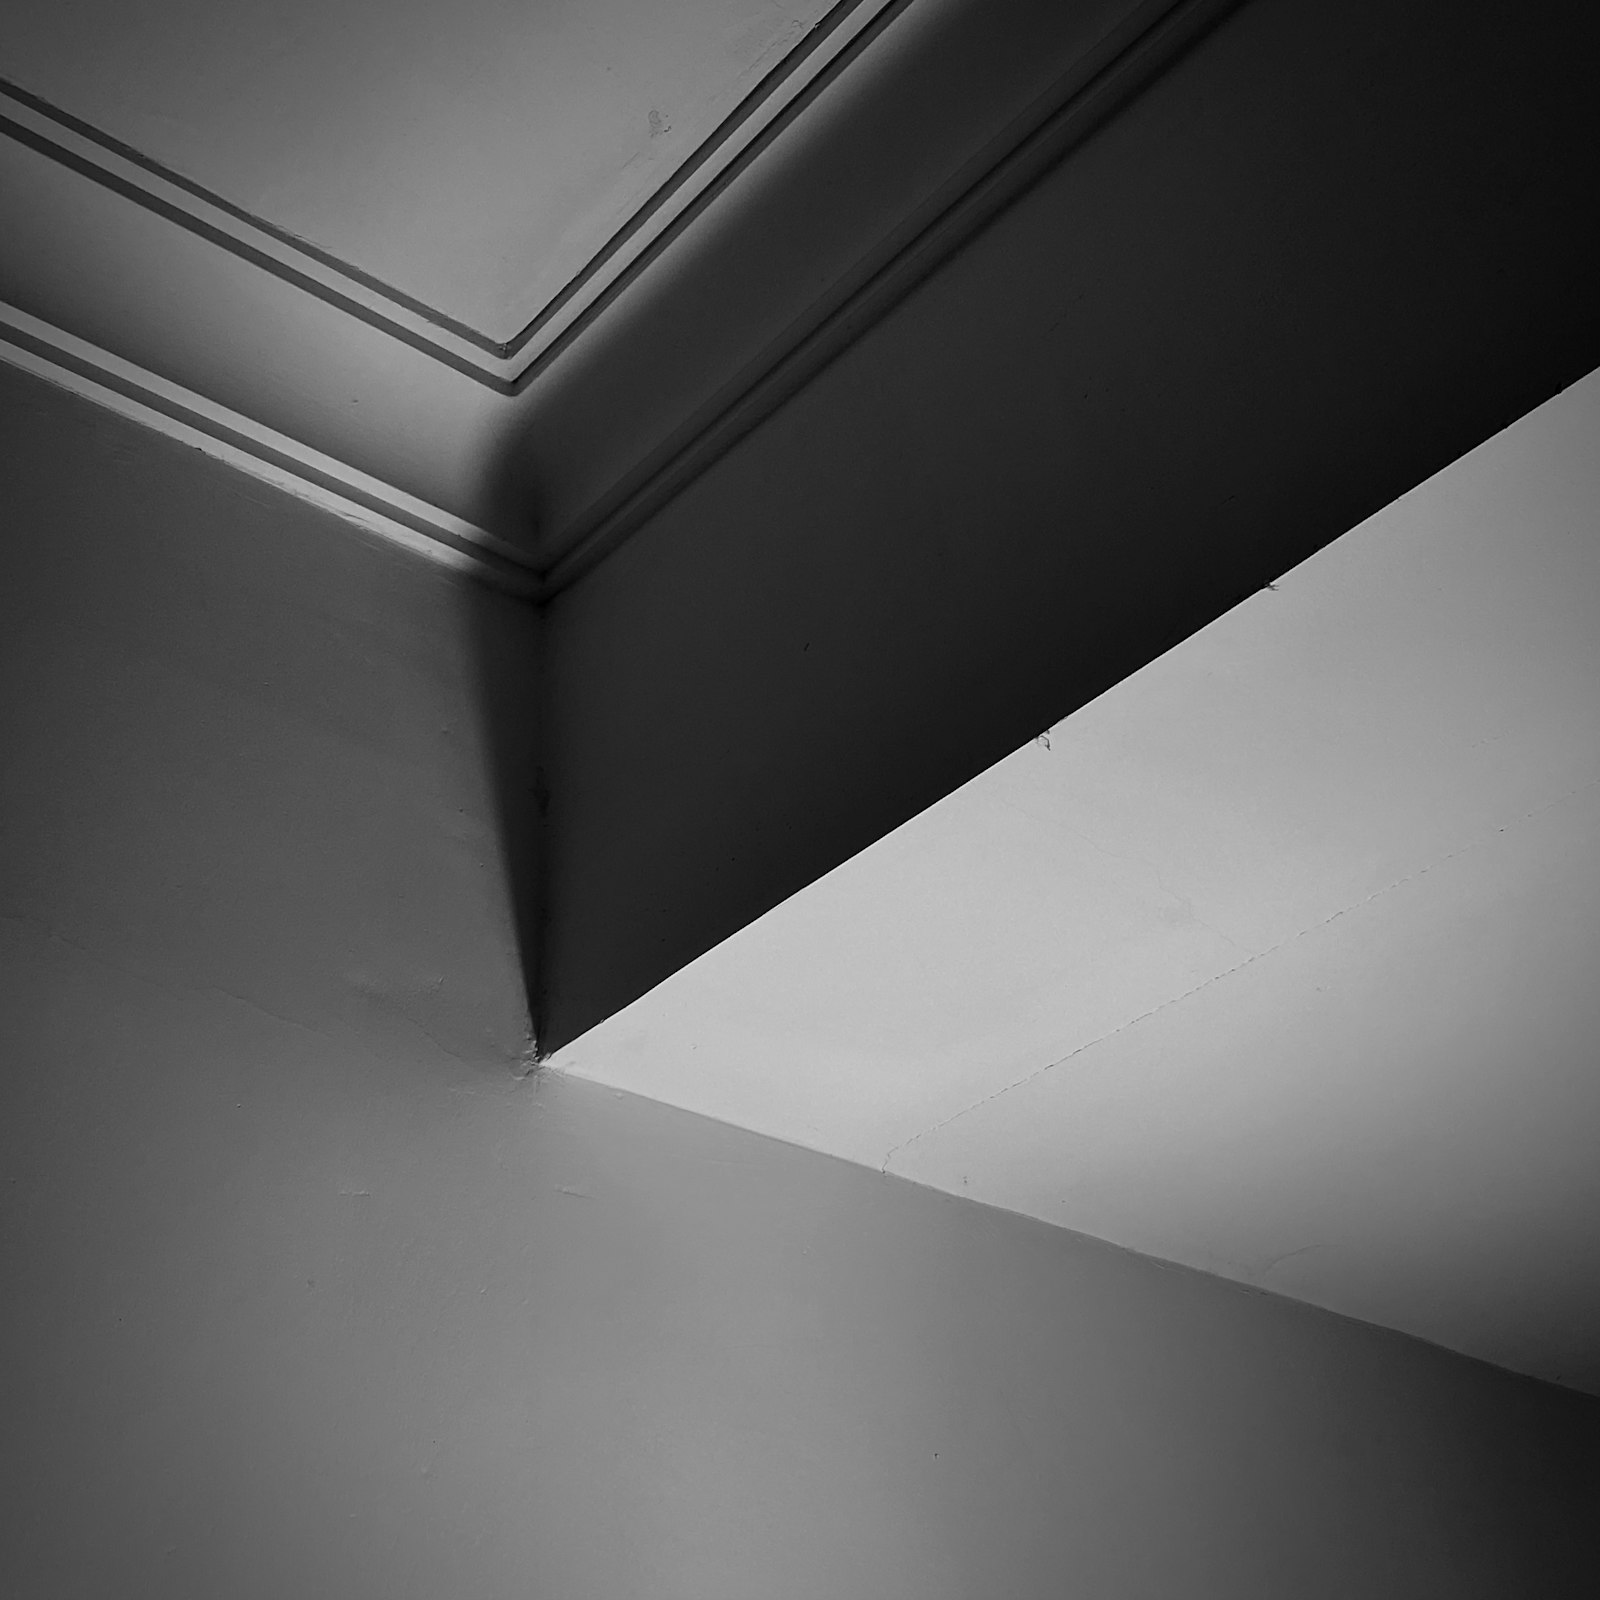
2. Layered crown. Stack a thin cove or flat strip under the main crown to build a heavier look without buying expensive molding. Paint the whole stack one colour so the layers read as a single piece.
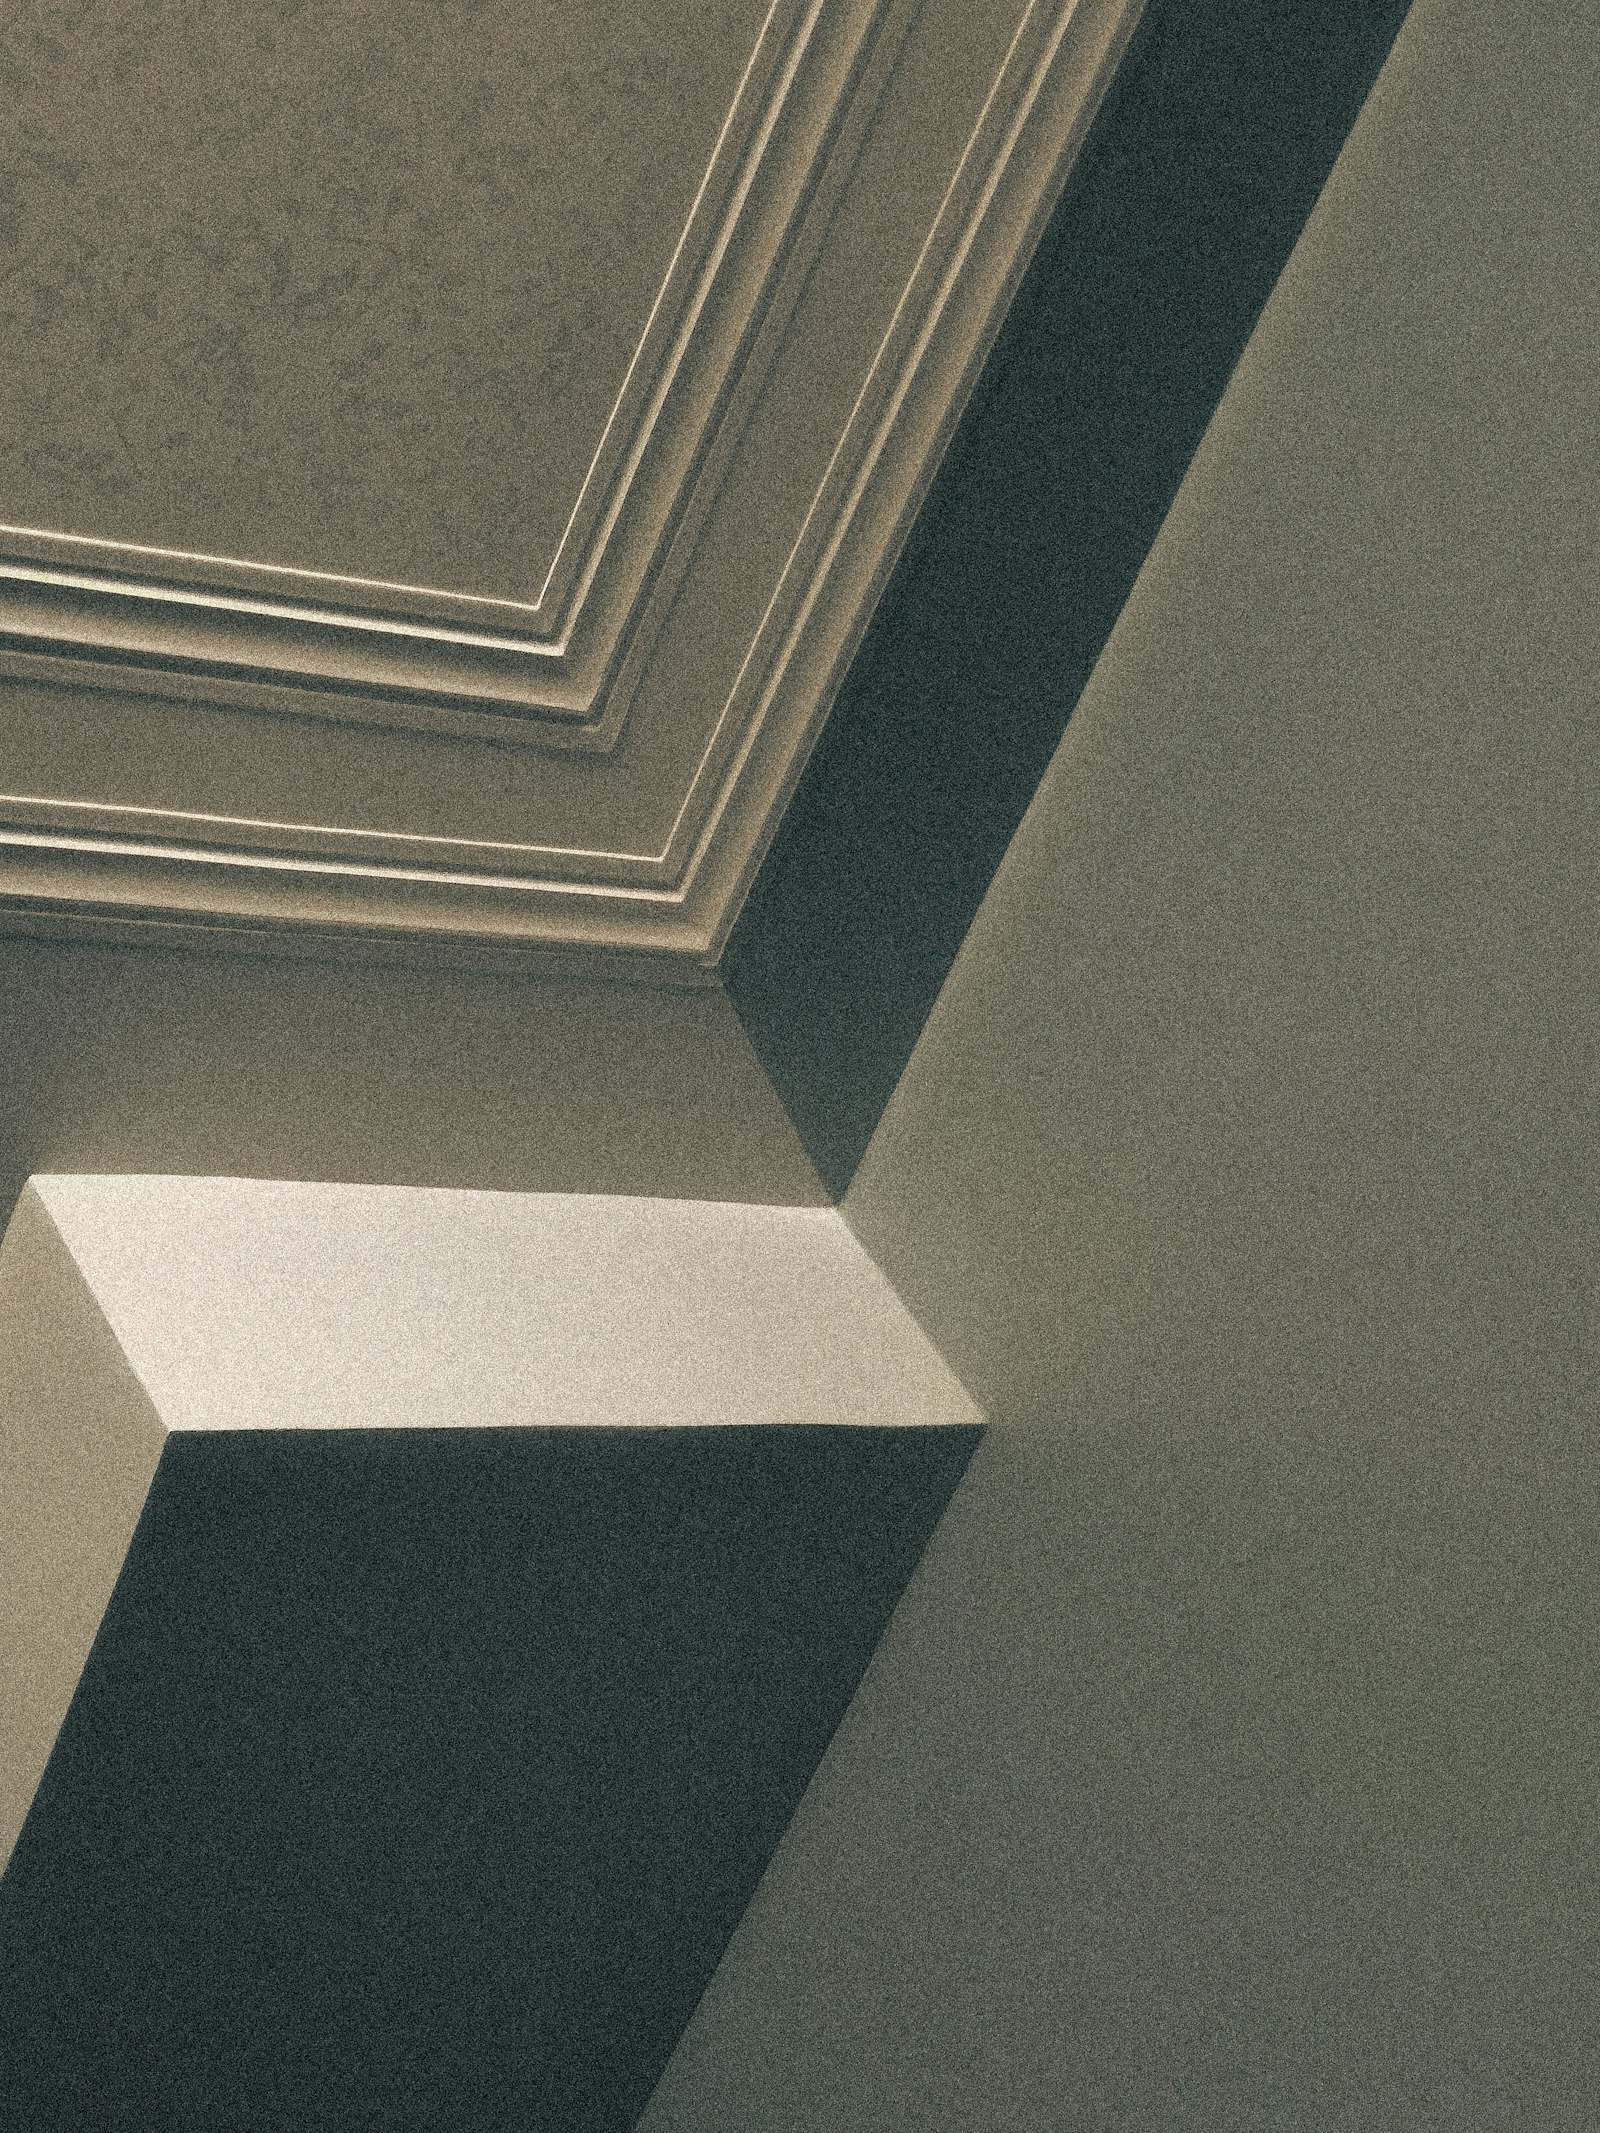
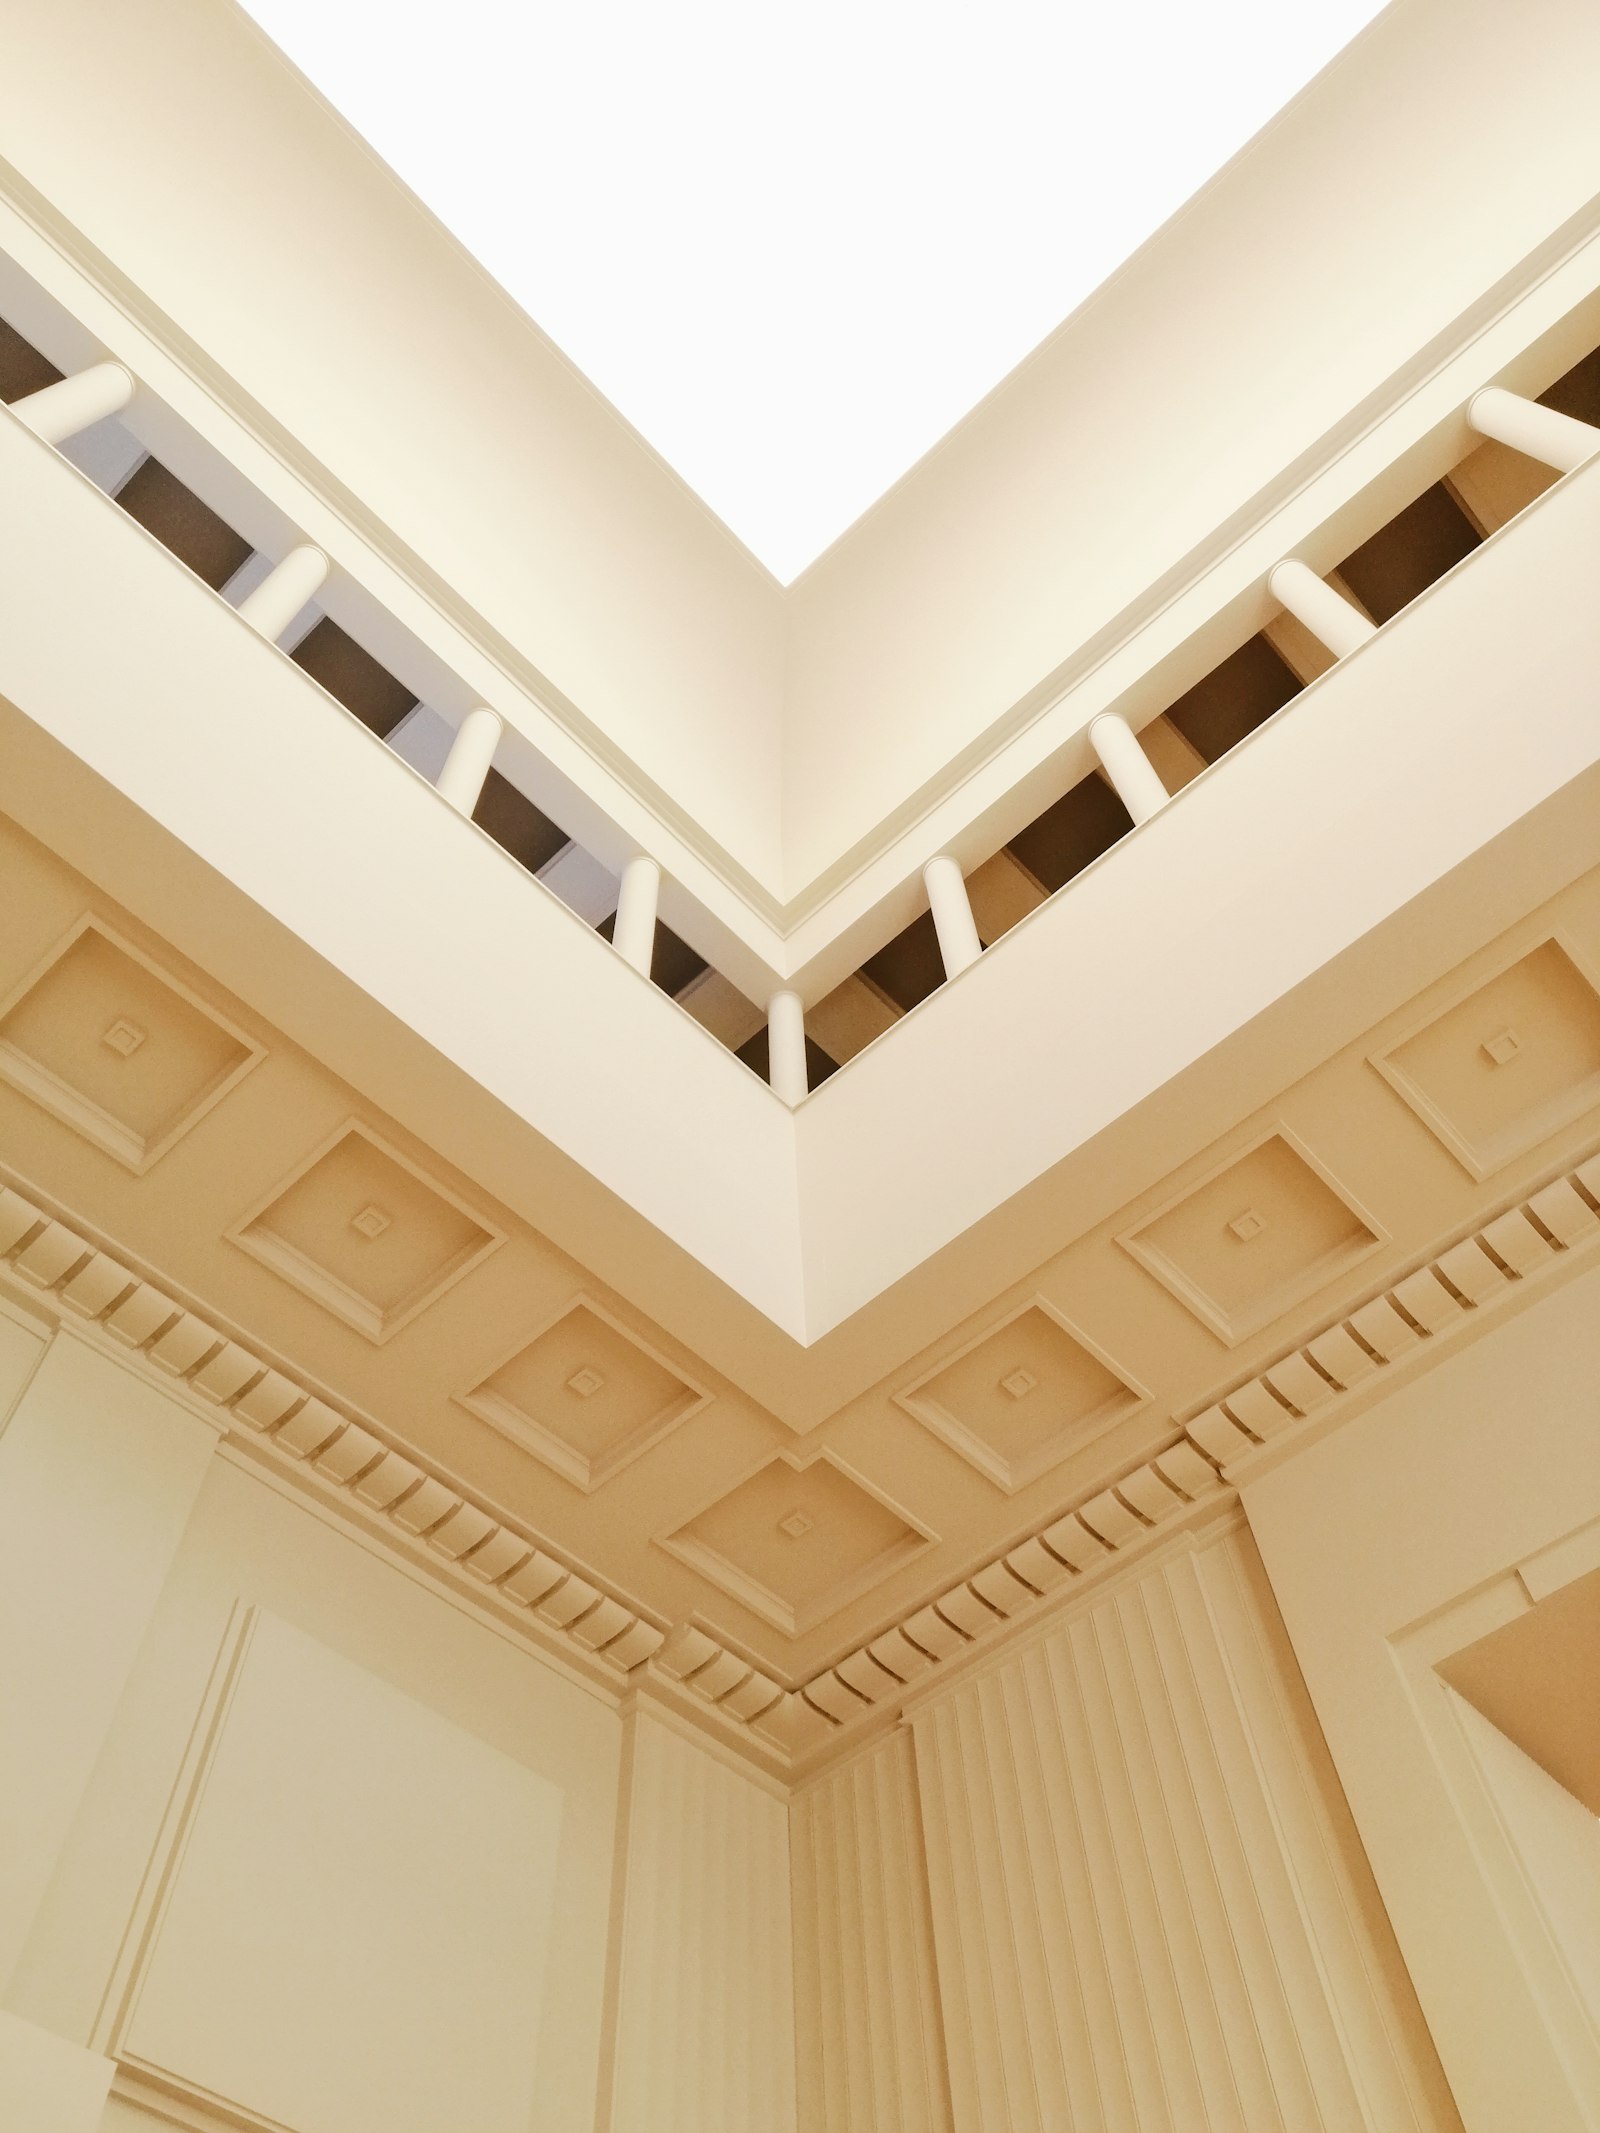
3. Coffered ceiling with dentils. Dentil molding, the row of small blocks along the lower edge, suits formal dining rooms and entryways. It takes patience because every block has to line up at each corner.
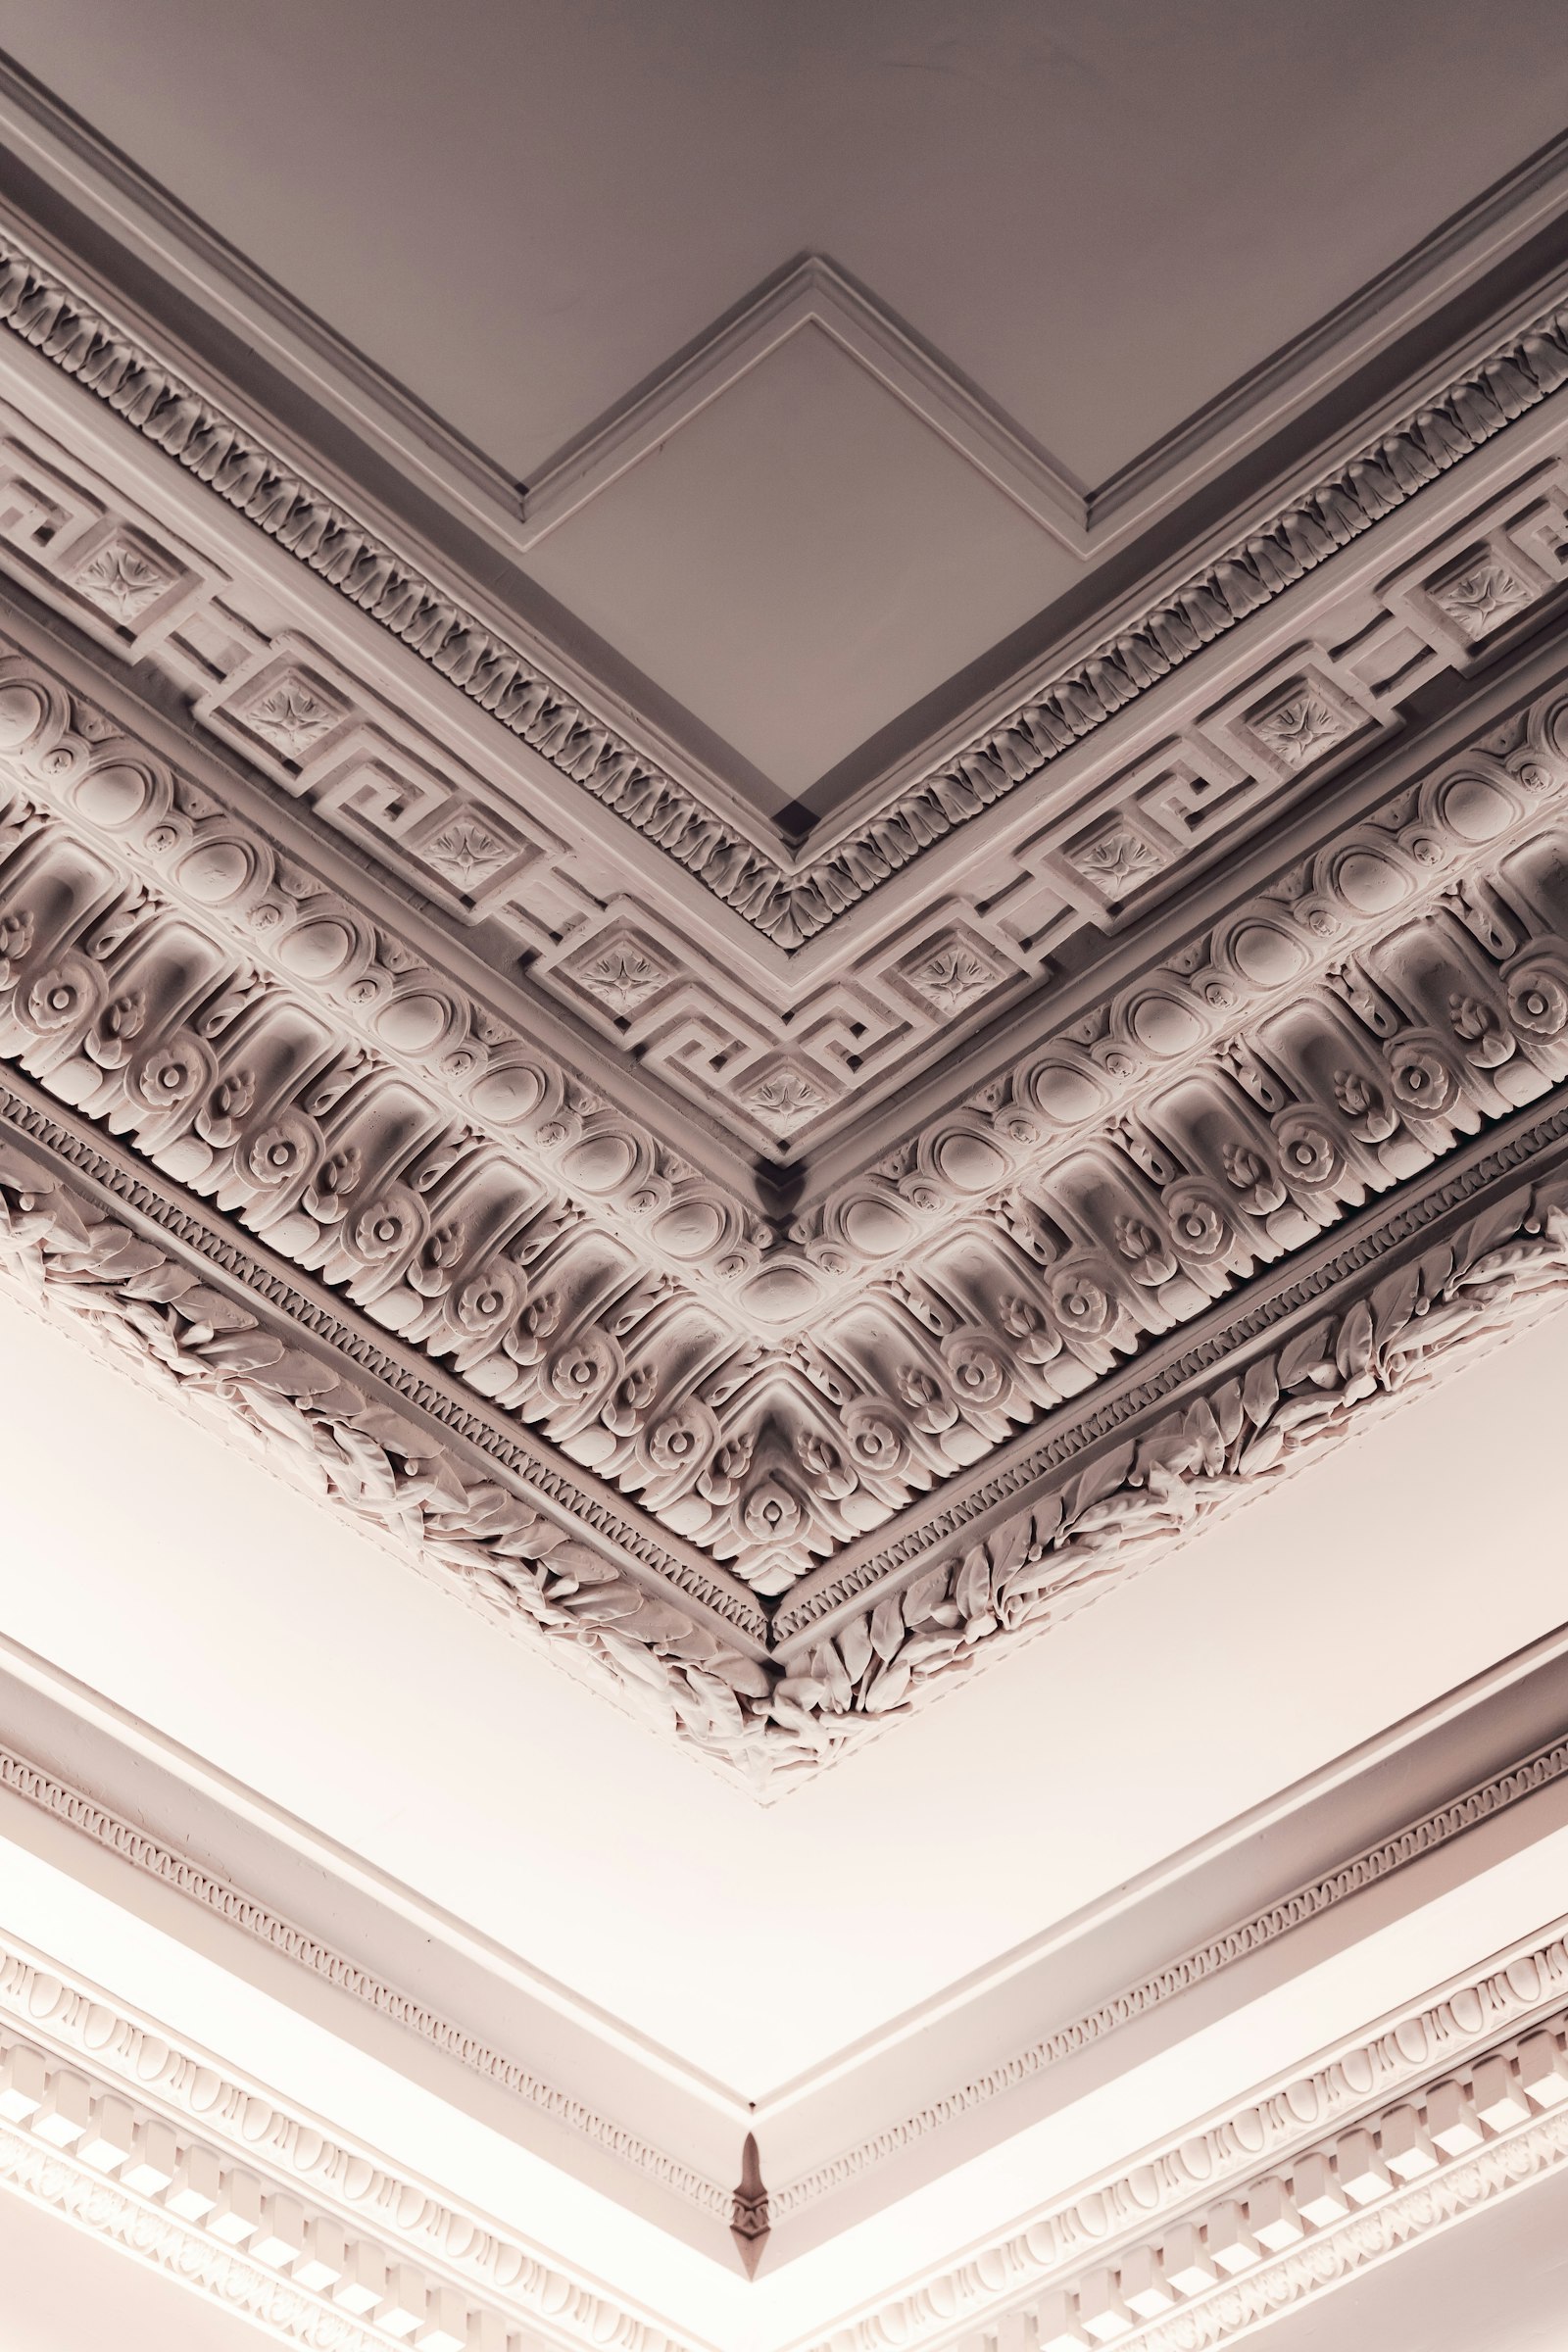
4. Ornate plaster around a column. Many older Canadian homes have plaster details like this. Repair and repaint them where you can, and match a missing section with a reproduction piece from a plaster or millwork supplier.

5. Egg-and-dart. This classic carved pattern alternates ovals and darts and suits traditional rooms. Polyurethane and resin versions are lighter and easier to cut than plaster, and they take paint well.
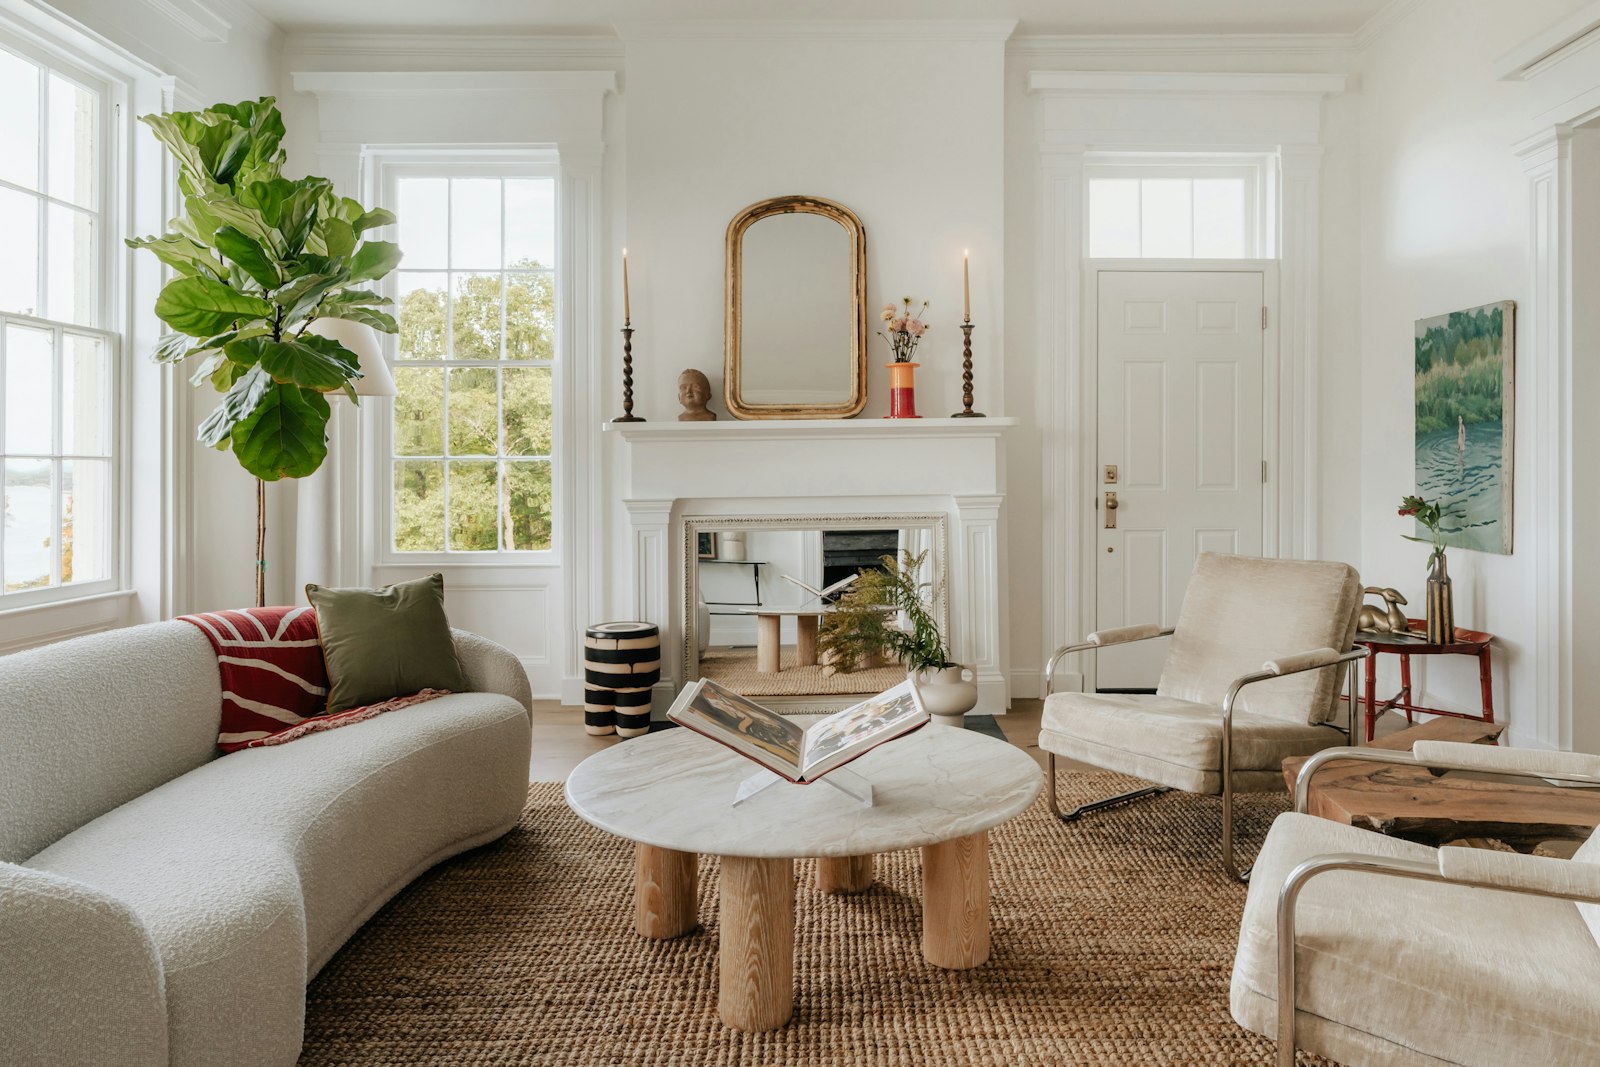
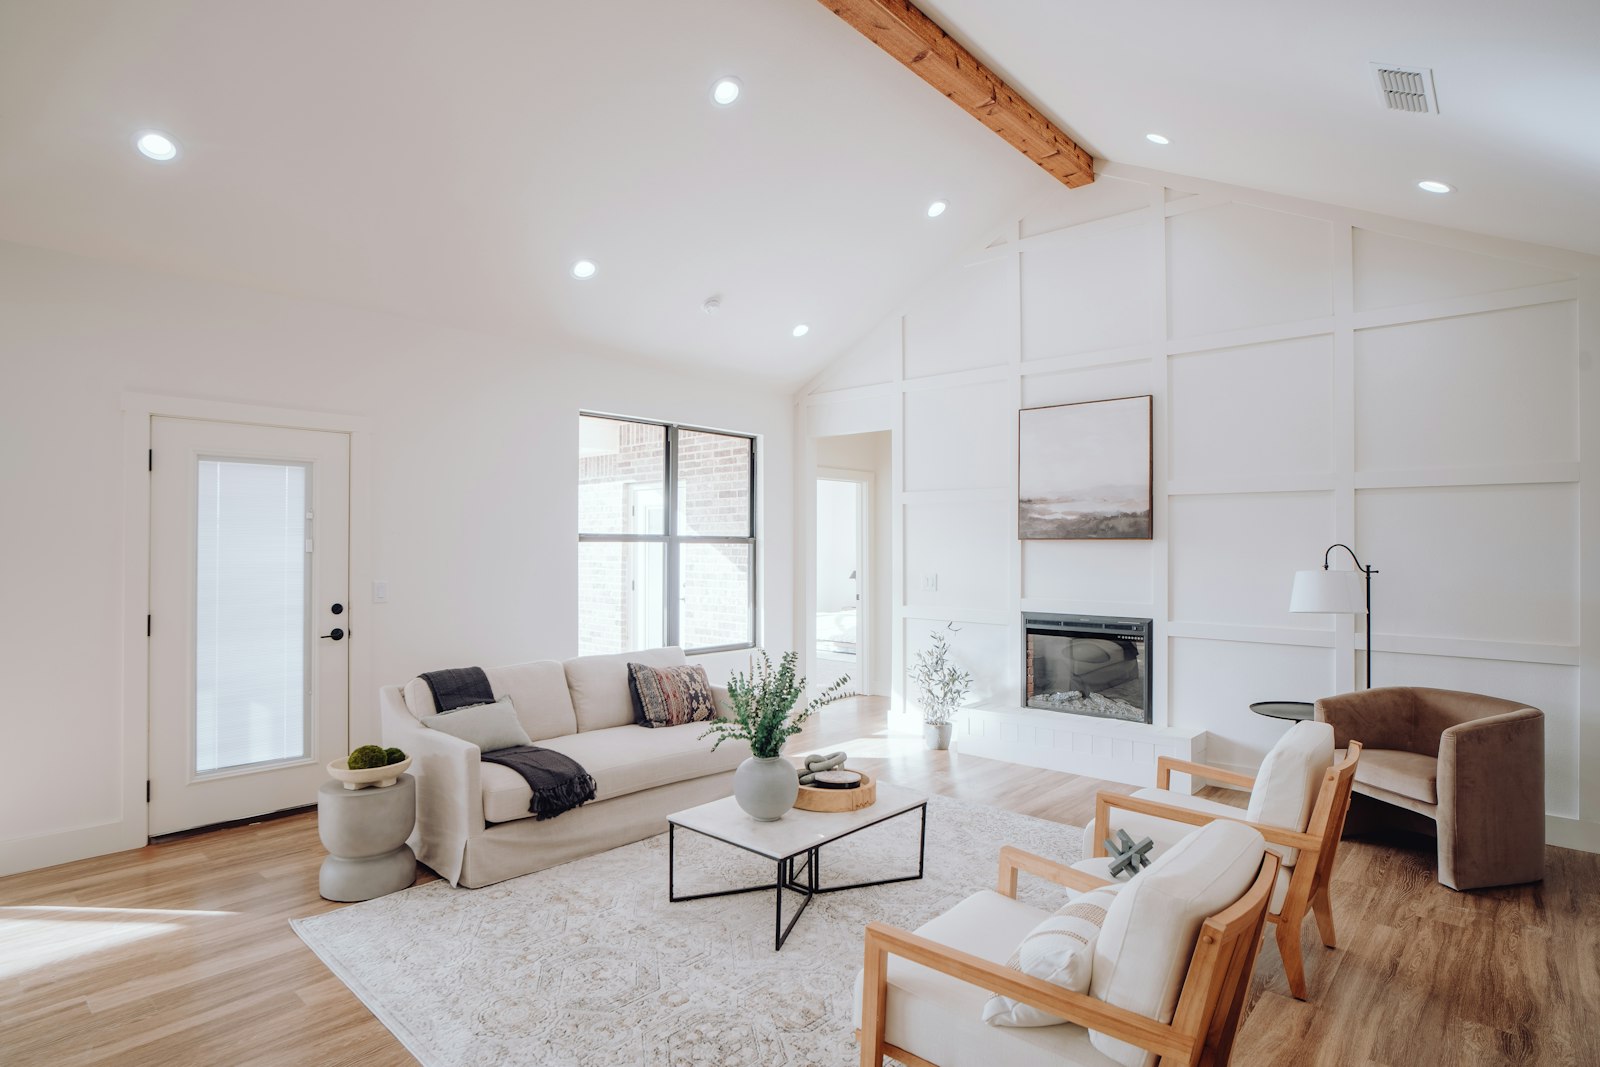
6. White trim in a living room. White crown, window casings and a mantel in the same shade give a room a calm, finished frame. Choose one white for all the trim rather than several close shades.
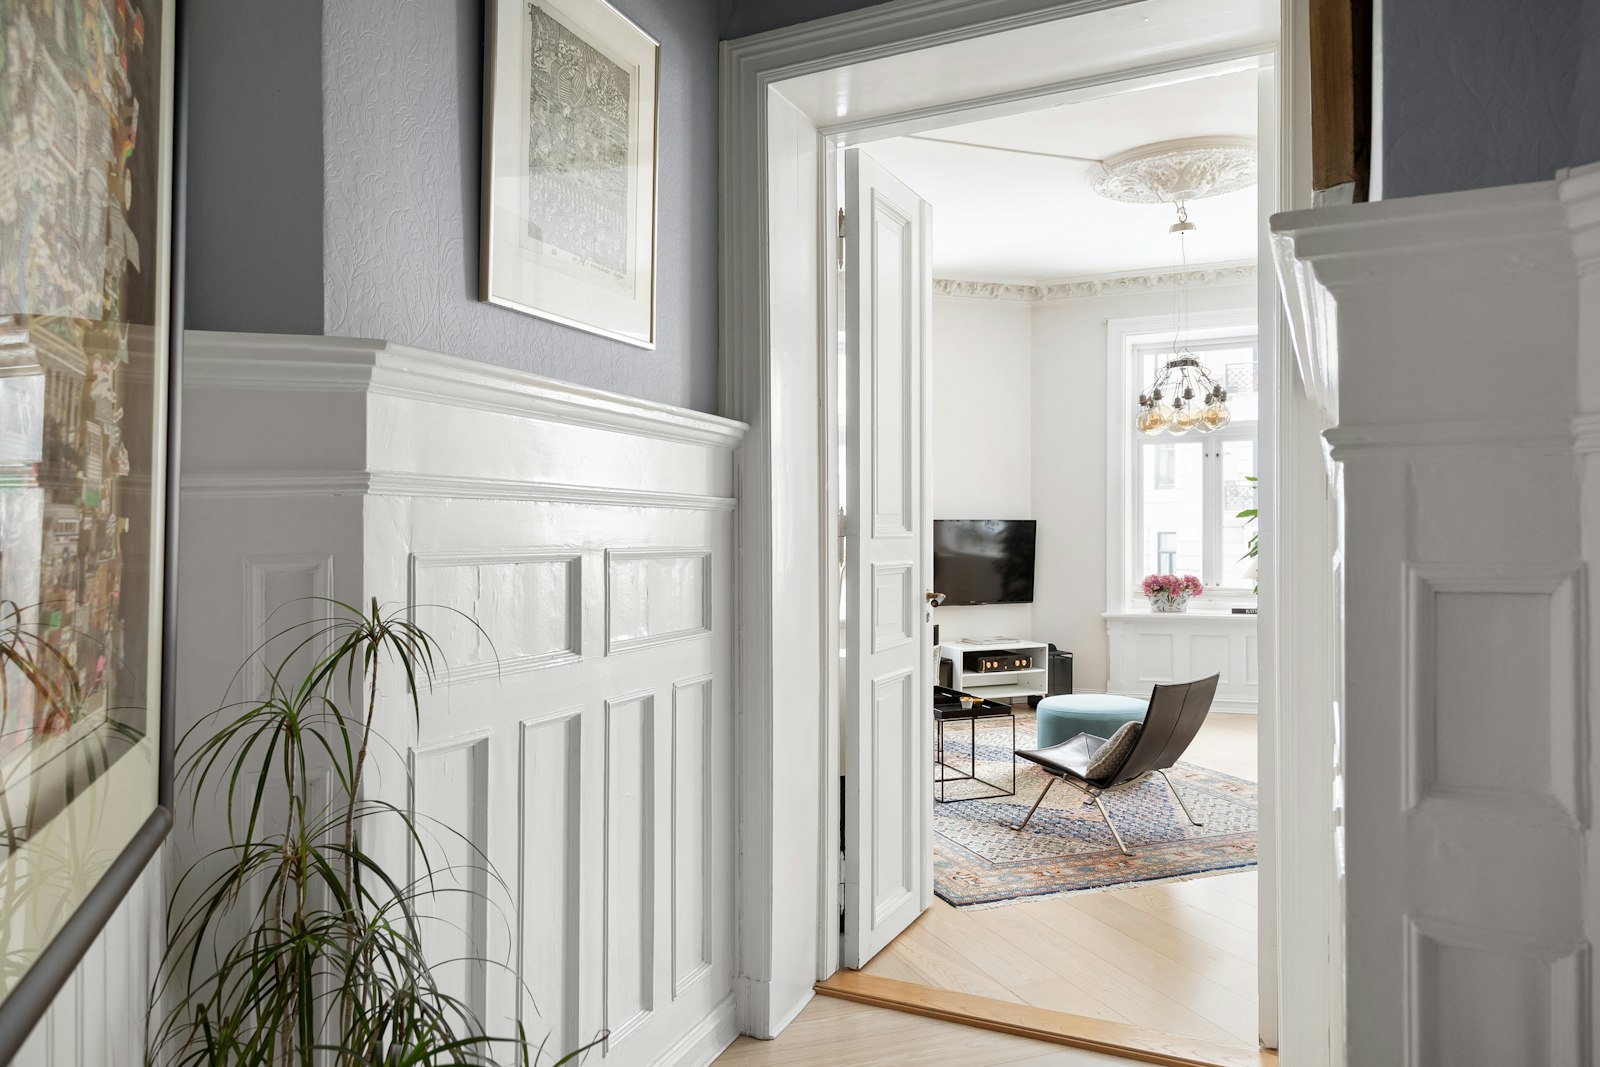
7. Chair rail and baseboard. These two lines of trim frame the bottom and middle of the wall and pair well with crown molding at the top. A chair rail usually sits roughly 80 to 90 centimetres above the floor.

8. Hallway wainscoting. Panelling that stops at chair-rail height protects hallway walls from bags, boots and winter wear. Paint it a colour or two lighter or darker than the wall above for contrast.
9. Raised panel molding. Shaped corners on a raised panel feel formal and traditional. These pieces are cut from thicker stock or bought as kits, so measure twice before you cut.
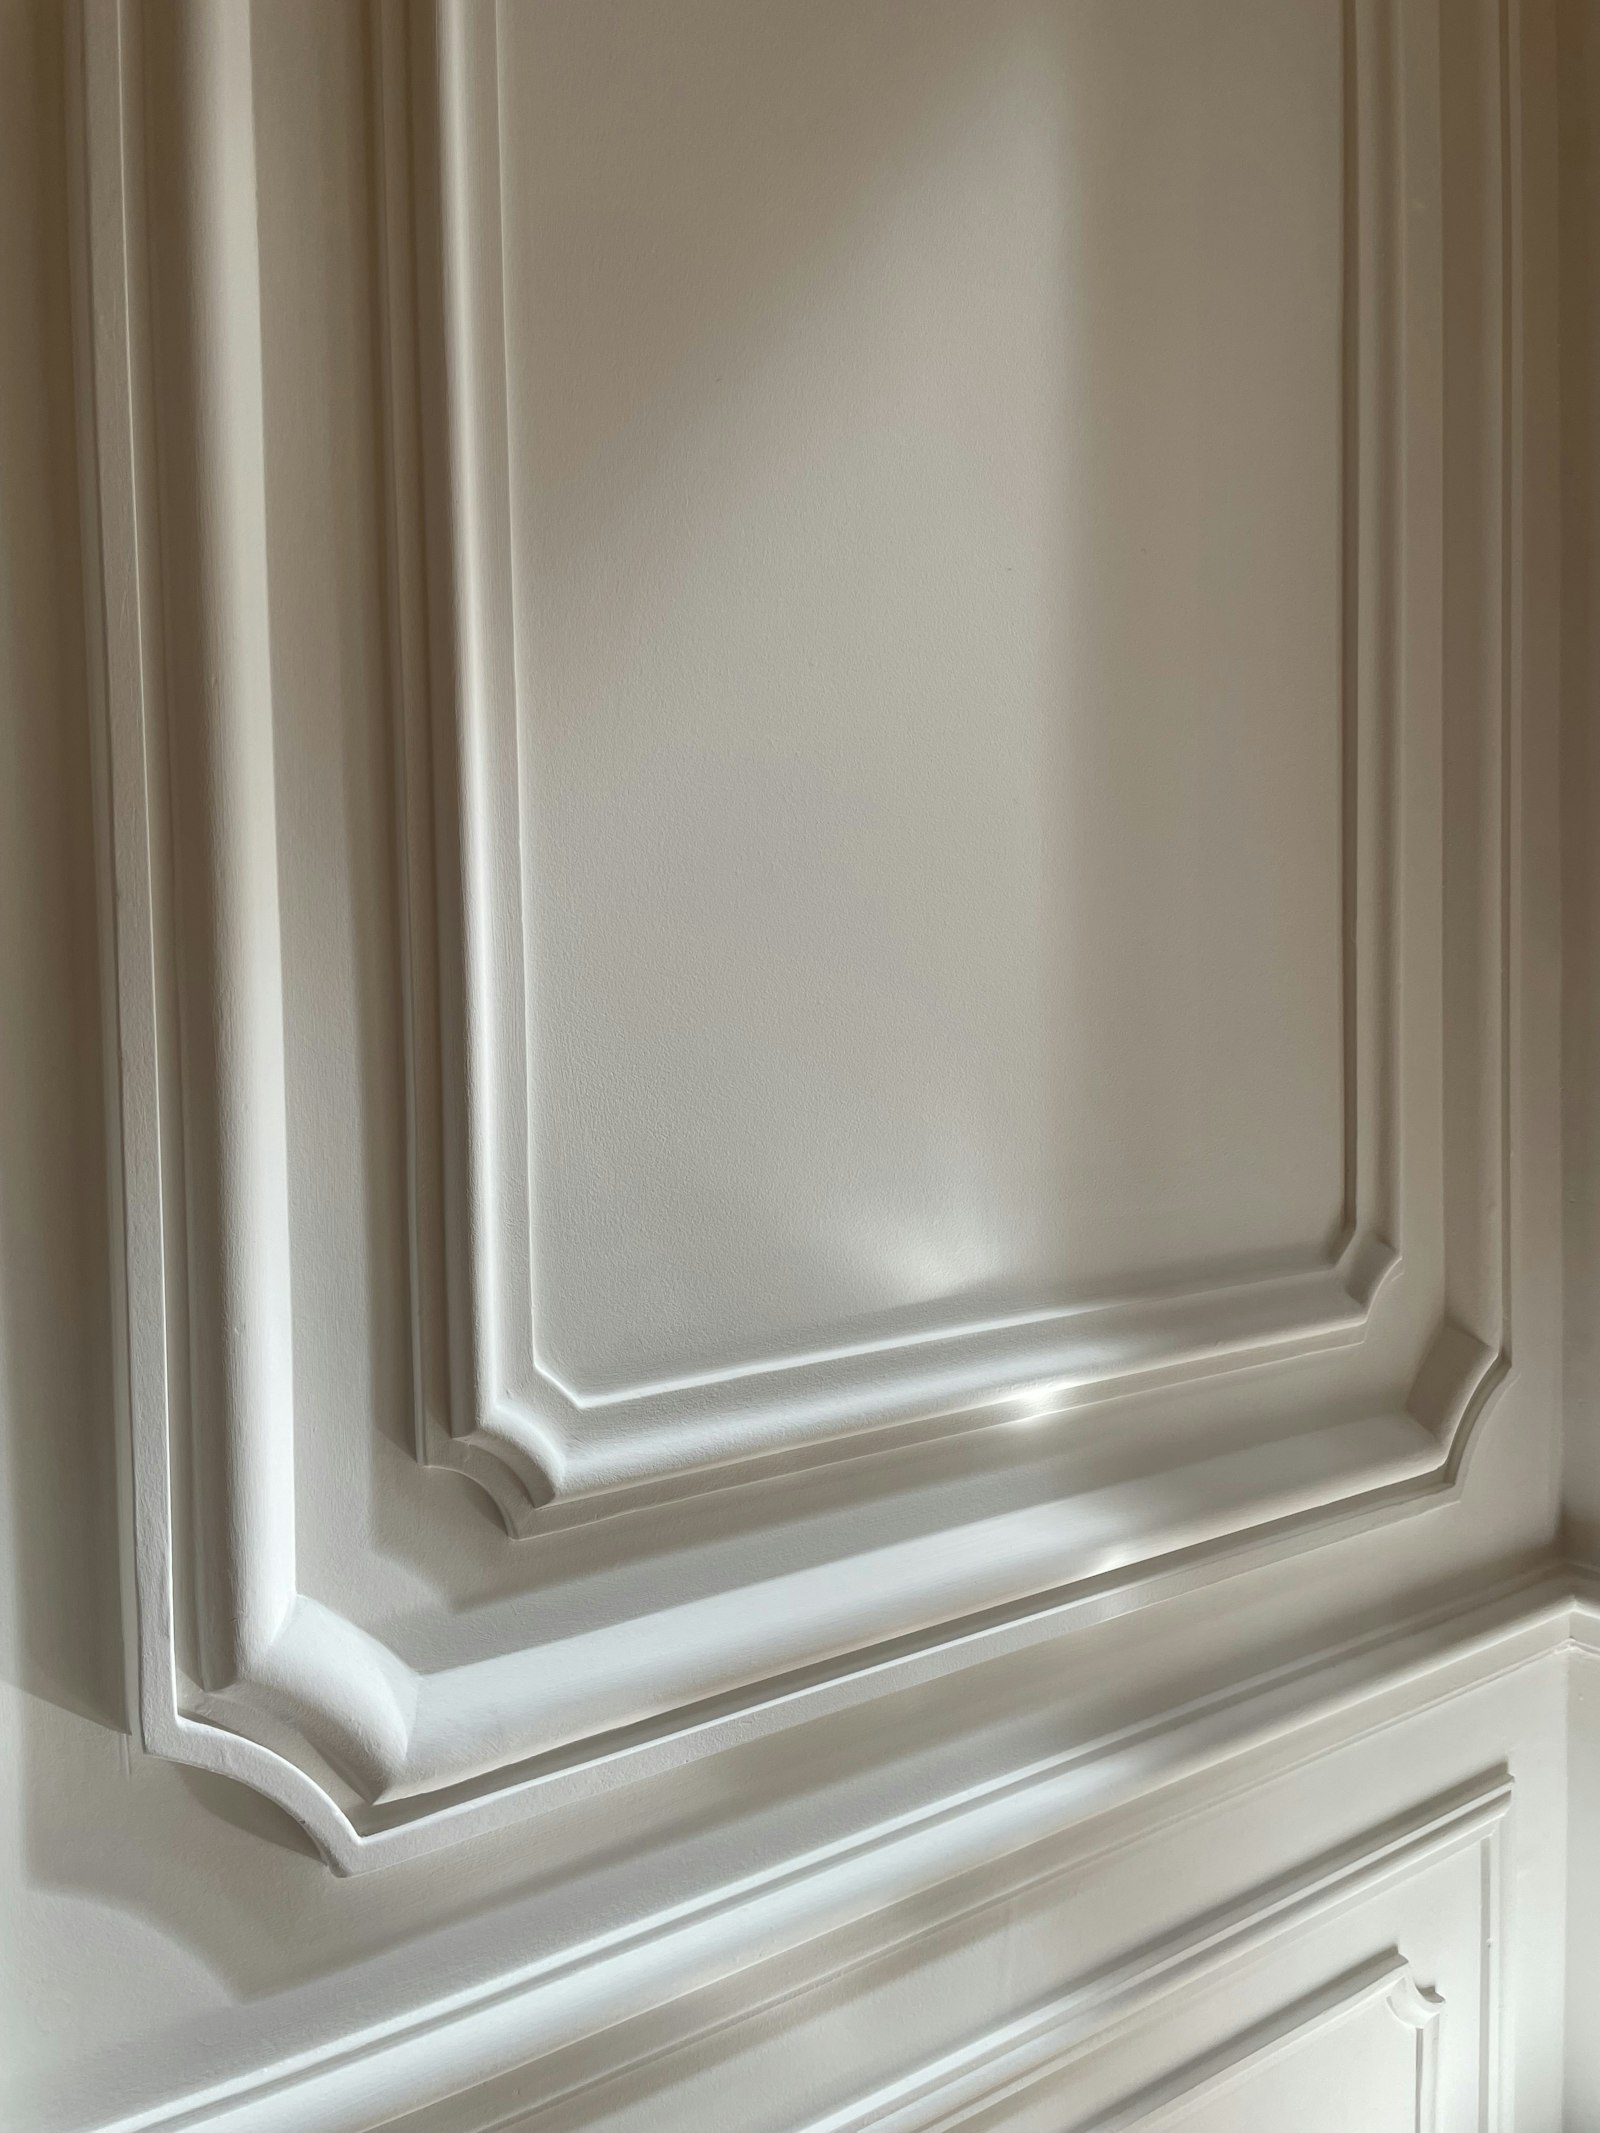
10. Picture frame panels. Thin rectangles of molding fixed flat to the wall create a frame effect for far less than full wainscoting. The corners of each rectangle are mitred at 45 degrees, and painting the wall and molding one colour keeps the look subtle.
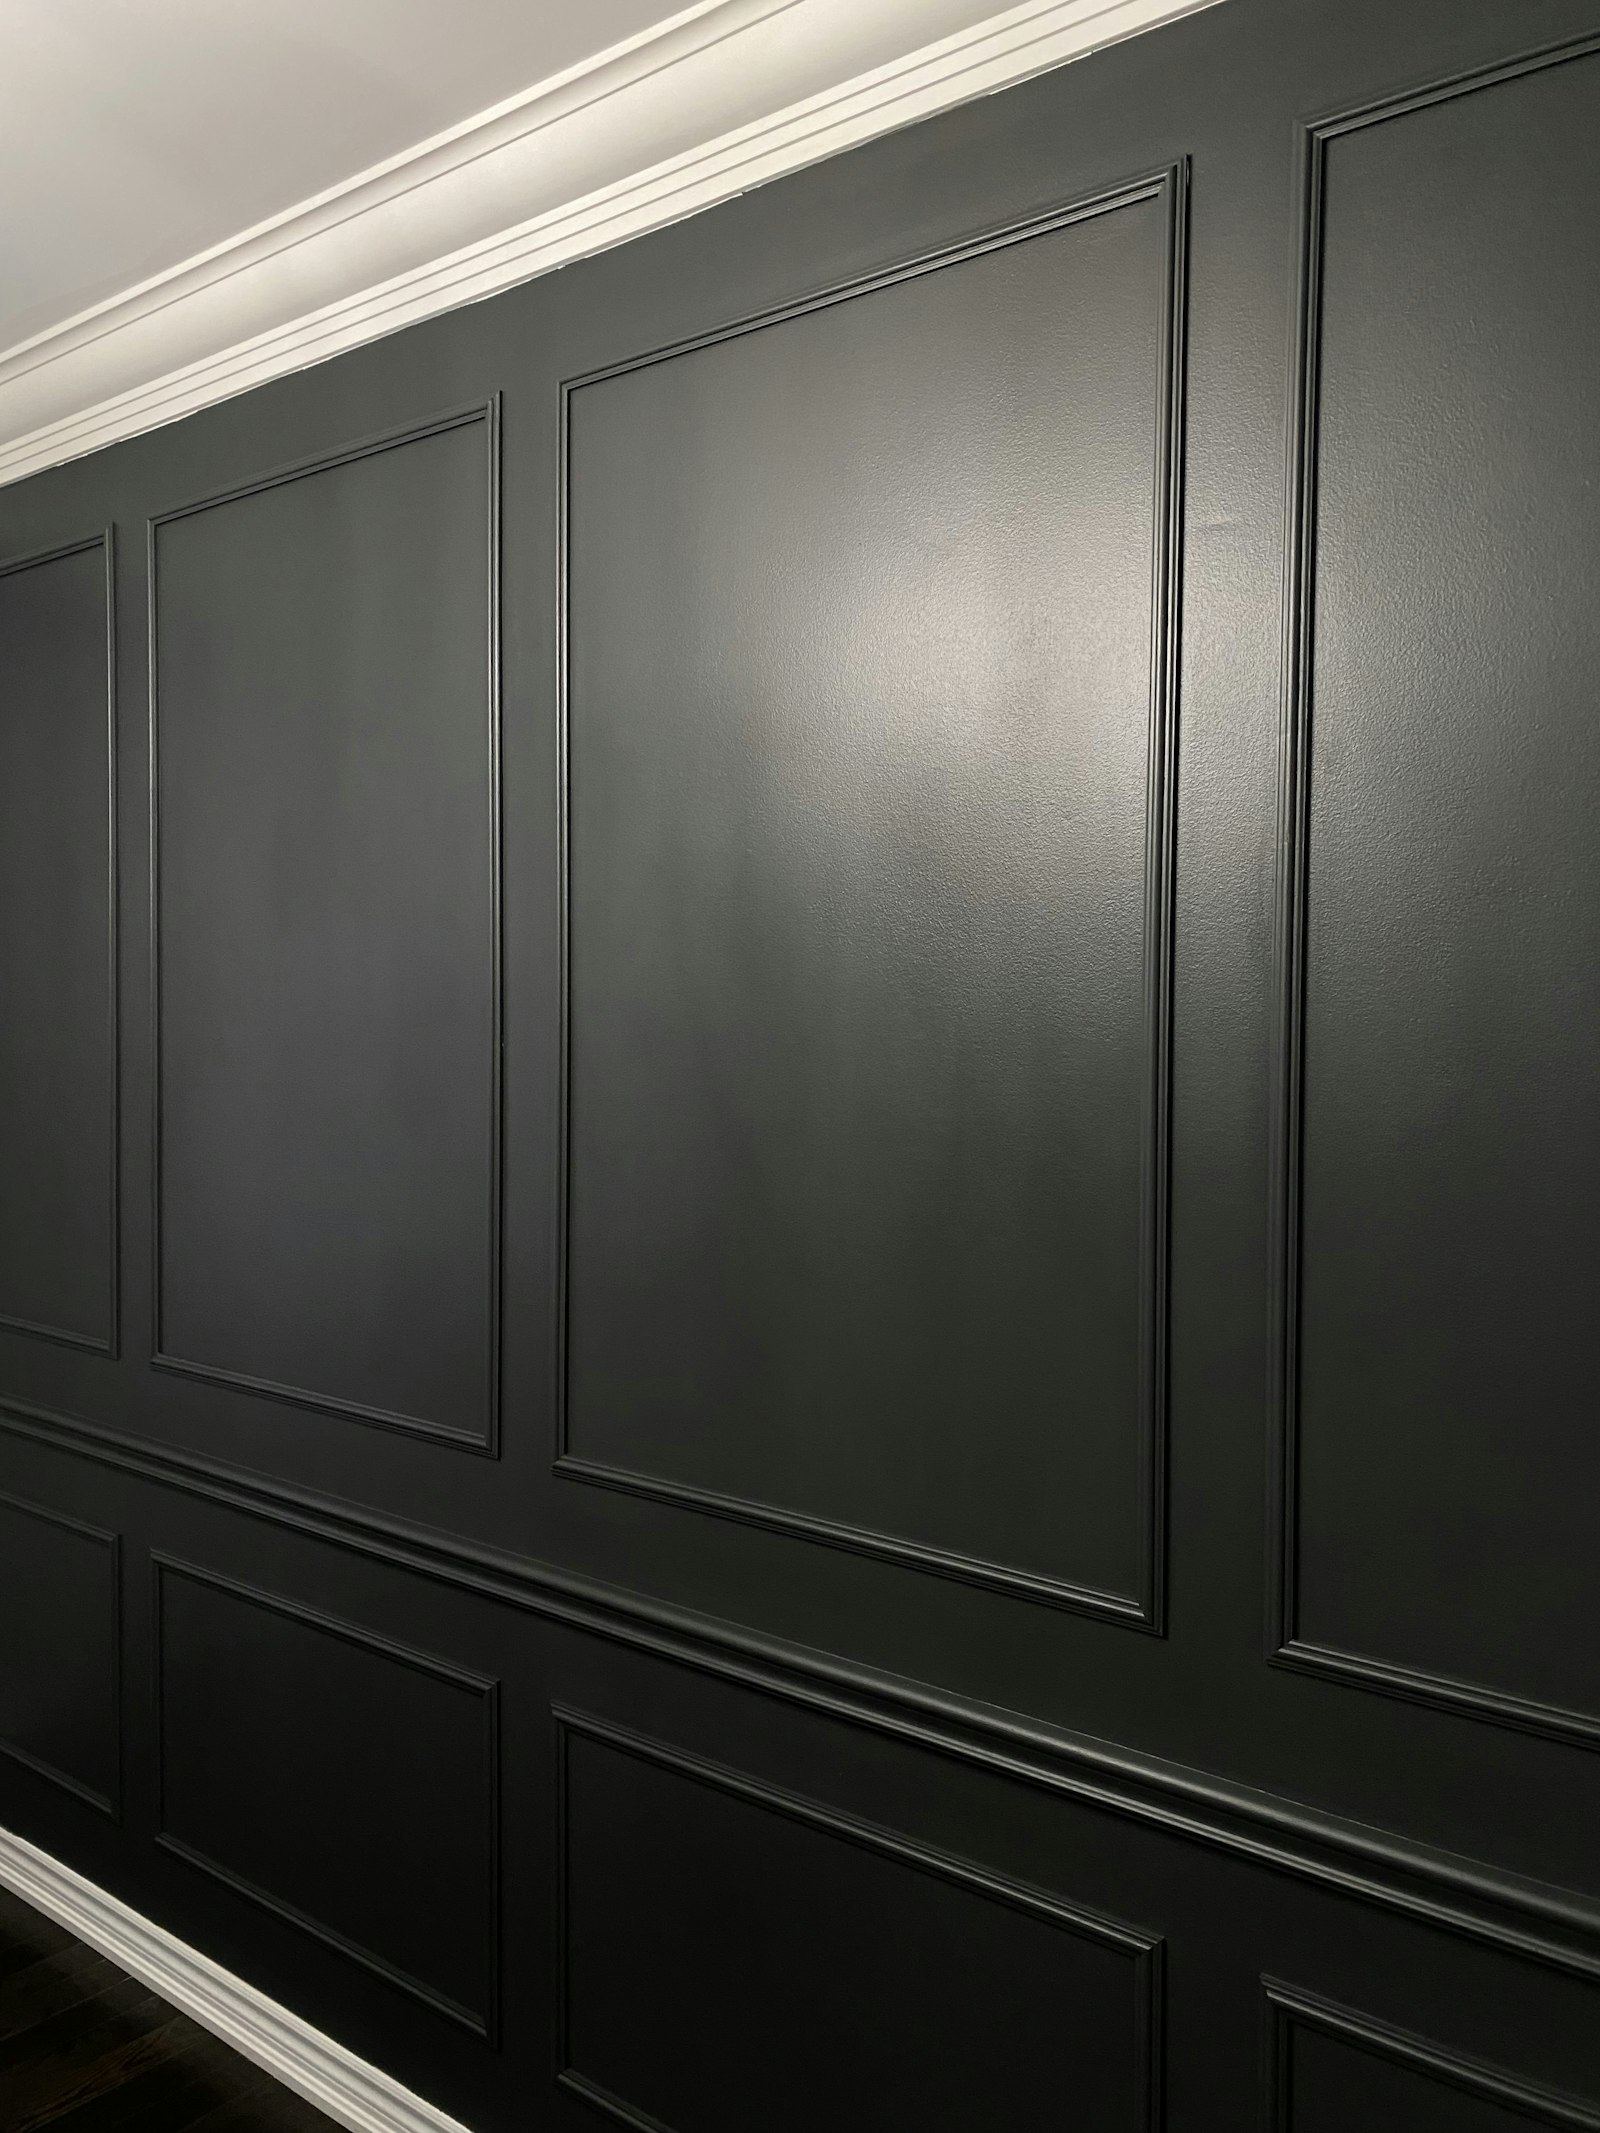
11. Black panel molding. Painting the wall and the molding the same deep colour makes a dramatic feature wall. The shadows along the molding edges do the decorating, so the paint finish matters more than the profile.
12. Gold-trimmed panels. A thin line of gold paint on the inside edge of panel molding adds a traditional accent. Use masking tape and a small artist’s brush, and keep the gold to the inner edge only.
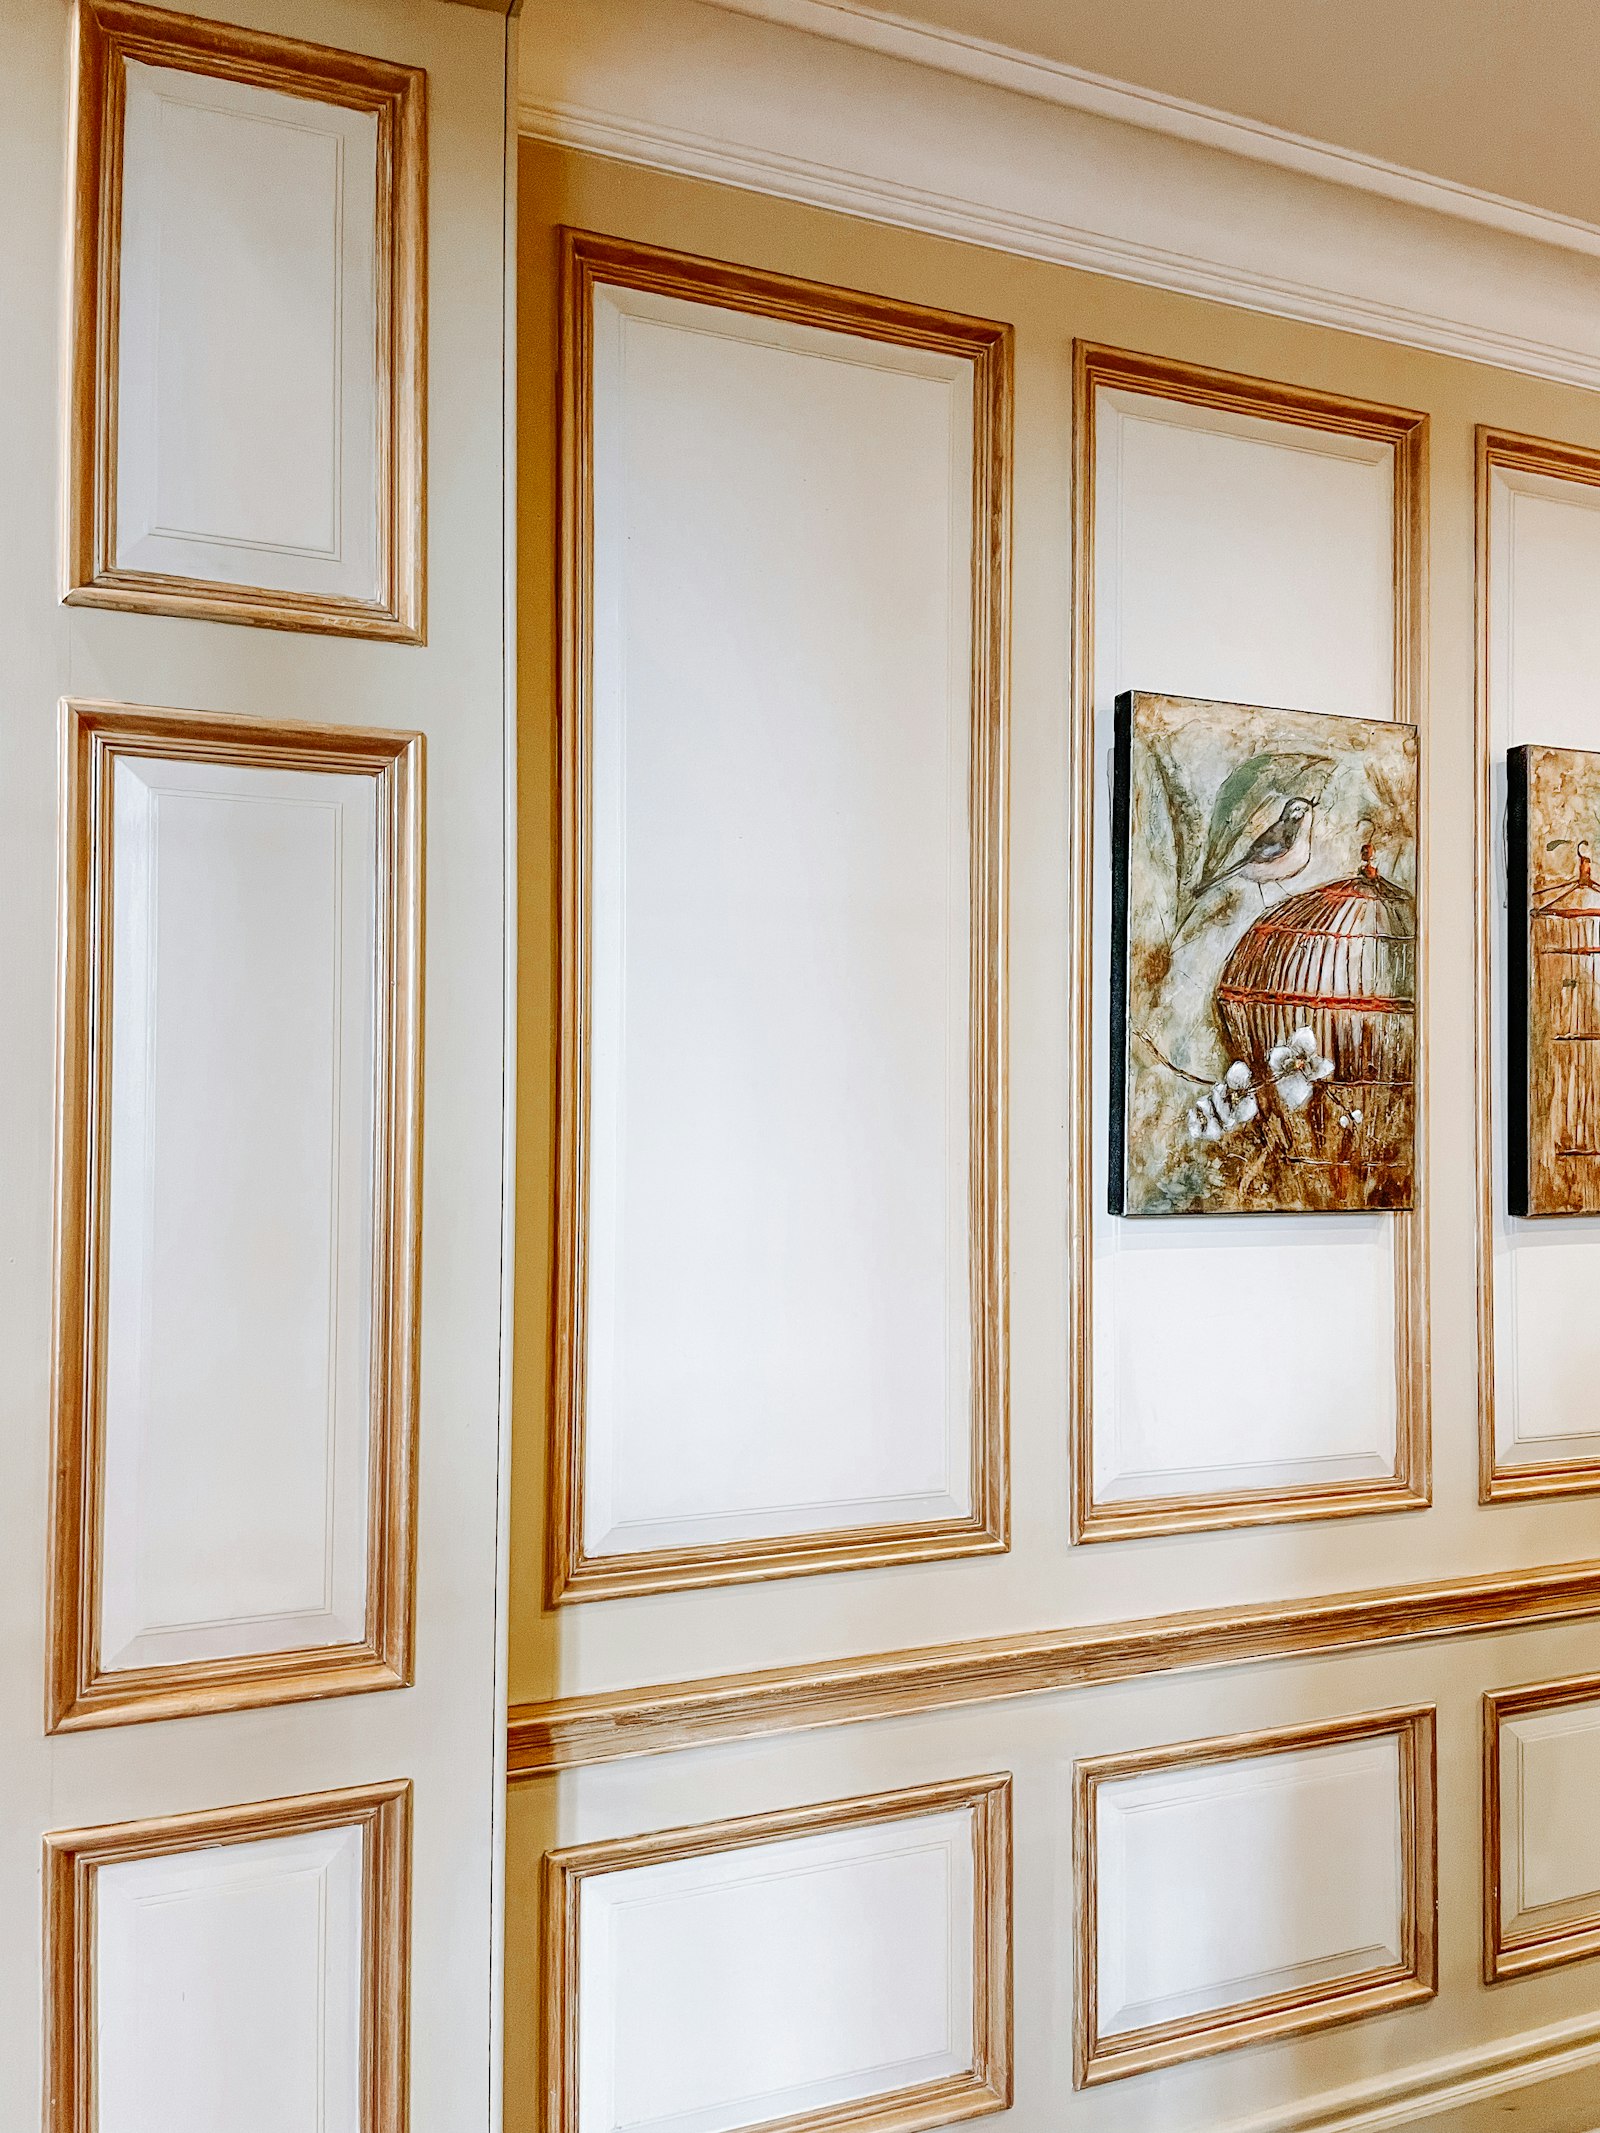
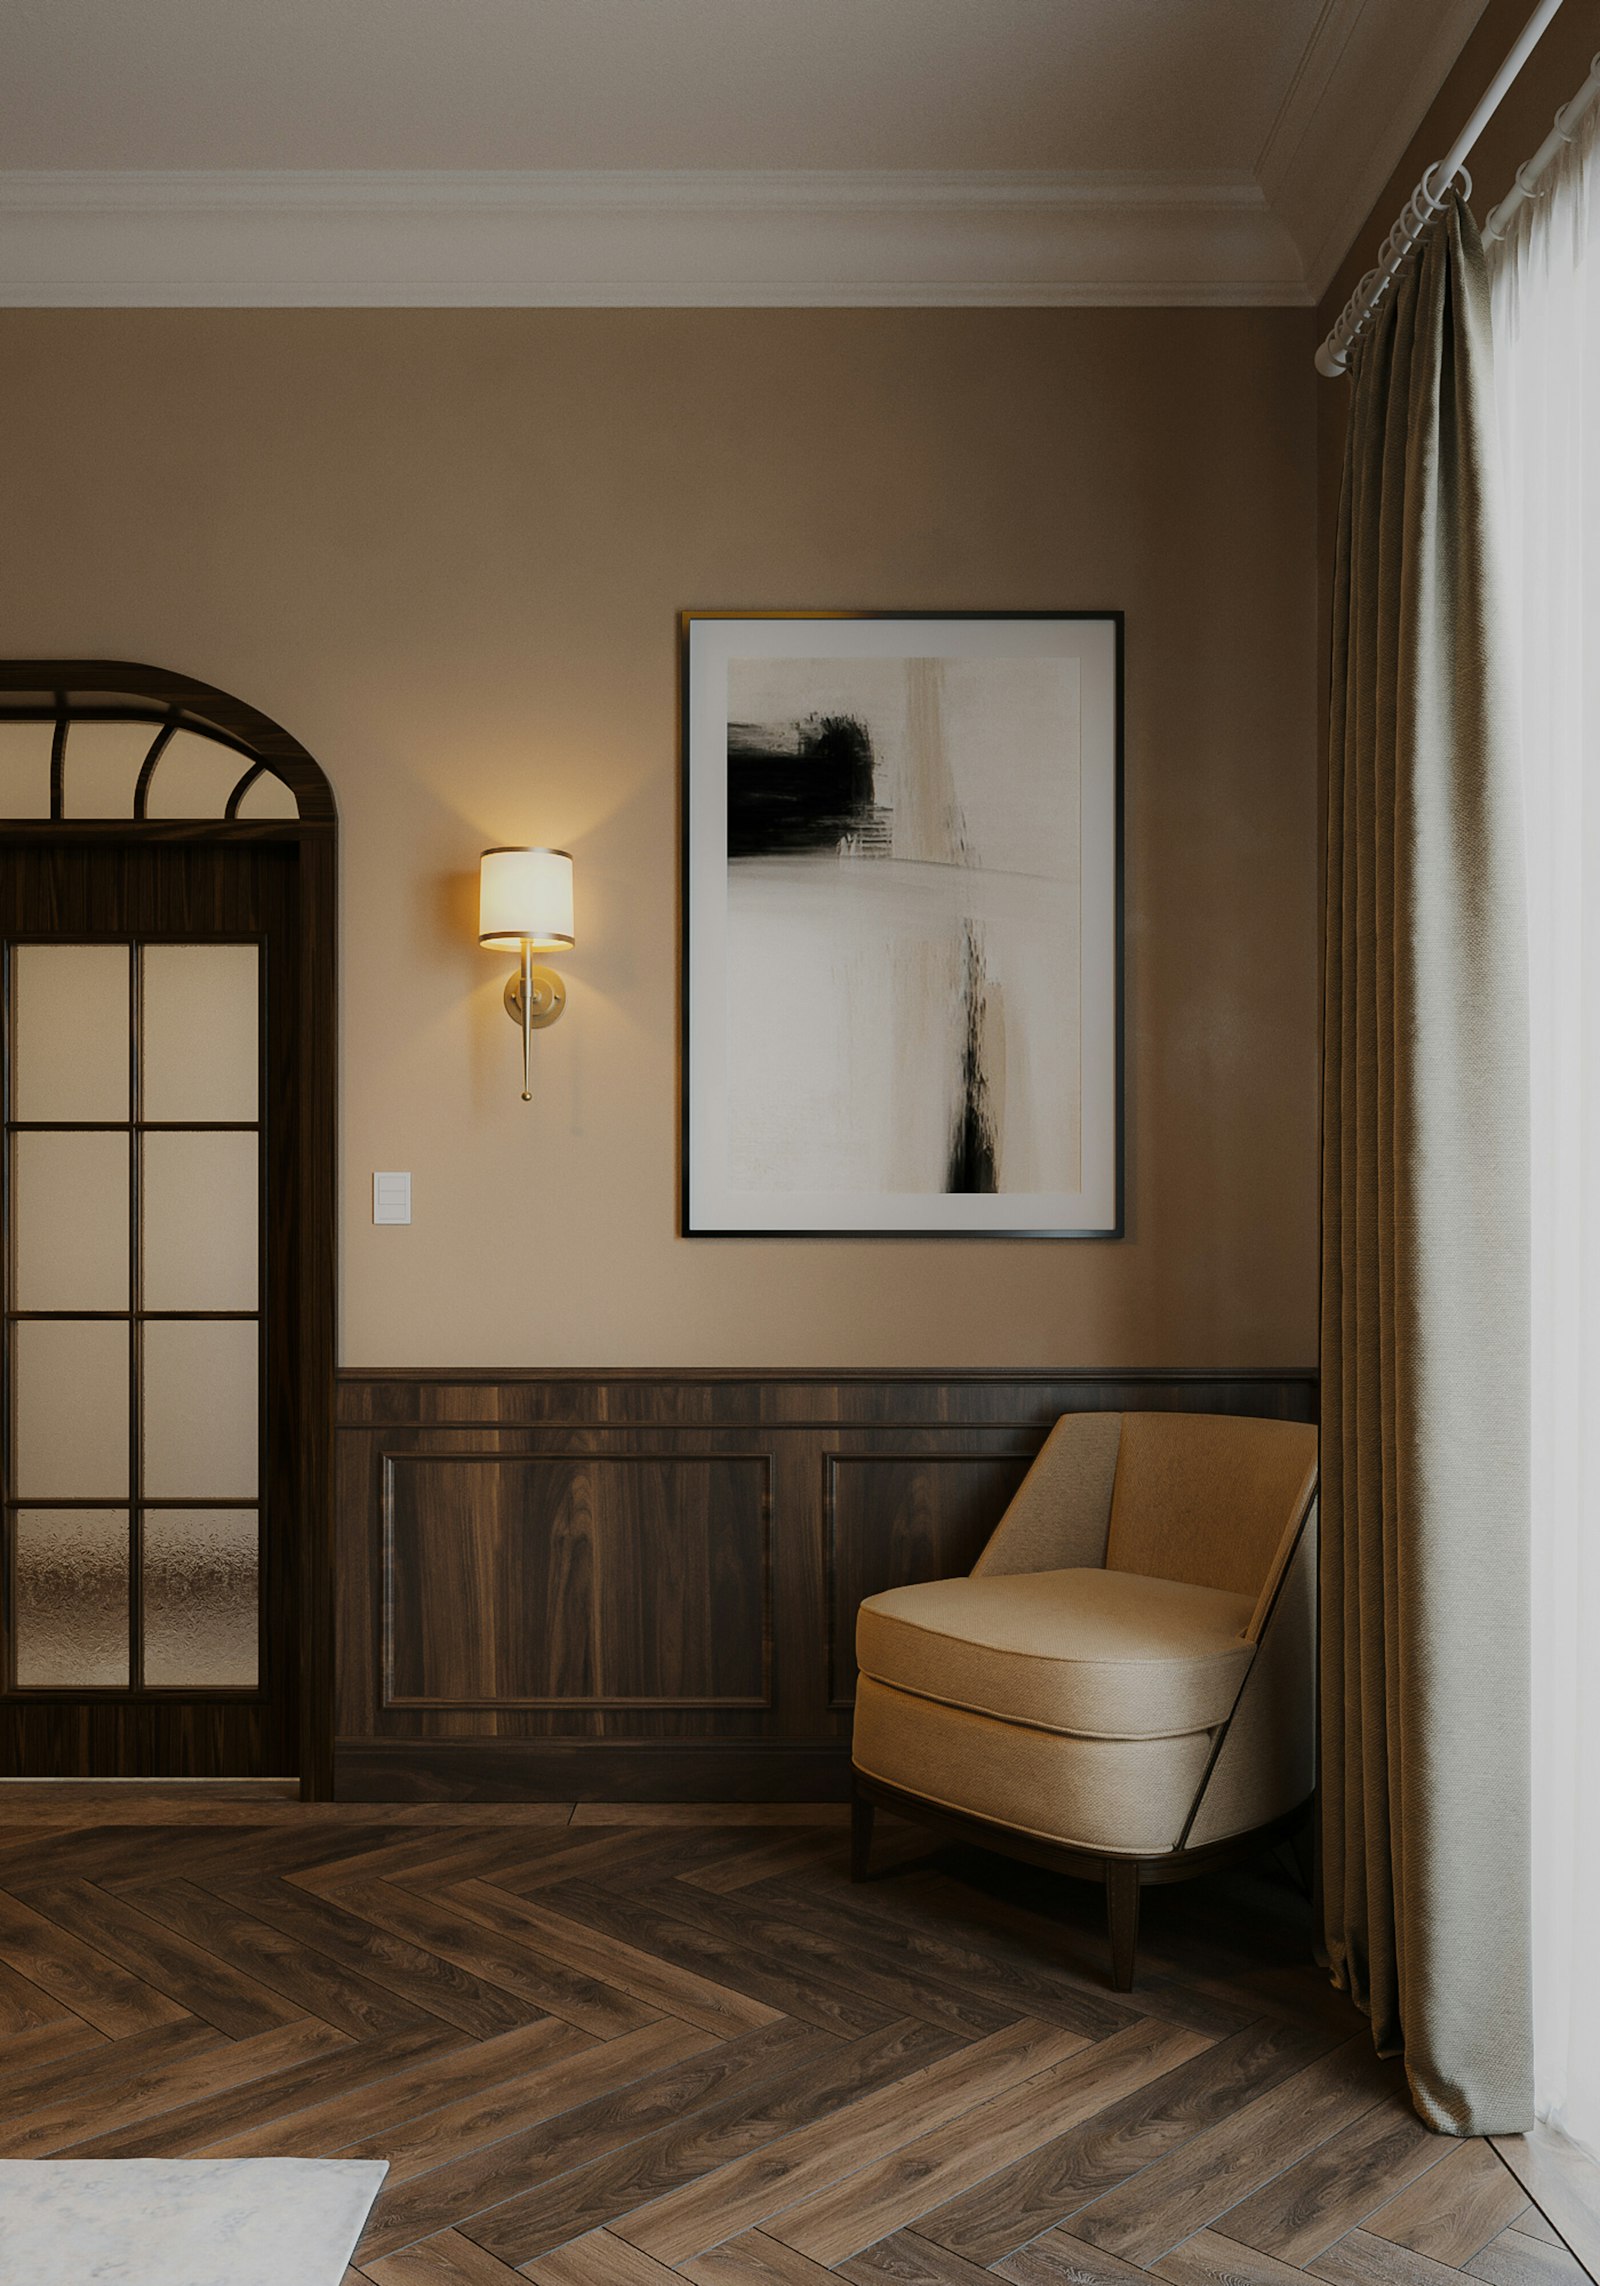
13. Dark wood wainscoting. Stained wood panelling below a plain upper wall gives a room a library feel. Pair it with warm lighting and a cream or tan wall above.
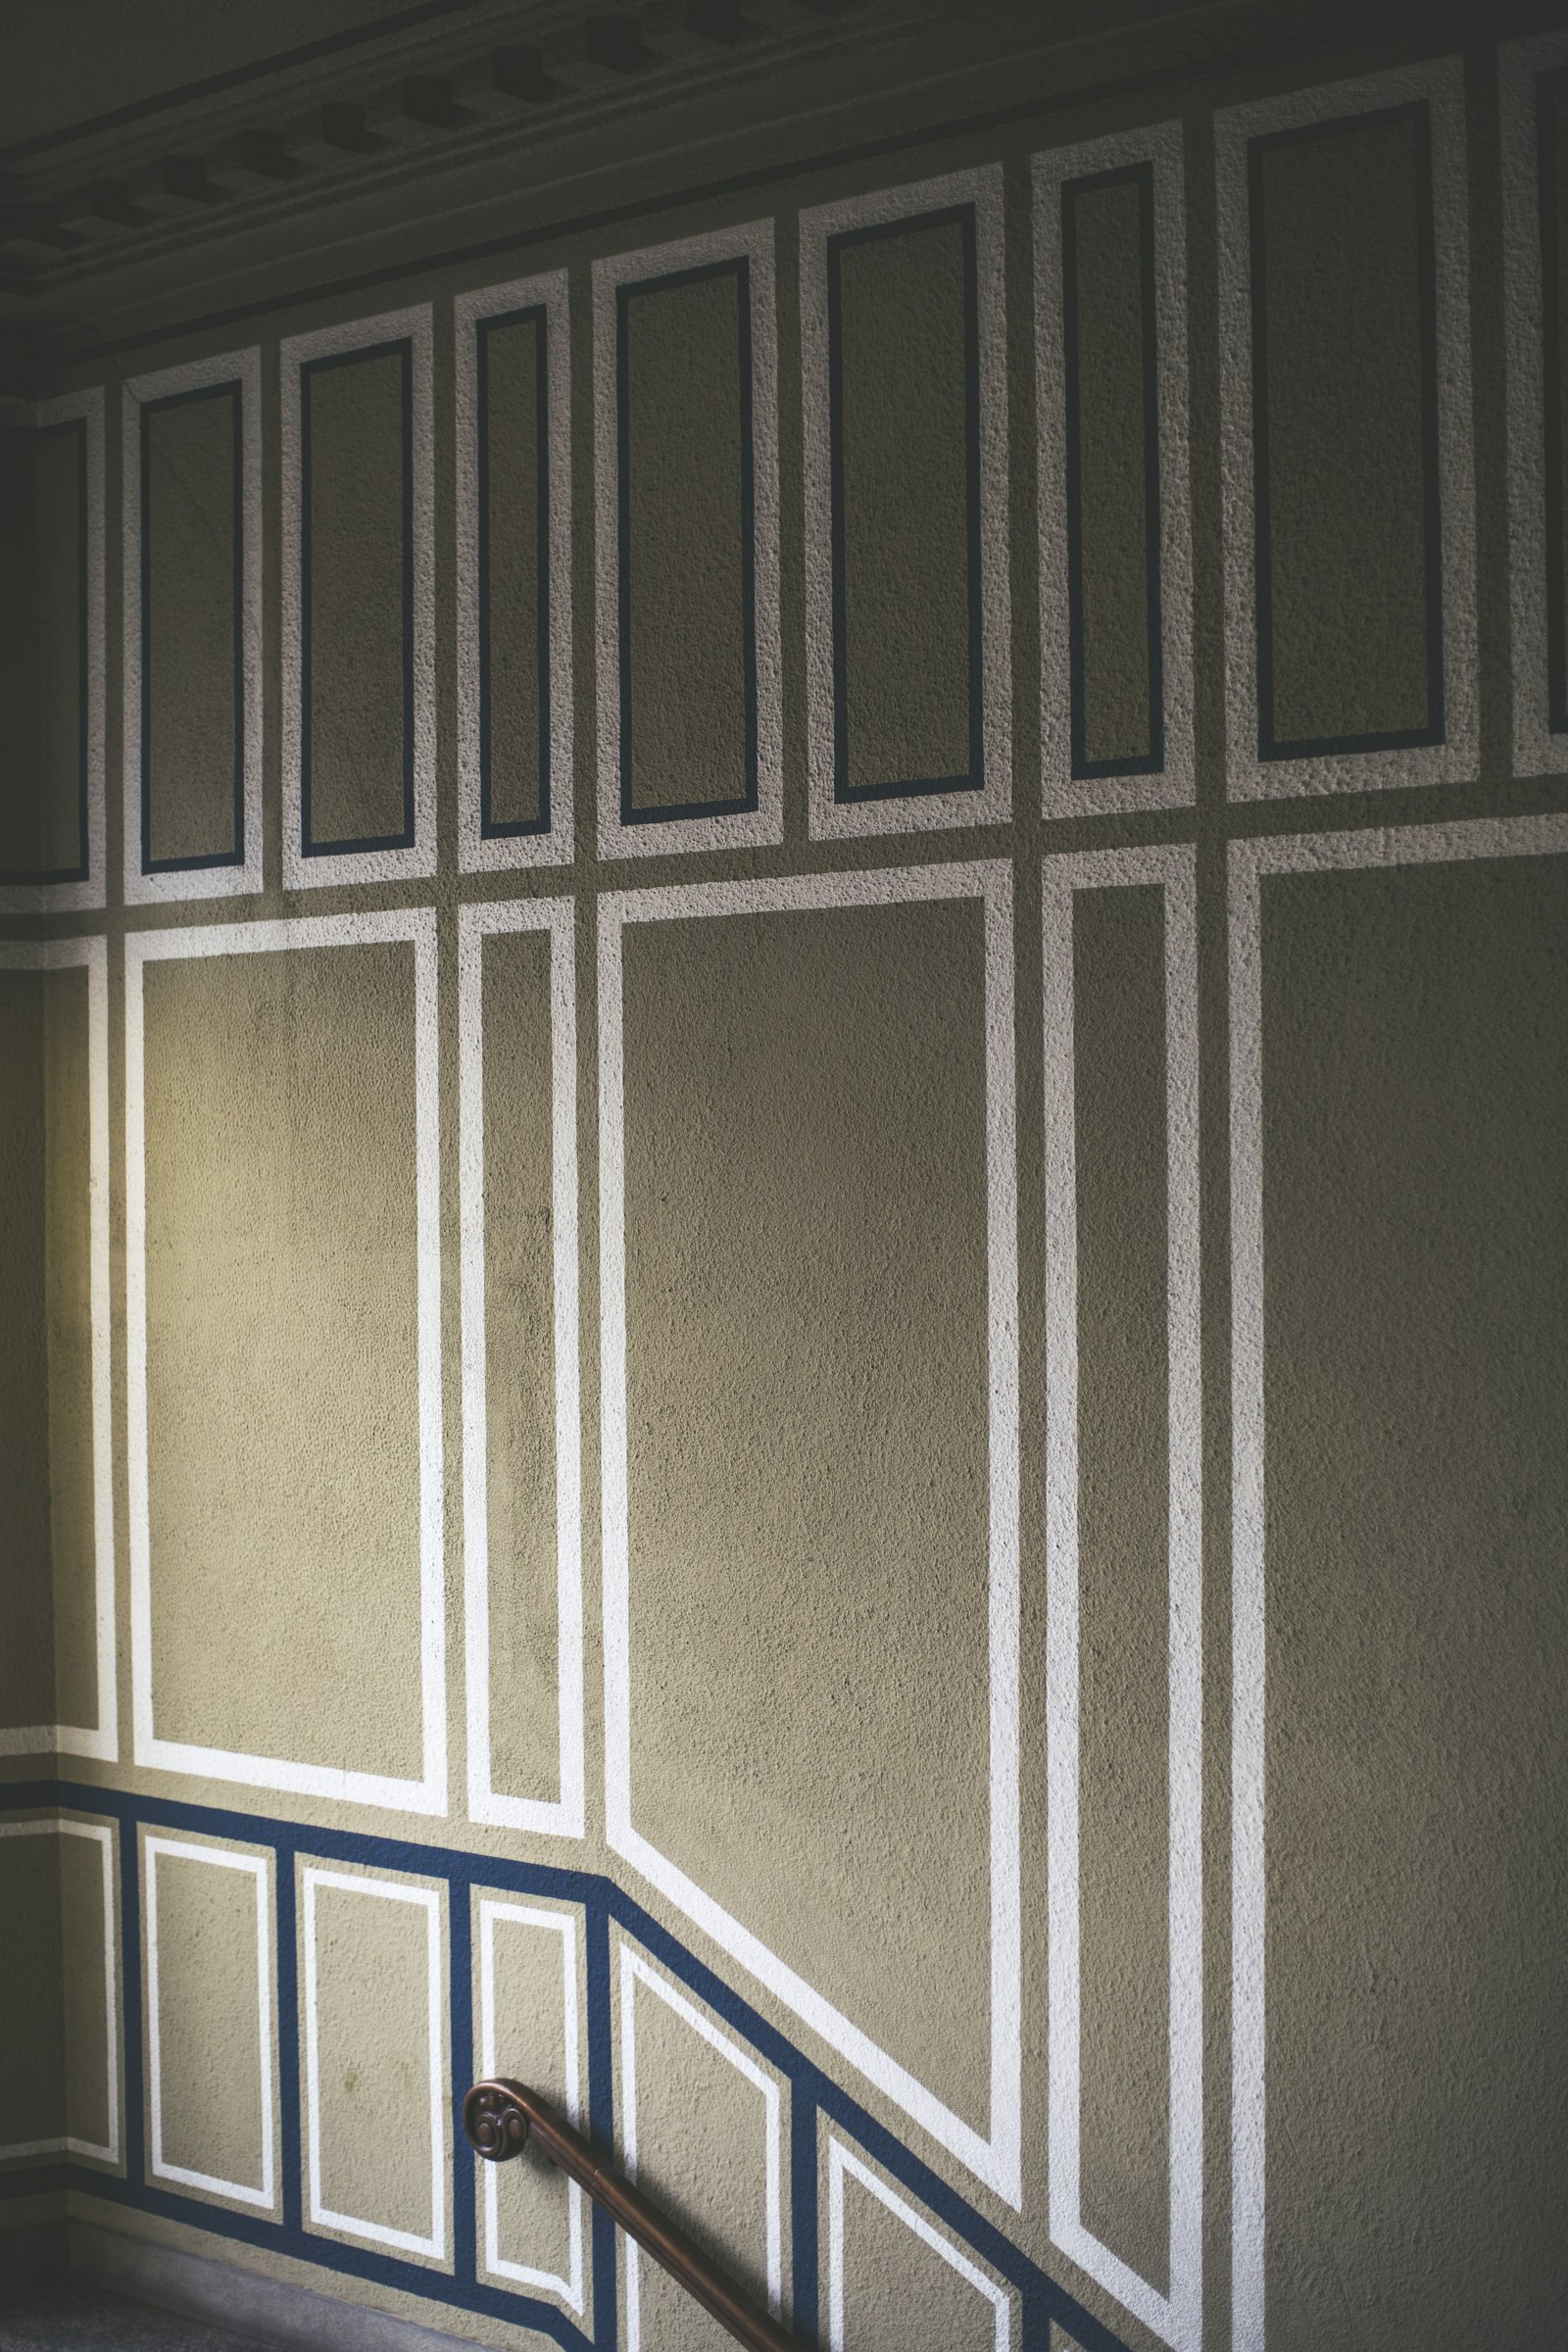
14. Painted panel frames. To try the look before buying any molding, mask rectangles with painter’s tape and paint the frame lines in a lighter or darker shade. It costs a fraction of real molding and can be repainted.
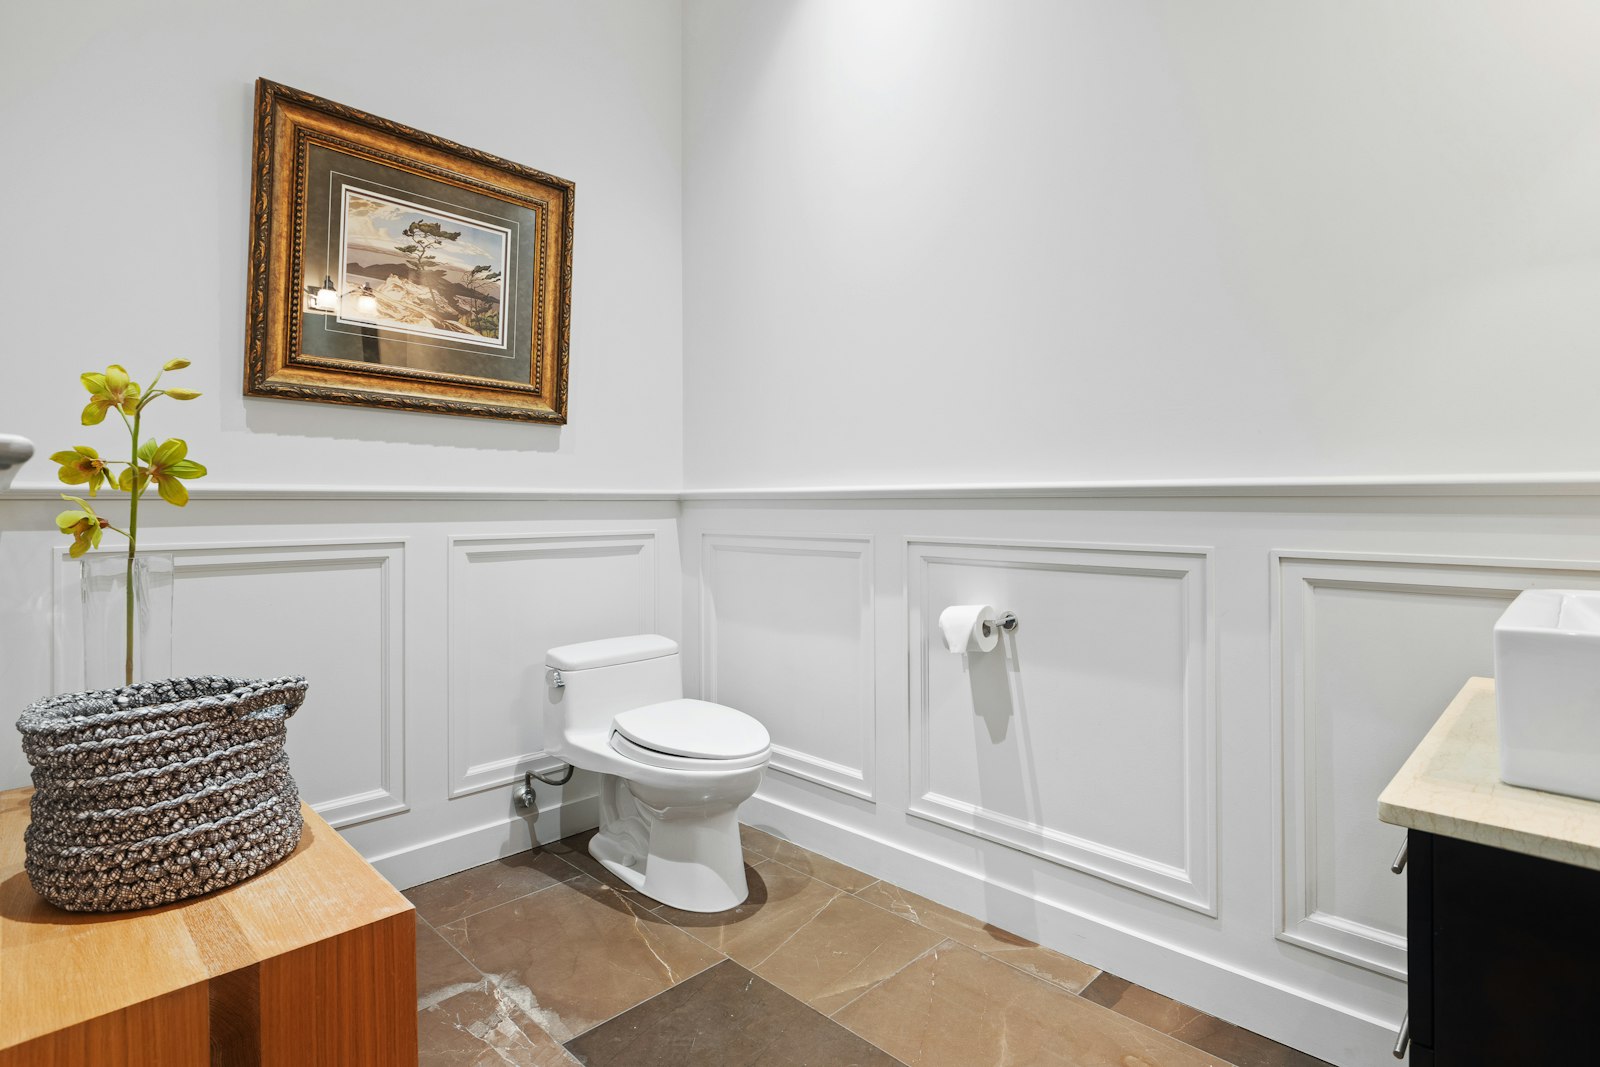
15. Bathroom wainscoting. Near a shower or tub, choose PVC trim or moisture-resistant boards rather than standard MDF, and finish with a bathroom-rated paint. Panels at this height also hide the splash line.
How to cut crown molding corners
Inside corners are best coped rather than mitred. Walls are rarely a perfect 90 degrees, and a coped joint hides small gaps when the wood moves. Butt the first piece square into the corner, cut the second at 45 degrees, then follow the profile line with a coping saw to remove the wood behind it.
Outside corners use two matching 45-degree mitres on a standard 90-degree corner. Check the actual angle with an angle finder first, and cut a test joint from scrap before touching the good molding.
On a mitre saw, cut crown molding upside down and backward against the fence so it sits the way it will sit on the wall. Many saws print a chart for the common spring angles. If cutting at compound angles feels risky, pre-made inside and outside corner blocks skip the problem.
Fasten into the studs or ceiling joists with finish nails, fill the nail holes, then run a thin bead of paintable caulk along the joints and the wall line before painting. Let the molding sit in the room for about 48 hours before cutting. Canadian homes dry out in winter, and molding that has not adjusted to indoor air can open gaps at the joints later. A flexible caulk handles that movement better than rigid filler.
Where to buy in Canada
Home Depot, Rona and Home Hardware stock primed MDF and pine molding in a range of profiles. Primed MDF crown often costs a few dollars per linear foot, with polyurethane and plaster-style pieces costing more, so check current prices before you buy. For tools and supplies, Amazon.ca carries coping saws, crown molding corner blocks, paintable caulk and angle finders.
Canada News Media earns a commission on qualifying purchases. More picks are in our Amazon.ca storefront.
If you find reporting like this useful, consider supporting Canada News Media, an independent Canadian newsroom with no corporate parent.
Follow Canada News Media
Get the day's top Canadian stories and our two daily 60-second news videos wherever you scroll.
X Threads Facebook Instagram LinkedIn TikTok YouTube Pinterest Reddit Substack Flipboard Newsletter RSS