


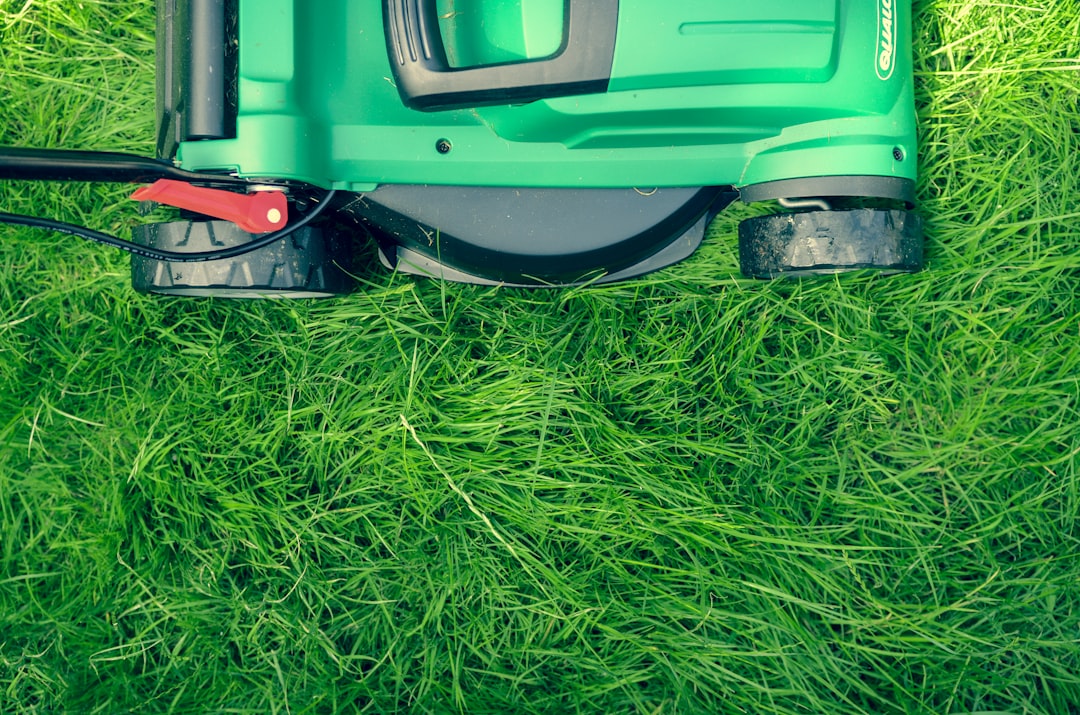
Winterizing a lawn mower means draining or stabilizing its fuel, changing the oil, servicing the spark plug and air filter, and cleaning and sharpening the blade before storing it somewhere dry for winter. Doing this within about a week of your last mow of the season is the single best way to guarantee an easy pull-start next spring instead of a trip to the small-engine shop.
Why It’s Worth Doing Now
Gasoline left sitting in a mower’s tank and carburetor over a Canadian winter breaks down, gums up fuel lines, and can leave a mower refusing to start in April. Old engine oil holds onto moisture and acids that quietly corrode internal parts while the mower sits idle for five or six months. None of this is expensive to prevent, but it does need to happen before the mower goes into storage, not after. With most of the country mowing for the last time in late September or October, now is exactly the window to get it done.
Step 1: Clean the Mower Thoroughly
Scrape off caked grass clippings and dirt from the underside of the deck, and wipe down the exterior. Leftover debris holds moisture against the metal, which speeds up rust and can trap acids from grass clippings against the deck over winter.
Step 2: Deal With the Fuel
This is the step people skip most, and it’s the one that causes the most spring start-up headaches. You have two reliable options, according to Canadian Tire and Family Handyman guidance:
- Run it dry. If the mower will sit in an unheated shed or garage, run the engine until it uses up all the fuel in the tank and carburetor.
- Stabilize it. If you’d rather not run it dry, add a fuel stabilizer, top up the tank with fresh gas, and run the engine for about 10 minutes so the treated fuel circulates through the whole system.
Always do this outdoors or in a well-ventilated space, away from any open flame or pilot light, and let the engine cool before handling fuel.
Step 3: Change the Oil
Run the mower for a few minutes so the oil warms up and flows more easily, then drain it and refill with the oil grade listed in your owner’s manual. If your model has an oil filter, swap that too. Skipping this step is one of the more common reasons small engines lose compression over a winter of sitting still.
Step 4: Service the Spark Plug and Air Filter
A fouled spark plug or a clogged air filter is a common reason mowers won’t start in spring. Pull the plug and replace it if the electrode looks worn or carbon-caked — they’re inexpensive and worth replacing annually. Clean or replace the air filter depending on whether it’s foam or paper.
Step 5: Remove, Sharpen, and Protect the Blade
Before touching the blade, disconnect the spark plug wire so the engine can’t accidentally turn over — this is the step that prevents the injuries that make blade maintenance the riskiest part of this job. With the wire disconnected, remove the blade (most are held by a single center bolt), give it a sharpen with a file or bench grinder, and wipe it down with a light coat of oil to prevent rust before reinstalling it or storing it separately.
Step 6: Store It Properly
A garage, shed, or other dry, covered space is ideal. Keep the mower off bare concrete or damp ground where possible, and use a breathable tarp or mower cover rather than plastic, which can trap condensation underneath.
A Note on Safety
This guide covers routine consumer maintenance — fuel handling, oil changes, and blade care with the spark plug disconnected. If your mower needs engine or electrical repair work beyond what’s described here, or if anything about handling gasoline safely is unclear, take it to a licensed small-engine technician rather than guessing.
Sources: Canadian Tire, Family Handyman, This Old House, LawnStarter
Follow Canada News Media
Get the day's top Canadian stories and our two daily 60-second news videos wherever you scroll.