


That third condition is the one most Canadian gardeners get wrong, and September is when it gets decided. Cold storage does not improve anything. It keeps produce dormant so it does not over-ripen or rot, which means a carrot that goes into the bin with a spade nick comes out of the bin in February as a rotten carrot, and often takes its neighbours with it. Cuts and bruises are infection sites, so the sorting you do at harvest sets the ceiling on how long anything lasts.
The timing also matters more than it looks. Carrots and parsnips are sweeter if you harvest them after a light frost, so there is no rush on those. Garlic, on the other hand, needs three to four weeks of curing before it goes into storage, and winter squash needs about a week at room temperature to toughen its skin. If you are reading this in early September, the curing crops are the ones to deal with first, because the clock on them runs into October.
Here is the process, in the order you should do it.
- Harvest at peak maturity and sort ruthlessly. Store only your best produce. Set aside anything diseased, badly chewed by insects, cut or bruised, and eat those first. Nothing you put in storage will get better than it was on the day it went in.
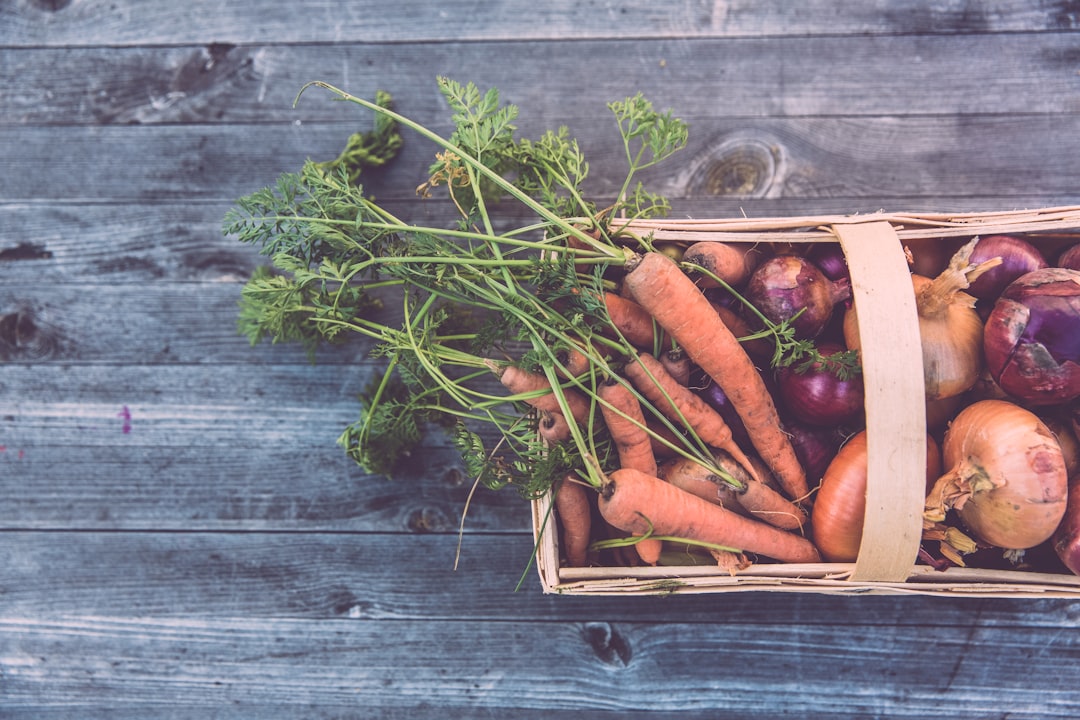
- Trim the tops, but do not wash. Cut the tops of carrots, parsnips, beets, turnips, rutabaga, horseradish and kohlrabi back to about 2 cm, roughly an inch. Leaving that stub prevents shrivelling. Gently brush off excess soil rather than washing, because washing can damage the outer skin and open the door to rot. If you do rinse with cold water, the vegetables must be completely dry before they go into a container.
- Cure the crops that need it. Curing is just controlled drying, and each crop has its own schedule. Onions: trim the tops to 3 or 4 cm and lay them on newspaper or cardboard in a warm, dry, dark place for about a week. Garlic: same treatment, but three to four weeks. Winter squash, including pumpkin, butternut, spaghetti and acorn: leave 3 to 5 cm of stem attached and hold at room temperature in a dry, dark spot for about a week. Potatoes: cure for two days and confirm they are bone dry. Check curing onions and garlic regularly and pull anything mouldy immediately.
- Measure your storage space before you commit to it. Put a thermometer where you plan to store and watch it for a few days. Cold air is heavier than warm air, so the floor of a basement is often several degrees colder than a shelf above it, and that difference is enough to sort your crops for you. An unheated basement corner, a crawl space, a mud room, an arctic entry, a closet under the stairs or a cool outbuilding can all work. The requirement is an even temperature that never dips below freezing, because freezing damages the vegetables and warmth makes them sprout.
- Use the pail method for the cold and damp crops. Take a clean pail, plastic bin, wooden crate or foam cooler. Lay down a 3 cm layer of slightly damp sand, peat, sphagnum moss or sawdust. Add a layer of vegetables, cover with more packing material, and repeat until the container is full, finishing with a layer of packing material on top. Put the lid on and set it in your coldest non-freezing spot. Do not let water pool in the bottom.
- Use perforated food-grade bags for everything else that needs damp storage. Punch holes in a clear food-storage bag so excess moisture can escape, then close it with a clip or twist tie. Never use black garbage bags or grocery bags for long-term food storage, and never reuse a bag that held raw meat or fish. Potatoes are the exception among the roots: perforated bags work only if the potatoes are dry, and shallow bins or boxes are safer if you are unsure.
- Give onions, garlic and squash air instead of moisture. These three rot in plastic. Use mesh bags, wicker baskets or any box with slats or holes, and do not pile them deep. Set squash on a shelf with a gap between each one so they are not touching.
- Keep fruit out of the storage room. Apples and other fruit give off ethylene gas, which pushes stored vegetables to ripen and sprout faster. Store fruit somewhere separate.
- Check weekly, and read the symptoms. Shrivelling means the air is too dry: mist the roots, or set a bucket of water in the room for onions, garlic and squash. Sprouting usually means it is too warm. Mould or soft spots mean you pull that vegetable out that day, before it spreads. Green patches on a potato mean too much light reached it. Cut the green portion away and do not eat it, because green areas contain solanine, a chemical that can make you sick, and move the rest into the dark.
Done properly, the payoff is measured in months rather than weeks. The University of Saskatchewan’s storage chart puts onions at about 28 weeks, garlic at 24 to 32, potatoes and winter squash at 24 to 26, cabbage at 12 to 16, and beets at seven to eight. Cauliflower and Brussels sprouts are at the short end, three to four weeks, so plan to eat those first rather than counting on them in January. None of it lasts forever, and the most common way a well-packed bin fails is simply being forgotten. Open it every week, use what is in it, and pull anything that has turned.
Storage temperatures, humidity ranges, curing times and keeping times in this guide are drawn from the University of Saskatchewan College of Agriculture and Bioresources, Cold storage of root crops, cole crops, winter squash, onions and garlic, which adapts its storage chart from Cornell University’s food storage guide and the U.S. National Centre for Home Food Preservation.
Follow Canada News Media
Get the day's top Canadian stories and our two daily 60-second news videos wherever you scroll.
X Threads Facebook Instagram LinkedIn TikTok YouTube Pinterest Reddit Substack Flipboard Newsletter RSS