

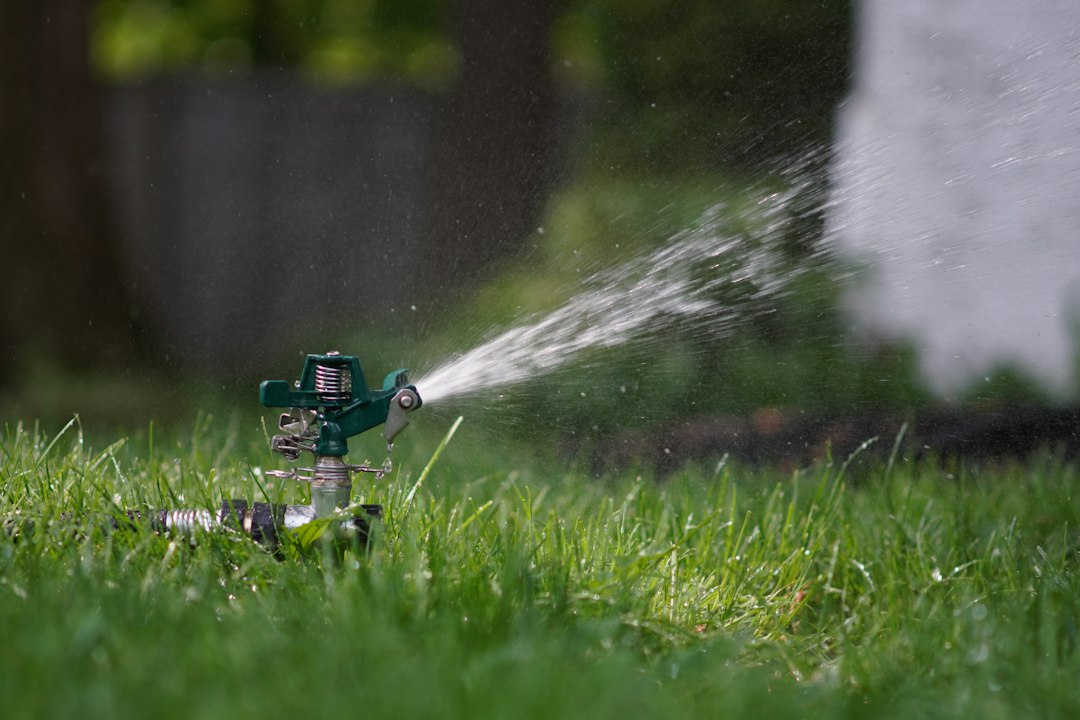
Draining an in-ground sprinkler system before the first hard freeze keeps trapped water from splitting pipes, valves and sprinkler heads over the winter, and it’s a job most homeowners with the right tools can handle themselves. The safest approach is a slow manual drain if the system has built-in drain valves. Without them, the job calls for a compressed-air blow-out, done carefully and at a lower pressure than a lot of DIYers assume.
Most Canadian irrigation companies recommend having the system drained before Thanksgiving in mid-October, and earlier in the Prairies, northern Ontario and other regions where hard frost tends to arrive sooner, according to Naiad Irrigation, a Canadian irrigation company. Waiting until after the ground freezes risks cracked fittings, a split backflow preventer and ruined sprinkler heads, repairs that cost far more than the hour or two the job itself takes.
- Pick the right day. Do this before the first hard freeze is forecast, not after. Check the overnight low in your area and plan to drain the system once nighttime temperatures are consistently dipping toward freezing, earlier than you think you need to.
- Shut off the water supply. Find the main shut-off valve that feeds the irrigation system, usually where the line branches off the household water supply, and turn it off completely.
- Release the pressure in the mainline. Open a zone valve or a test cock on the backflow preventer to bleed off the standing pressure before you touch anything else. This keeps water from spraying back at you when you open drain valves.
- Drain manually if your system has drain valves. Many residential systems built with manual drains have a valve at each low point in the line. Working from the highest point of the yard to the lowest, slowly open each valve and let gravity empty that section before moving to the next.
- Set up a compressed-air blow-out if it doesn’t. Systems without manual drains, or built on flat ground where gravity can’t clear the lines, need an air compressor. Family Handyman recommends a unit with at least 10 cubic feet per minute (CFM) of airflow, more for larger properties with multiple zones; a small home shop compressor typically isn’t enough.
- Set the regulator conservatively. Sources disagree on the ceiling: Rain Bird advises not exceeding 50 psi under any circumstances, while Family Handyman allows up to 80 psi for rigid PVC pipe and caps flexible polyethylene line at 50 psi. If you’re not certain which pipe your system uses, stay at 50 psi. Going higher risks blown fittings and, because compressed air can send debris flying, injury.
- Connect the compressor at the backflow preventer. Close both valves on the backflow preventer, attach a quick-connect hose adapter to the blow-out port, and connect the air hose there rather than partway down the line.
- Blow out each zone in order, and watch the clock. Starting with the zone farthest from the compressor connection, run air through the line until only a fine mist comes out of the sprinkler heads, not a bone-dry hiss. Rain Bird warns against running any single zone for more than two minutes at a time: extended blasts of air, with no water left to cool moving parts, can warp pipe and melt the seals inside rotor heads. Move through every zone the same way.
- Wear eye protection and stay clear of the heads. Rain Bird’s guidance is explicit here: never stand directly over a sprinkler head or valve box while the compressor is running, and keep safety glasses on for the whole job. A cracked fitting or stuck head can release air and debris without warning.
- Leave the backflow preventer and valves partly open. Once the lines are clear, turn the backflow preventer’s test cocks and ball valves to a roughly 45-degree angle. This lets any water that collects in the device drain out gradually instead of sitting and freezing there.
- Switch the controller to rain or standby mode. Turning off the timer, rather than unplugging it, keeps your programmed watering schedule saved for spring while stopping the system from trying to run over the winter.
- Do a final walk-around. Check that every sprinkler head has fully retracted flush with the ground and that no water is pooling anywhere along the line. A head stuck partway up is an easy trip hazard once snow covers it, and it’s a sign that zone wasn’t fully cleared.
If your property doesn’t have manual drain valves and you don’t already own a compressor rated for this job, hiring a licensed irrigation contractor for the blow-out is a reasonable call, not a failure of nerve. Naiad Irrigation itself flags compressed-air winterizing as one of the trickier steps to get right without the proper equipment, and a botched blow-out can crack the same pipes the job is meant to protect. Either way, getting it done before the ground freezes is what actually matters.
Sources: Naiad Irrigation (naiadirrigation.ca), Rain Bird (rainbird.com), Family Handyman (familyhandyman.com).
Follow Canada News Media
Get the day's top Canadian stories and our two daily 60-second news videos wherever you scroll.