

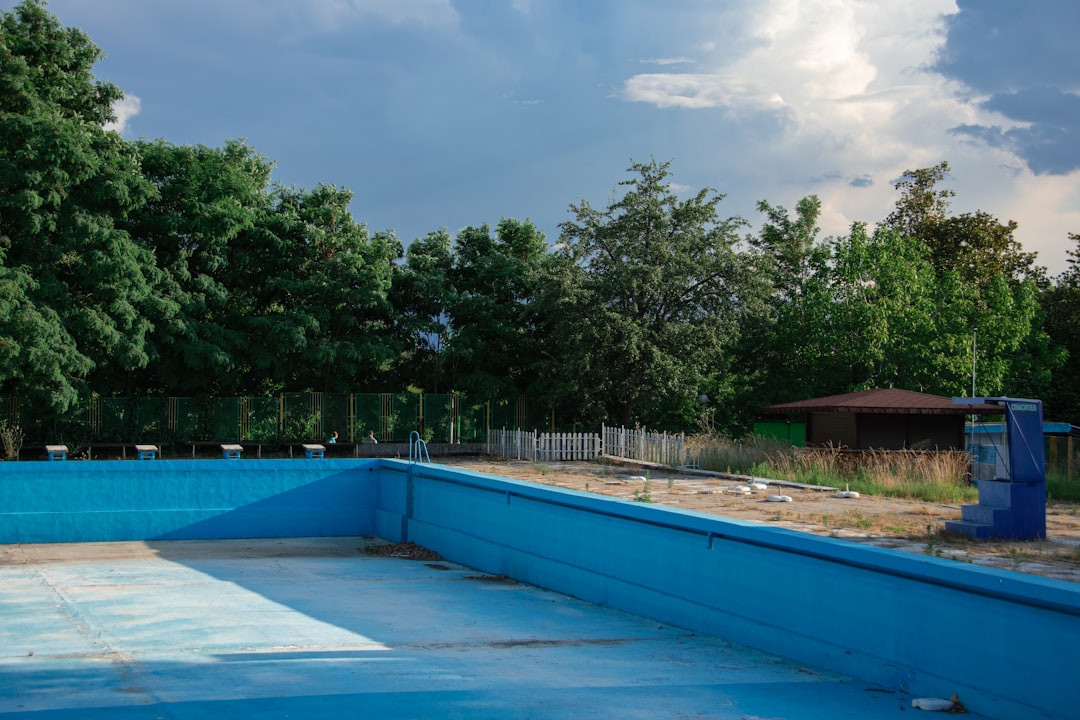
Closing a pool for the Canadian winter comes down to seven main steps, done in order: balance the water chemistry, clean the pool thoroughly, lower the water level, drain and remove the equipment, blow out the plumbing lines, add antifreeze and plug the lines, then fit a secure winter cover. Get the order or the timing wrong, and the two most common results are cracked pipes from ice expansion or a pool full of algae by spring.
Early September is when that timing question starts to matter for pool owners across the country. Pool professionals generally recommend waiting until the water is consistently below about 15 C before closing, since shutting down while the water is still warm lets algae take hold under the cover through the fall. In Southern Ontario, that usually lands somewhere between mid-September and mid-October; in Quebec, closing typically happens in October. Waiting too long carries its own risk: a sudden hard freeze before the plumbing has been cleared of water can crack pipes, fittings and the pump housing, turning a $250 to $450 professional closing into a repair bill many times that size. Booking a pool company gets harder as the season goes on, too, which is why many homeowners either book early or plan to do the work themselves.
The steps below reflect standard practice recommended by Canadian pool suppliers, insurers and pool service companies. Homeowners doing this themselves should pay particular attention to the equipment needed for step six — blowing out the lines requires a proper gas-powered air compressor, not a shop vacuum, and skipping or under-powering this step is the single most common cause of winter freeze damage.
1. Time it to the water temperature, not the calendar
Watch the water temperature rather than a fixed date. Once it holds steady below roughly 15 C, algae growth slows enough that the pool can sit safely under a cover for months. Closing while the water is still warm invites algae bloom before the cover even goes on.
2. Balance the chemistry about a week ahead
Test and adjust pH, alkalinity and calcium hardness a week or so before closing, following the test kit manufacturer’s directions. Correct chemistry protects pool surfaces and metal fittings from corrosion, staining and etching over the winter.
3. Give the pool a final deep clean
Skim, brush and vacuum the pool to remove debris and algae before closing. Anything left behind will still be there — likely worse — when the cover comes off in spring.
4. Shock and add closing algaecide
Close to closing day, shock and chlorinate the water to kill off any remaining bacteria, then add a winterizing algaecide to prevent new growth from developing under the cover.
5. Lower the water level
Drop the water level to about 30 to 45 centimetres below the skimmer on an inground pool. This keeps water out of the skimmer and plumbing lines so it can’t freeze and expand inside them; above-ground pool owners should follow their manufacturer’s specific guidance, since requirements vary by model.
6. Drain and remove the equipment
Backwash and drain the filter, then remove and drain the pump, heater and any hoses, ladders or baskets. Water left sitting in the pump, filter or heater housing can freeze and crack them.
7. Blow out the plumbing lines
Use a gas-powered air compressor to force all remaining water out of the skimmer lines, return lines and main drain plumbing. This is not an optional step in any part of Canada that sees hard freezes — it is widely cited as the single most important part of a pool closing, and it’s the step most likely to go wrong without the right equipment. Homeowners without access to a proper compressor should have a pool professional handle this part, even if they do the rest of the closing themselves.
8. Add antifreeze and plug the lines
Once the lines are cleared, add pool-rated antifreeze where the manufacturer or pool professional recommends it, then install winterizing plugs in the skimmer and return lines to keep them sealed and empty over the winter.
9. Fit and secure the cover
Cover the pool with a properly fitted cover, checking for rips or weak spots before it goes on, and secure it tightly enough to keep out falling leaves, debris and, later, snow load.
Done in this order, a pool closing typically takes a few hours for an average residential inground pool. Homeowners who are comfortable with the equipment and the steps can do the whole job themselves; those without a gas-powered air compressor, or who are unsure about their plumbing layout, are better off paying a local pool service for at least the line-blowing step rather than risking a spring full of cracked fittings. Either way, the work is worth doing before the first hard frost — not after.