


To freeze garden vegetables safely, wash and trim them, blanch most varieties briefly in boiling water, cool them fast in ice water, then pack them into airtight bags or containers with as much air removed as possible. Done correctly, most vegetables hold their colour, flavour, and nutrients in the freezer for 8 to 12 months, according to the National Center for Home Food Preservation (NCHFP).
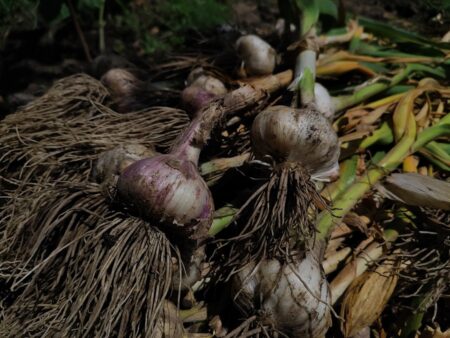
Late summer and early fall is peak harvest season across most of Canada, and gardens tend to produce faster than any one household can eat. Zucchini, green beans, corn, broccoli, and carrots often come in by the basketful. Freezing is the simplest way to keep that abundance from going to waste — it takes less equipment and less risk than canning, since it doesn’t involve the strict processing times and acidity rules that make canning a food-safety-sensitive process. If you’re only preserving one crop this season, freezing is the place to start.
Here’s how to do it properly, step by step.
1. Harvest at Peak Ripeness
Pick vegetables when they’re at their best — not overripe or underripe. Vegetables lose quality quickly after harvest, so freeze them as soon as possible, ideally the same day they’re picked, for the best flavour and texture.
2. Wash and Prep Thoroughly
Rinse vegetables under cold running water to remove soil and debris. Trim ends, remove any damaged spots, and cut into the size pieces you’ll actually use later (sliced beans, corn kernels, broccoli florets, and so on). Prepping to your preferred size now saves time when you’re cooking from frozen later.
3. Blanch Most Vegetables Before Freezing
Blanching — briefly boiling vegetables, then plunging them into ice water — is the step most home preservers are tempted to skip, but it matters. Enzymes in raw produce keep working even in the freezer, and over time they break down colour, flavour, texture, and nutritional value. Blanching deactivates those enzymes.
According to the NCHFP, blanching times vary by vegetable and size: green beans, 3 minutes; broccoli florets, 3 minutes; corn on the cob, 7 minutes for small ears, 9 minutes for medium ears, 11 minutes for large ears; corn cut from the cob, 4 minutes.
Use a large pot of vigorously boiling water, and don’t overcrowd it — adding too many vegetables at once drops the water temperature and throws off your timing. Start timing as soon as the vegetables go in.
Note that underblanching can actually be worse than not blanching at all, since it can stimulate enzyme activity rather than stop it, so stick to the recommended times rather than guessing or shortening them.
4. Cool Quickly in Ice Water
The moment blanching time is up, transfer vegetables immediately into a bowl of ice water for roughly the same length of time you blanched them. This stops the cooking process fast, keeping vegetables from turning mushy.
5. Drain and Dry
Drain the vegetables well and pat them dry with a clean towel or spread them on a rack to air dry. Excess water forms ice crystals in the freezer, which can affect texture.
6. Pack for the Freezer
Pack vegetables into airtight, freezer-safe bags or rigid containers, pressing out as much air as possible before sealing — air is the main cause of freezer burn. For loose-pack vegetables like corn kernels or diced carrots, spreading pieces on a tray to freeze individually first, then transferring to a bag once solid, keeps them from clumping into one frozen block.
7. Label, Date, and Store
Label each bag or container with the vegetable and the date. Set your freezer to 0°F (-18°C) or colder, and aim to use frozen vegetables within 8 to 12 months for the best quality, per NCHFP guidelines. They’ll remain safe to eat beyond that window, but flavour and texture gradually decline.
A Note on Canning
Freezing works for nearly every vegetable, but if you’re drawn to canning your harvest instead, be aware that canning carries real food-safety risks — particularly with low-acid vegetables, where improper processing can allow botulism-causing bacteria to survive. If you want to can rather than freeze, follow tested recipes and processing times from a source like the NCHFP or a certified canning guide rather than improvising.
With a pot of boiling water, a bowl of ice, and a stack of freezer bags, most Canadian gardeners can turn a few hours of prep into vegetables that last well into winter — no special equipment, and none of the guesswork that comes with canning.
Sources: National Center for Home Food Preservation (nchfp.uga.edu), Healthy Canning (healthycanning.com), Canada’s Food Guide (food-guide.canada.ca)