



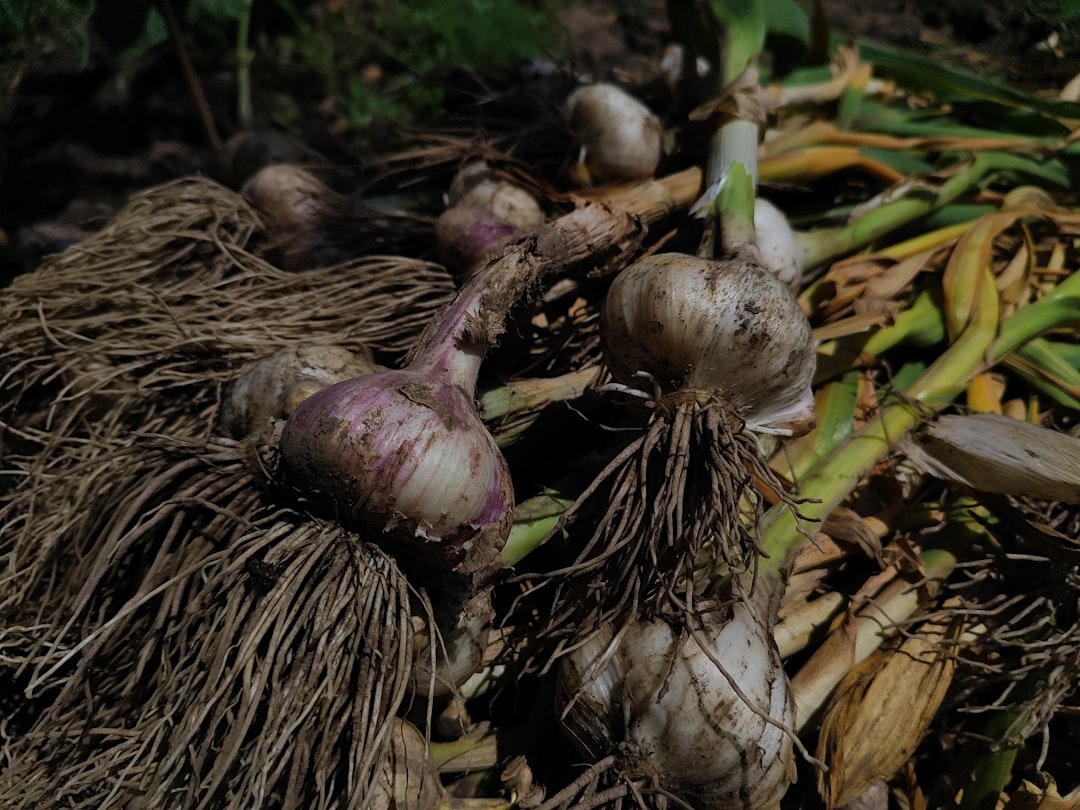
Garlic is planted in the fall and harvested the following summer, and the window opens now. The rule Canadian gardeners need is simple: plant your cloves four to six weeks before the soil freezes, pointed end up, roughly 7.5 centimetres deep, using seed garlic from a local grower rather than bulbs from the produce aisle.
In Ontario, garlic is grown as a winter annual, according to the province’s garlic production factsheet, which is why the timing matters more than almost anything else you do. The Ontario Ministry of Agriculture, Food and Agribusiness warns that cloves planted too early risk sending shoots above the soil surface, where they are exposed to winter injury, while cloves planted too late may not build an adequate root system before freeze-up and will not be winter hardy. Planting into still-warm late-summer soil carries a second penalty: the ministry notes that warm soil temperatures increase the severity of penicillium clove rot.
Depending on where you garden, that puts most of the country in a mid-September to late-October window. The Toronto Master Gardeners put the Greater Toronto Area at late October. Canadian seed garlic suppliers advise gardeners in colder Zone 2, 3 and 4 regions, including much of the Prairies, to plant as early as Sept. 15. The dates are guidance, not gospel — the real test is your own soil, and the target is four to six weeks before it freezes solid in your yard.
Garlic is also one of the few crops where the plant you buy is the plant you propagate. Cultivated garlic does not produce true seed, the Ontario factsheet explains; every clove is a clone of its parent bulb. That makes clove selection the single most consequential decision in the whole process, and it is where most first-time growers go wrong.
1. Choose hardneck garlic, and buy it from a grower
Hardneck varieties are generally more winter hardy and produce larger cloves than softneck types, though they store for a shorter period. Ontario-grown hardneck varieties include Rocambole, Porcelain and Purple Stripe. The Toronto Master Gardeners recommend hardnecks for beginners.
Do not plant supermarket garlic. Those bulbs may have been treated to prevent sprouting and are often varieties unsuited to the Canadian climate. There is a second, less obvious reason to buy from a reputable supplier: Ontario has no certification program for seed garlic, and bulb and stem nematode — a microscopic parasite that softens bulbs and destroys roots — spreads primarily through infested cloves. Ask your supplier whether their stock has been tested for it by a diagnostic lab.
2. Pick a site with sun and drainage
Choose a spot in full sun with fertile, well-draining soil and a roughly neutral pH. Avoid low areas where water pools, which encourages fungal infection. Soils high in organic matter are preferred because they hold moisture and nutrients better and are less prone to crusting and compaction. Avoid ground that heaves badly with frost.
3. Prepare the bed before you crack the bulbs
Work compost or well-rotted manure into the top 15 centimetres of soil. If you can, rotate: leaving at least three years — ideally four — between plantings of garlic, onions, leeks, chives or any other allium in the same spot limits the buildup of soil-borne pests and diseases.
4. Separate the cloves at the last minute
Store your seed garlic as whole bulbs until shortly before planting. Cloves separated from the parent bulb deteriorate faster than intact bulbs, and dry bulbs break apart more cleanly than damp ones. Crack them gently by hand and plant only healthy, unblemished cloves with their papery skins intact. Set the small or damaged ones aside for the kitchen — wounded cloves are especially vulnerable to penicillium mould.
5. Plant pointed end up, at the right depth and spacing
For home gardens, the Toronto Master Gardeners recommend planting cloves 7.5 centimetres deep and 13 to 15 centimetres apart, with at least 20 centimetres between rows so plants do not shade one another. Commercial spacing in Ontario runs tighter, 7 to 12 centimetres in the row, with small-bulbed strains at the close end of that range and large-bulbed Porcelains needing the full 12.
Orientation is not optional. Cloves must go in pointed side up. Ones planted upside down will still grow, but they tend to produce a curved shoot and a misshapen bulb.
6. Mulch for the winter
Mulch moderates soil temperature and protects roots and shoots from the freeze-thaw cycles that do most of the winter damage. Straw applied 10 to 15 centimetres deep directly over the rows is the standard; chopped leaves work as well for home beds. Use clean material — mulch contaminated with weed seed, bulb mites or nematodes will undo the point of it.
7. Note what comes next, then leave it alone
Come spring, pull most of the mulch back so shoots can push through, keep the bed weeded and water to about 2.5 centimetres a week. If you planted hardnecks, snap off the scapes once they curl: leaving them on can cut bulb yield by as much as 30 per cent. Stop watering as the bulbs finish sizing in July, and begin harvesting when 30 to 50 per cent of the leaves have died back.
Garlic asks for very little between October and June, which is much of its appeal. But the choices you make in the next few weeks — variety, source, depth, spacing and mulch — are the ones that determine what you dig up next summer. Get those right, save your best bulbs, and next fall’s planting stock is already in the shed.
Sources
- Government of Ontario, Garlic production factsheet (updated June 2024)
- Toronto Master Gardeners, Growing Garlic from Cloves
- Garlic Growers Association of Ontario, How to Grow Garlic
- ONvegetables (University of Guelph / OMAFRA), Managing Bulb and Stem Nematode Requires Clean Seed and Fields
Follow Canada News Media
Get the day's top Canadian stories and our two daily 60-second news videos wherever you scroll.
X Threads Facebook Instagram LinkedIn TikTok YouTube Pinterest Reddit Substack Flipboard Newsletter RSS