

Winterizing an outdoor faucet means three things: shutting off its indoor water supply valve, draining any water left in the line, and disconnecting the garden hose — a job that takes about 20 minutes but can prevent thousands of dollars in freeze damage. Water damage, much of it from frozen and burst pipes, now accounts for more than 30% of Canadian home insurance claims and costs insurers an estimated $15 to $20 billion a year, according to industry data cited by BrokerLink and Insurely. A single deep freeze event across British Columbia, Alberta and Saskatchewan in January 2024 alone produced more than $180 million in insured damage, the Insurance Bureau of Canada reported. Outdoor taps and the pipes feeding them are especially vulnerable because they sit at the edge of a home’s heated envelope, closest to the cold.
The good news is that this is one of the simplest and safest fall maintenance jobs on any homeowner’s list — no electrical, gas or structural work involved, and nothing that requires a ladder or work at height. Here’s how to do it properly before the first hard frost hits your region.
1. Find your indoor shut-off valve before cold weather arrives
Most homes built in the past few decades have a dedicated interior shut-off valve for each outdoor faucet, usually located in the basement, crawl space or utility room near where the pipe exits the wall. Locate it now, while you have time, rather than searching for it during a cold snap. If your home doesn’t have one, a licensed plumber can install one — it’s a low-cost upgrade that makes winterizing far easier every year after.
2. Disconnect, drain and store every hose
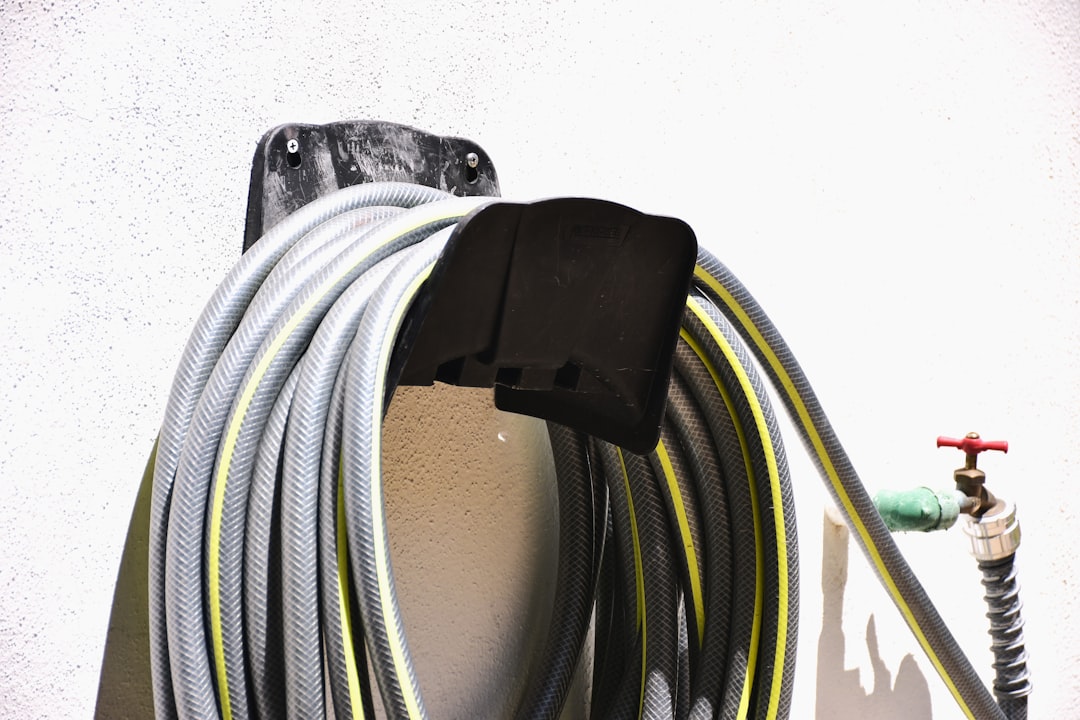
Remove every hose from every outdoor faucet before the cold sets in. A connected hose traps water inside the faucet body, and that trapped water is often the first thing to freeze and crack a fitting — this holds true even for “frost-free” faucets, which are designed to drain properly only when nothing is attached. Drain each hose fully, coil it, and store it somewhere it won’t be run over by snow-clearing equipment.
3. Shut off the interior valve
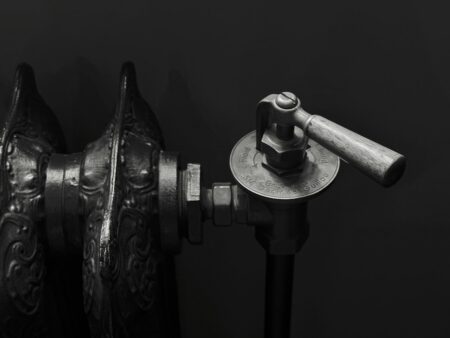
Once hoses are disconnected, turn the interior shut-off valve to the closed position. This stops water from continuing to flow into the section of pipe that runs through the unheated exterior wall, which is the section most exposed to freezing temperatures.
4. Drain the line and open the outdoor faucet
With the interior valve closed, go outside and open the faucet to let any remaining water in the pipe drain out completely. Leave the outdoor faucet in the open position for the rest of the winter. This isn’t an oversight — it gives any residual water or ice inside the pipe room to expand without building up pressure against a closed valve, which is what actually causes pipes to crack.
5. Know the difference if you have a frost-free faucet
Frost-free hose bibs work differently from standard ones: their actual shut-off valve sits 15 to 30 centimetres inside the wall, in heated space, rather than at the faucet handle itself. When you turn the handle to “off,” the valve closes indoors and the exposed outdoor section drains automatically — but only if no hose is attached to block that drainage. If you have frost-free faucets, disconnecting hoses (step 2) is the step that matters most; you generally won’t need a separate interior shut-off valve for these.
6. Add insulation as a backup, not a substitute
A foam or fabric faucet cover adds a layer of protection against wind chill and sudden cold snaps, and they’re inexpensive. But an insulated cover is a supplement to draining the line, not a replacement for it — a cover alone won’t protect a faucet that’s still full of water.
7. Watch for warning signs, and call a professional when something’s off
If you turn a shut-off valve and water keeps trickling from the outdoor faucet after draining, if a valve won’t fully close, or if you notice a faucet that dripped or ran poorly last spring, that can indicate a pipe was already damaged by a previous freeze. Don’t force a stuck valve or attempt to cut into a wall to inspect a pipe yourself — call a licensed plumber to assess it before winter arrives. The failure point in most frozen-pipe claims isn’t the visible faucet; it’s a hidden section of pipe or a valve that didn’t fully do its job, and that’s a job for a professional to diagnose.
Timing: don’t wait for the forecast to force your hand
Plumbers generally recommend winterizing outdoor faucets before the first hard freeze in your region, which can arrive as early as late September in parts of the Prairies and northern Canada, and typically through October and into November farther south. Doing it on a mild, dry weekend — rather than scrambling the night before a cold snap — takes the same 20 minutes and removes the risk of forgetting altogether. Given how often frozen pipes turn into five-figure insurance claims, it’s one of the highest-value, lowest-effort jobs on any fall home maintenance list.
Follow Canada News Media
Get the day's top Canadian stories and our two daily 60-second news videos wherever you scroll.