

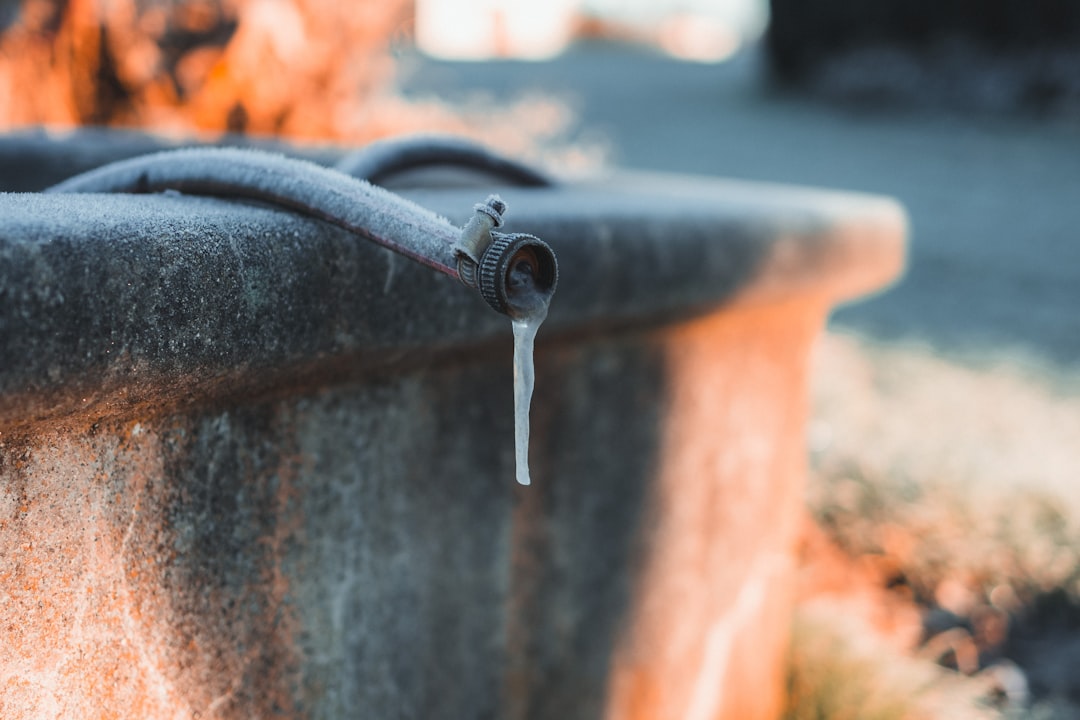
Winterizing an outdoor faucet means disconnecting the hose, draining the water out of the exterior pipe, and shutting off the supply before the first hard freeze — a 20-minute job that prevents one of the most common (and expensive) cold-weather plumbing failures. Skip it, and water left sitting in the pipe can freeze, expand, and crack the fitting, sometimes without you noticing until spring, when a slow leak has already damaged a wall or foundation. With overnight temperatures already dipping in parts of the Prairies and northern Ontario, late August and early September is exactly the window fall home-maintenance guides recommend for this job, before the ground freezes and while the work is still easy to do outdoors.
1. Know your deadline — it depends on where you live
Canada’s first hard freeze doesn’t arrive on the same date everywhere. Homeowners in the Prairies, northern Ontario, and other regions with shorter shoulder seasons should plan to winterize by mid-to-late September. In southern Ontario, Quebec, and coastal B.C., you generally have until October or even early November. The safest approach is to get it done before your local overnight lows start regularly dropping near freezing, rather than waiting for a frost warning.
2. Disconnect, drain, and store your garden hoses
Start by disconnecting every hose from every outdoor spigot. A hose left attached — even on a “frost-free” faucet — can trap water in the line and defeat the whole point of a frost-free design, since the water has nowhere to drain. Drain the hose completely by stretching it out and letting gravity pull the water toward one end, then coil it loosely and store it indoors, in a garage, or in a shed. Hoses left outside all winter become brittle and crack from repeated freeze-thaw cycles, which shortens their lifespan even if they never actually contain water.
3. Find and use your interior shut-off valve
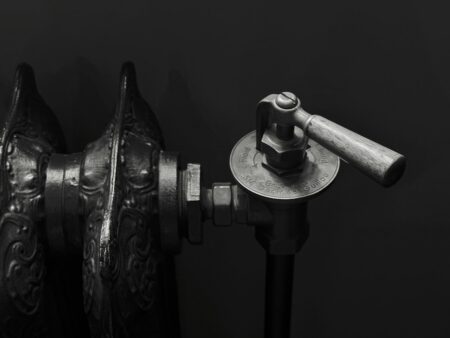
Many Canadian homes, especially those with a basement, have a dedicated interior shut-off valve for each outdoor spigot — look for a small valve on the pipe where it runs through the basement wall or ceiling, often labelled or grouped near other plumbing shut-offs. Turn that valve to the closed position. This isolates the exterior line from your home’s main water supply, which is the step that actually protects the pipe from a hard freeze, rather than just removing the hose.
4. Bleed the line after you shut it off
Closing the interior valve doesn’t empty the pipe on its own — there’s still water sitting between the valve and the outdoor spigot. After shutting the interior valve, go back outside and open the exterior faucet to let any residual water drain out and relieve pressure in the line. Many shut-off valves also have a small drain cap or bleeder screw; if yours does, open it briefly to release any water trapped between the valve and the wall. Once it’s drained, leave the outdoor faucet open slightly through the winter so any water that does find its way in has somewhere to expand.
5. No interior shut-off valve? Here’s what to do
Older homes, and some newer builds without a true frost-free sillcock, may not have an accessible interior valve. If that’s your situation and you’re not confident locating or working with your home’s plumbing shut-offs, this is a reasonable point to call a licensed plumber — they can confirm whether you have a frost-free spigot, install one, or add a proper shut-off, and it’s a relatively inexpensive fix compared to repairing a burst pipe. If you do have a true frost-free sillcock and no separate shut-off, simply disconnecting the hose (step 2) is typically sufficient, since these fixtures are designed to drain themselves once nothing is attached.
6. Add an insulated faucet cover for extra protection
Foam or hard-shell faucet covers, sold at most Canadian hardware stores, slip over the outdoor spigot and add another layer of insulation against wind chill and sudden cold snaps. They’re inexpensive and reusable year to year, and they’re a good backup even after you’ve drained and shut off the line — particularly useful in regions that see early, sharp temperature drops.
7. Clear away splitters, timers, and Y-connectors
Any hardware attached to the spigot — hose splitters, irrigation timers, Y-connectors — should come off and be stored indoors too. Plastic components are especially prone to cracking in freezing temperatures, and leaving them attached can also trap water against the faucet the same way a connected hose does.
8. Do a quick leak check while you’re out there
While you’re at the faucet, run your hand along the pipe and fitting to check for existing drips, corrosion, or soft spots. Catching a small leak now, while it’s still easy to access and repair, is far simpler than dealing with a frozen, burst version of the same problem in January.
None of these steps require touching electrical wiring, gas lines, or working at height — it’s ground-level plumbing maintenance well within reach for most homeowners. The payoff is real: a burst outdoor pipe can mean a flooded basement, drywall repairs, and an emergency plumber call, all for the cost of skipping a 20-minute task in the fall. Put it on the same weekend as your other early-September home-prep jobs, and you’ll head into winter with one less thing that can go wrong.
Follow Canada News Media
Get the day's top Canadian stories and our two daily 60-second news videos wherever you scroll.