


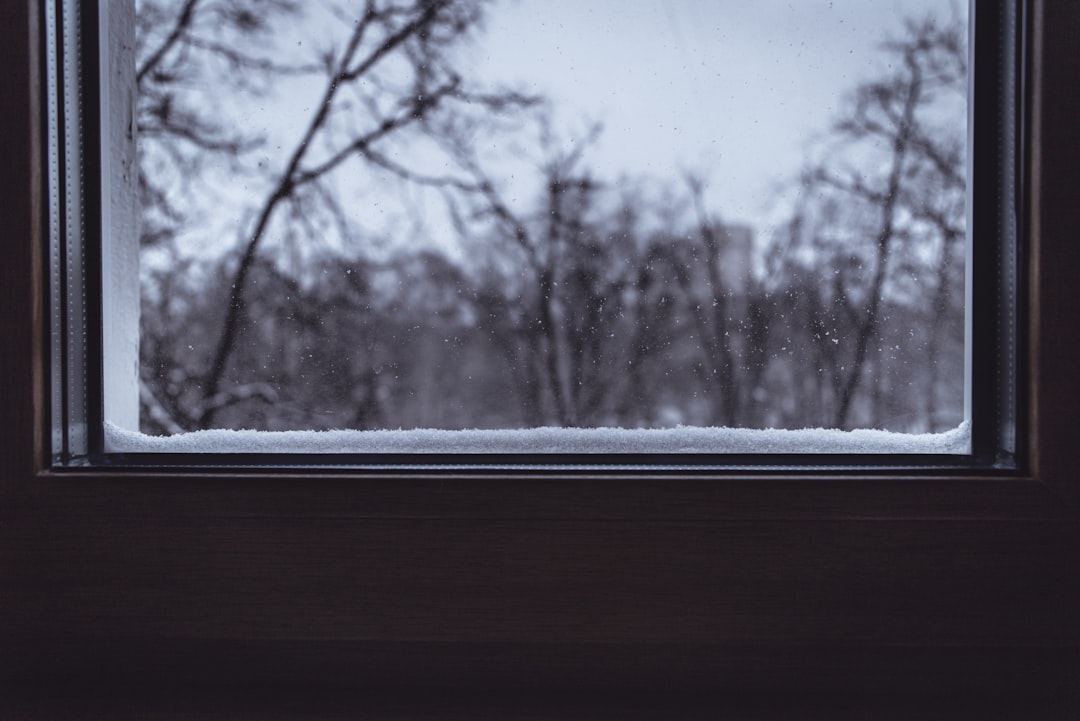
Late August is the best time to draft-proof your windows and doors, not December when the first cold snap already has you reaching for extra blankets. The fix costs a few dollars in caulk and weatherstripping and takes an afternoon — and it targets one of the biggest sources of heat loss in a Canadian home. According to Natural Resources Canada, windows, doors and skylights can account for up to 35 percent of a house’s total heat loss, which means an unsealed frame is often costing you more than an old furnace filter ever will. Here’s how to find the leaks and seal them properly before the temperature drops.
1. Find where the drafts actually are
Don’t guess — test. On a breezy day, run your hand slowly around the edges of window and door frames, focusing on where the frame meets the wall, the corners of the trim, and the bottom of exterior doors. If you feel moving air, you’ve found a leak. A more sensitive test: hold a lit candle or stick of incense near the same spots and watch for the flame or smoke to flicker or bend, which shows air movement even when you can’t feel it by hand. Mark every leak you find with a pencil or a sticky note so you don’t lose track once you start working.
2. Gather the right materials for the job
You’ll generally need two different products, because they solve two different problems. Exterior-grade caulking (silicone or a siliconized acrylic rated for outdoor use) seals gaps that don’t move, such as where window trim meets siding. Weatherstripping — foam tape, vinyl V-strip, or adhesive-backed rubber gasket — seals gaps that do move, like the edge of a door or an operable window sash, where caulk would crack and fail. Buying the wrong product for the wrong gap is the most common reason draft-proofing doesn’t hold up through winter.
3. Clean and prep every surface first
Caulk and adhesive-backed weatherstripping won’t bond to dirt, old paint flakes, or leftover cracked sealant. Scrape away any old, hardened caulk with a putty knife, then wipe the surface down with a rag and, if it’s greasy or dusty, a bit of soapy water or rubbing alcohol. Let everything dry completely before you apply anything new — damp surfaces are the second most common reason a seal fails early.
4. Caulk the gaps that don’t move
Load a caulking gun with exterior-grade caulk and cut the tip at a low angle for a thin, controllable bead. Apply a continuous bead of caulk around the window trim where it meets the wall, along the mitred corners of the trim, and in the gap between the trim and the window frame itself — these are the exact spots Natural Resources Canada identifies as the primary leak points. Smooth the bead with a wet finger or a caulking tool for a clean, weathertight seal, and do the same around exterior door frames where they meet the siding.
5. Weatherstrip the parts that move
For window sashes and door edges, choose a weatherstripping type that matches the gap size: thin foam tape for small gaps, vinyl V-strip for a slightly larger or uneven gap, and adhesive-backed rubber gasket for doors that see heavy use. Press the strip firmly along the full length of the frame so the flexible edge presses snugly against the sash or door when it’s closed, but not so tight that the window or door becomes hard to operate. Replace weatherstripping that’s flattened, cracked, or peeling — visible daylight around a closed door or window is a reliable sign it’s past its service life.
6. Install or replace door sweeps
A door sweep — the strip that runs along the bottom edge of an exterior door — is one of the cheapest, highest-impact fixes available. Measure the width of your door, cut the sweep to size if needed, and screw or adhere it to the bottom of the door so it makes light contact with the threshold when the door is closed.
7. Clean and lubricate window and door tracks
Dust and debris in window tracks and door channels prevent components from sealing properly even after you’ve added new weatherstripping. Vacuum out the tracks, then apply a light silicone spray to keep sliding parts moving smoothly and sealing tightly through the cold months.
8. Test your work
Once everything is sealed, repeat the hand or candle test from step one. If you still feel a draft at a spot you’ve already treated, the gap may be larger than a bead of caulk or a strip of tape can handle — in that case, it’s worth having a window and door professional assess whether the frame itself needs repair rather than layering on more sealant.
None of this requires touching wiring, gas lines, or your roofline — it’s all ground-level work with basic hand tools. Done right, before the first hard frost hits, an afternoon of caulking and weatherstripping is one of the most cost-effective ways to keep a Canadian home warmer, and your heating bill lower, all winter long.
Follow Canada News Media
Get the day's top Canadian stories and our two daily 60-second news videos wherever you scroll.