

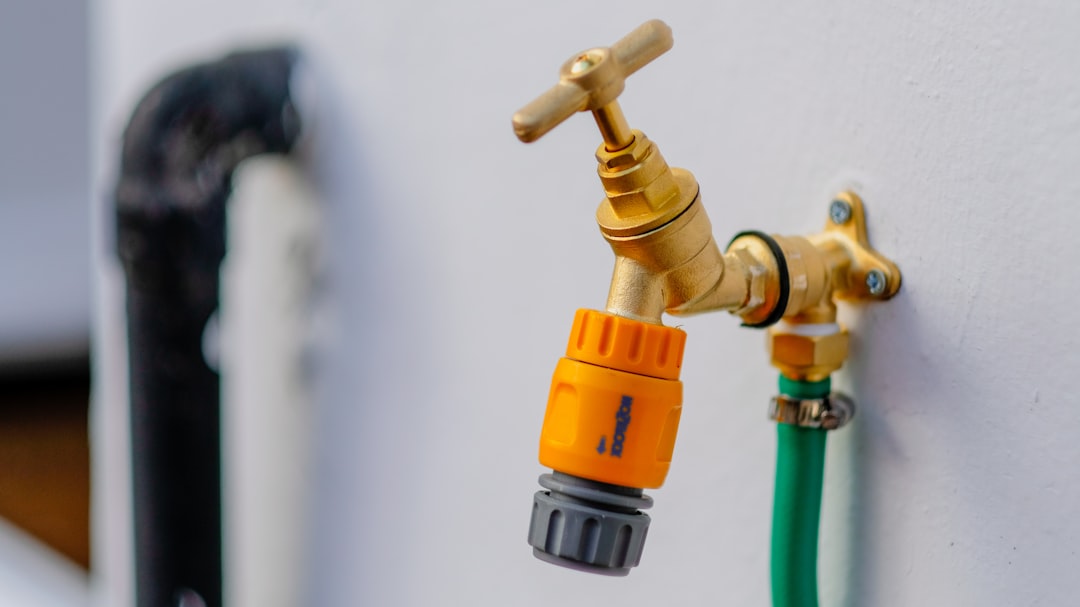
To winterize an outdoor faucet, disconnect the hose, shut off the interior valve that feeds it, then open the faucet to drain any water trapped in the line — leaving it open all winter. Skipping this takes only a few minutes but can prevent one of the most common and expensive cold-weather plumbing failures: a burst pipe from water freezing and expanding inside the line. Late August and early September, while the ground is still workable and there’s no rush, is the ideal time to build this into your fall home-maintenance routine before the first hard frost catches anyone off guard.
Water expands by roughly 9% as it freezes, and that pressure has nowhere to go inside a sealed pipe. Outdoor spigots and the pipe sections just inside an exterior wall are especially vulnerable because they sit closest to the cold. A cracked line often isn’t discovered until spring, when a wall or ceiling suddenly shows water damage — by which point the leak has usually been running for weeks. Taking five simple steps now avoids that entirely.
1. Disconnect and drain every hose
Unscrew any garden hose still attached to an outdoor faucet. Hoses left connected over winter trap water against the spigot, which speeds up freezing right at the connection point. Walk the length of each hose, lifting it section by section, to push out the water still inside, then coil it up and store it somewhere warm and dry — a garage, shed, or basement — rather than leaving it outside.
2. Find the interior shut-off valve
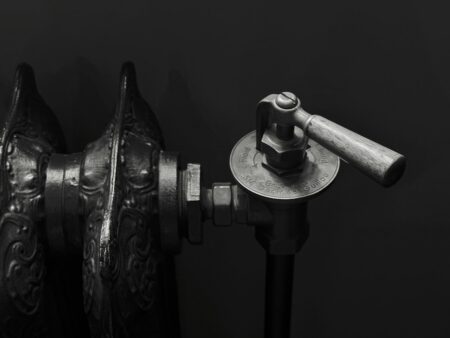
Most homes built for a Canadian winter have a dedicated shut-off valve for each outdoor spigot, usually located in the basement, crawl space, or utility area near where the pipe exits the house. If you’re not sure your home has one, this is worth checking now rather than in a rush during the first cold snap — not every house has this feature, particularly older builds, and that changes the steps below.
3. Close the interior valve
Turn the shut-off valve clockwise until it stops. This cuts the water supply to the outdoor spigot from inside the house, but there will still be some water sitting in the short length of pipe between the valve and the faucet itself — that’s what the next step clears out.
4. Open the outdoor faucet fully and let it drain
Go back outside and turn the spigot handle to the fully open position. With the interior valve already closed, any remaining water in the line will drain out through the open faucet. Leave the outdoor faucet open for the rest of the winter season — this gives any trace moisture or future condensation somewhere to go rather than building up pressure behind a closed valve.
5. Check for a bleeder cap, and consider an insulated cover
Some interior shut-off valves have a small bleeder cap or plug beside them — if yours does, remove it briefly to release any residual pressure in the line, then replace it. Finally, an inexpensive foam or hard-shell insulated faucet cover (sold at most Canadian hardware stores) adds a second layer of protection against wind chill for the spigot itself and is a good idea even after the steps above, especially in regions that see extended stretches well below freezing.
What if there’s no interior shut-off valve?
Homes without a dedicated valve for each outdoor faucet typically rely on a “frost-free” spigot design, which has its shut-off mechanism built further back inside the wall, or need the main household water supply addressed instead. If you’re not sure which situation applies to your home, or if a faucet has flooded or frozen in a previous winter, that’s a case worth having a licensed plumber assess rather than guessing — misdiagnosing the setup is how avoidable damage happens.
None of this requires special tools or plumbing experience — just an early start. Doing it in late summer, while the weather is still cooperative, means one less thing to remember when the first freeze warning actually arrives.
Sources: DripDepot DIY Irrigation Support, “How to Winterize an Outdoor Spigot”; 1 Tom Plumber, “How to Winterize Outdoor Faucets”; The DIY Playbook, “How To Turn Off Outside Water and Spigot For Winter”; Len The Plumber, “How to Winterize Your Hose Bibbs.”
Follow Canada News Media
Get the day's top Canadian stories and our two daily 60-second news videos wherever you scroll.